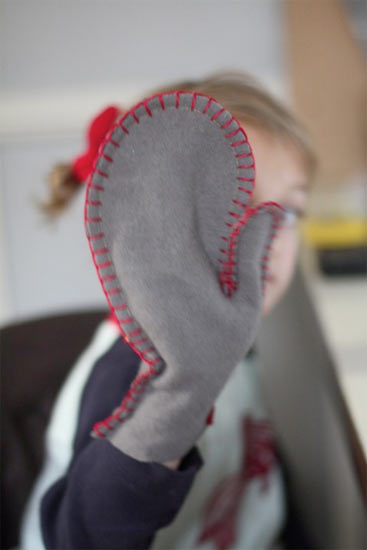
Mittens, both kid and adult sized, seem to disappear every few days during the winter and it’s always good to have a few spare pairs around, which makes this project both fun and practical. Make sure you cut the mittens generously, especially around the wrist, it’s easier to make them smaller than it is to try to squeeze into them when they are too tight! Any warm fabric with a little stretch works well here. Fleece, felt and even a heavy jersey are good choices. Here we used scraps of blanket wool that had been slightly felted in the wash.
Things you need:
1/4 yard fleece or two 9″ x 12″ felt squares
Embroidery thread and needle
Scissors
Fabric pencil
Sewing machine and notions
Things to do:
1. With your fingers slightly spread, trace your hand into a mitten shape, leaving about 3.4 of an inch all the way around and 1 1/2 inch on either side of the wrist.
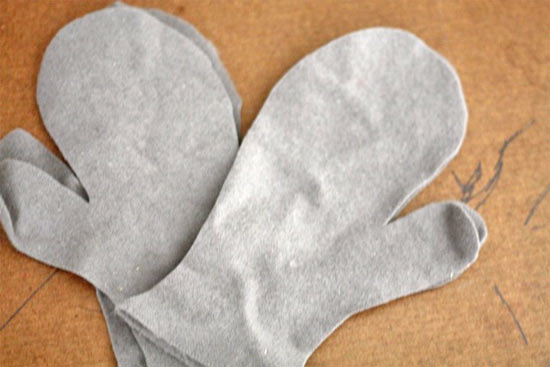
2. Cut four identical shapes from your fabric.

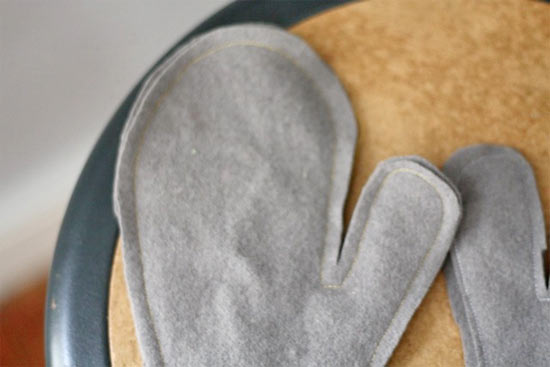
3. Lay two mitten pieces on top of one another and stitch around with a 1/4 inch seam allowance. Repeat with the second mitten.

4. Trim the edges to make sure they are even and check the fit. Now is the best time to make sure they are small enough. Adjust if necessary
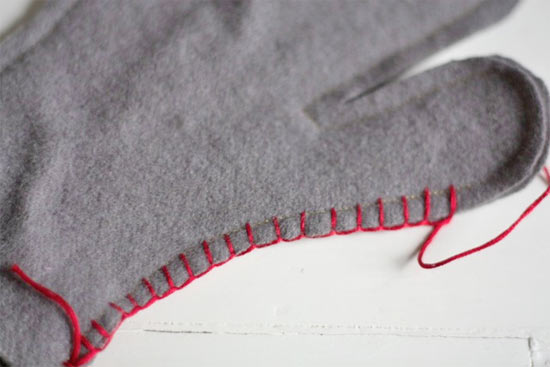
5. Using the embroidery thread and needle and a blanket stitch, sew around the edges of the mittens for a decorative finish.


6. If the mittens feel a little loose in the wrist, stitch a 1-inch piece of elastic on the inside of the mitten on the inner side to add a little tightness.