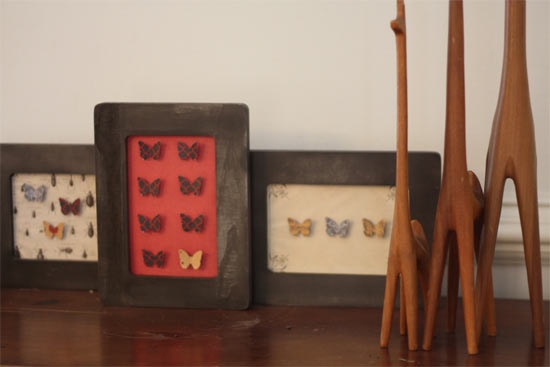
Framed bug and butterfly collections are an excellent way to spruce up your decorations for the fall. But if you don’t fancy catching and pinning live bugs, this projects offers a gentler alternative. But don’t limit yourself to just fall decor. Framed bugs” look great above desks or as art in your science minded children’s rooms. I know my son is already eyeing this to hang above his bed!
Things you need:
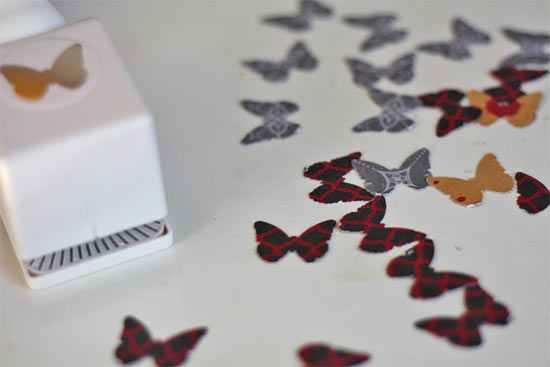
Bug” paper punches
Small silver or clear beads (slightly larger than seed beads)
Small frames
Foam Core
Paper – several colors plus one piece large enough for the frame backing
Craft glue or hot glue
Scissors
Ruler
Bone folder
Things to do:
Before you get to the bugs” you’ll need to prep your frames.
1. If you want a more consistent look, paint the frames a single color using a low gloss spray paint and allow to dry.
2. Otherwise, remove the glass from the frames and save for alter use. Measure and cut your foam core to fit inside the frame back snugly.
3. Coat the foam core with a light coat of glue and smooth on your backing paper. This will create a neutral backdrop for your bugs’.
4. Run a bead of glue around the inner edge of the frame and press the covered foam core into the frame firmly, holding in place for a few minutes while the glue sets.
Make and place your bugs”
1. Using several colors of paper scraps (or just one color scheme if your are looking for a more monochromatic style) punch out the bugs with your paper punches.

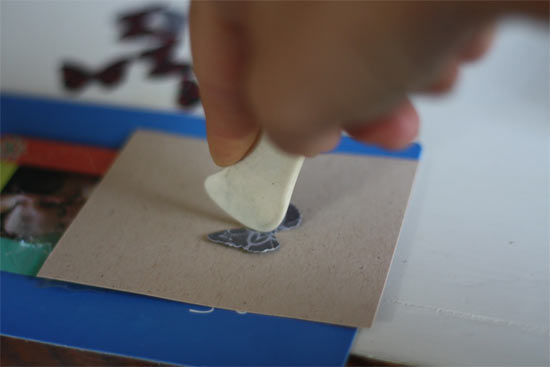
2. Run a slight crease along the seam of the wing and the body of each bug using your bone folder so that they wings lift up slightly.

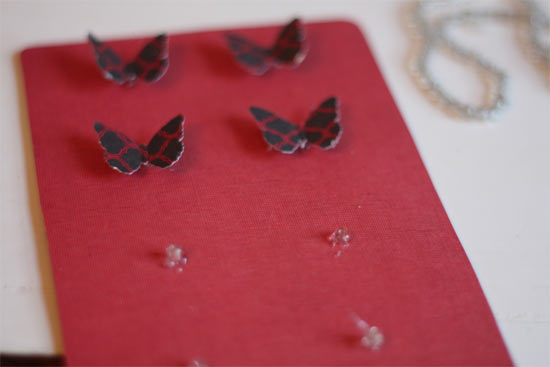
3. Glue a bead onto the paper where you want the bug to be pinned”. The bead gives the height that a pin would without having to deal with the excess pin on the back.

4. Dot glue onto the back of the bug bodies and center on top of each bead. Allow to dry.
5. Mount your frames for some spooky, yet elegant fun!