Search results
208 results found.
208 results found.
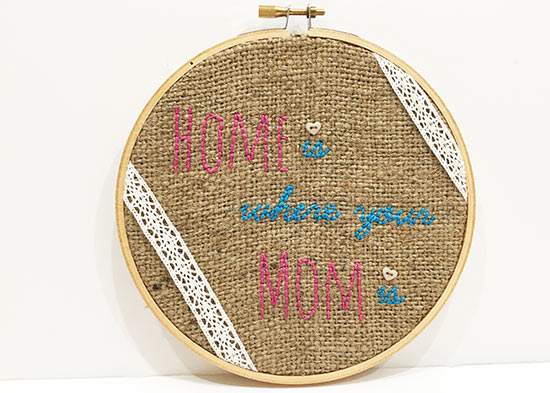
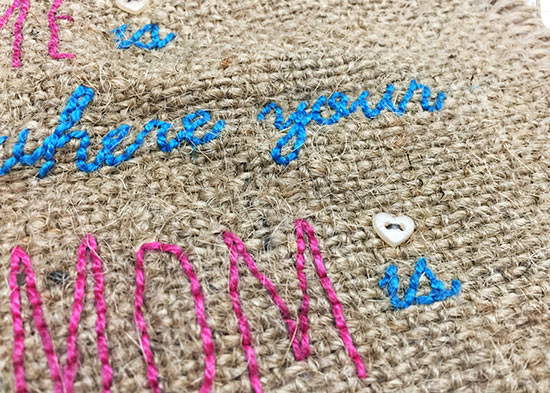
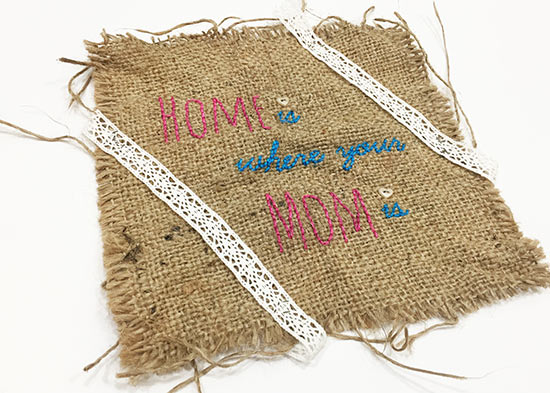
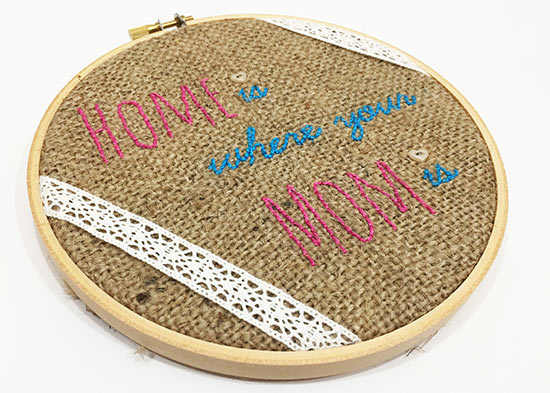
Mother’s Day is just around the corner so before you forget and then scramble for a last minute bunch of flowers, here’s a simple DIY gift that mom is sure to love! Add some basic embroidery stitches to create a handmade, heartfelt gift for mom. This design looks cute displayed in a wood embroidery hoop but can also be framed or even made into a tiny pillow.
Difficulty level: Intermediate
Time required: 1-2 hours
Age range: Adult
Things you’ll need:
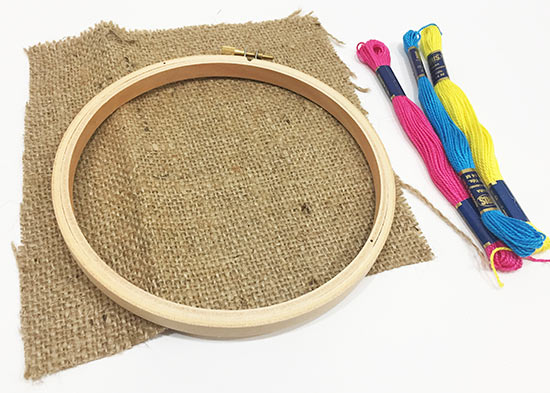
7 inch square of burlap
Embroidery thread
6-inch embroidery hoop
Heart-shaped buttons
2-6″ lengths of lace
Template
Fabri-solvy *optional
Things to do:
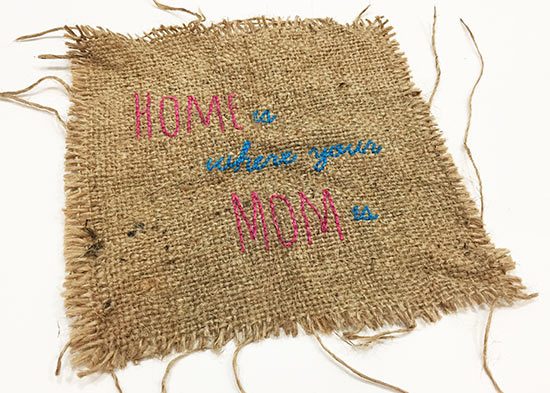
1. Transfer the pattern to the burlap

2. Embroider the design
3. Sew heart buttons above the top of the “i’s”
4. Position the strips of lace diagonally across the corners of the burlap and
baste in place using 2-3 short stitches along the edges of the burlap.
5. Place the burlap in the embroidery hoop and tighten the hoop to pull the
fabric taught
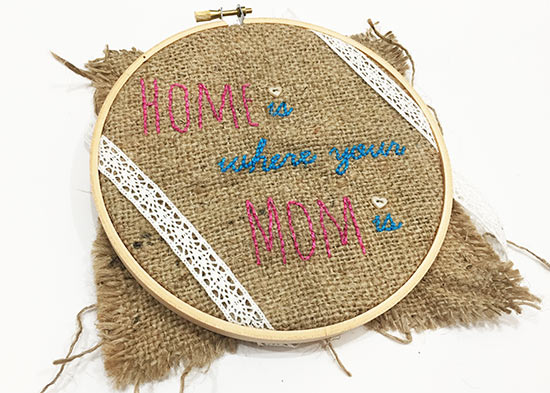
6. Trim the excess fabric from the back of the hoop.
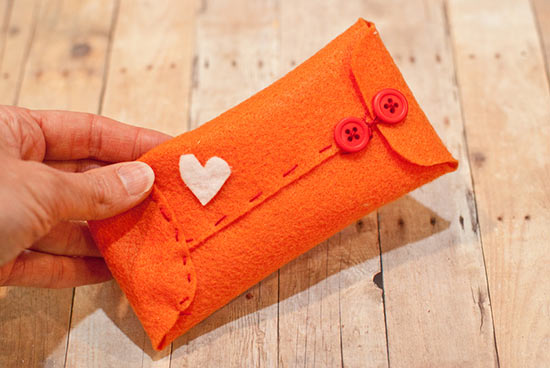
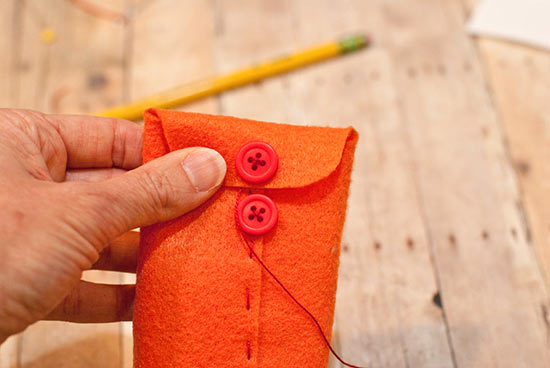
Tuck some treats into this easy-to-make felt envelope, or use for special notes that you can tuck into a lunchbox or backpack.
Difficulty level: Easy
Time to complete: 1 hour
Age range: 10+
Things you’ll need:
Two colors of felt
Embroidery floss
Scissors
Needle with large eye
Hot glue gun
Glue sticks
Two buttons
Pins
Paper
Pencil
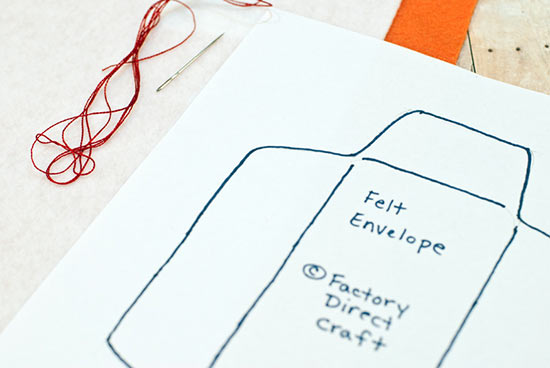
Felt envelope template
Things to do:
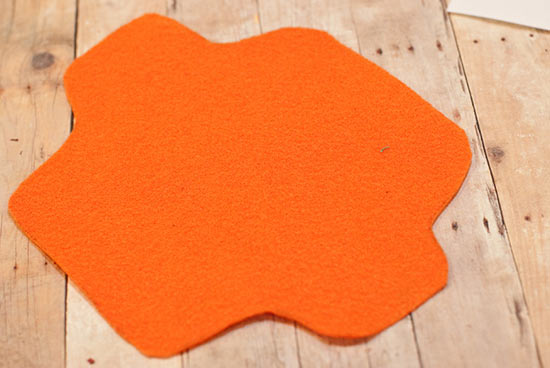
1. Trace the felt envelope template onto your felt, and cut out.
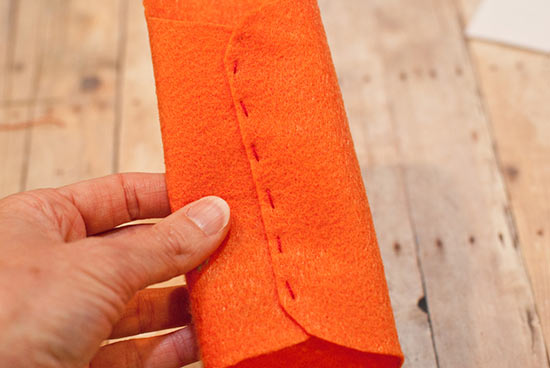
2. Pin together as shown. Thread your needle and knot one end.
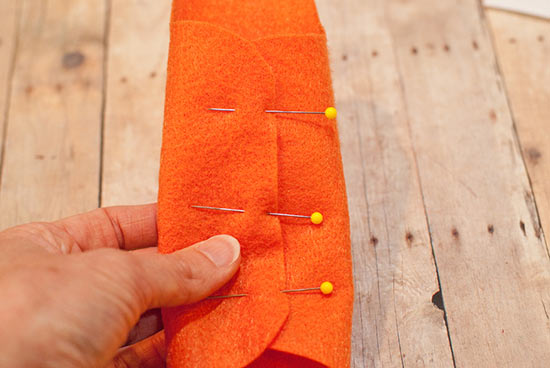
3. Using a running stitch, stitch down the overlapped section as shown.
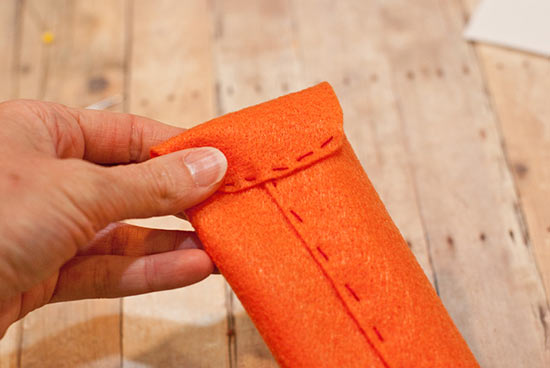
4. Fold one end up and stitch in place, being careful not to stitch through the front of the envelope.
5. Stitch a button in the center top, as shown. To check placement, fold the top down to see where you’ll want this button to go.
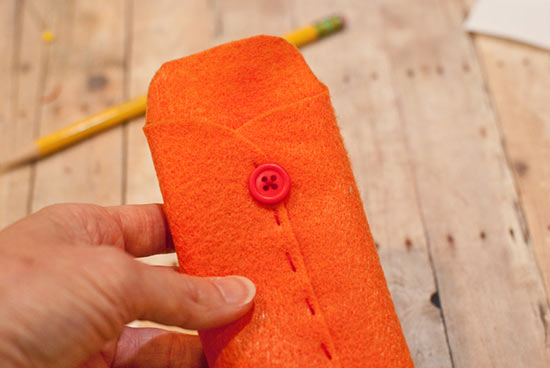
6. Stitch the other button to the top as shown. Leave the embroidery floss long, so that it can be wrapped around the lower button to close it shut. If desired, warm up your hot glue gun and glue hearts and other decorations in place to embellish your felt envelope.