
Search results
208 results found.
208 results found.
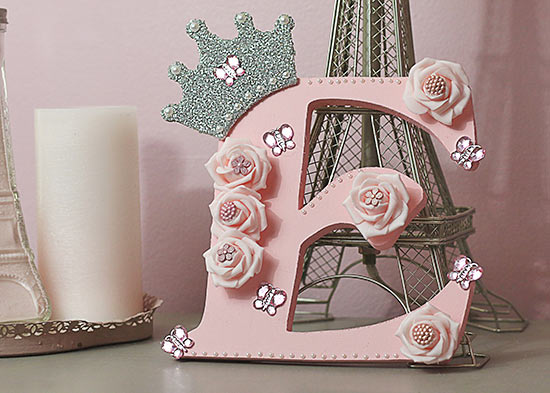
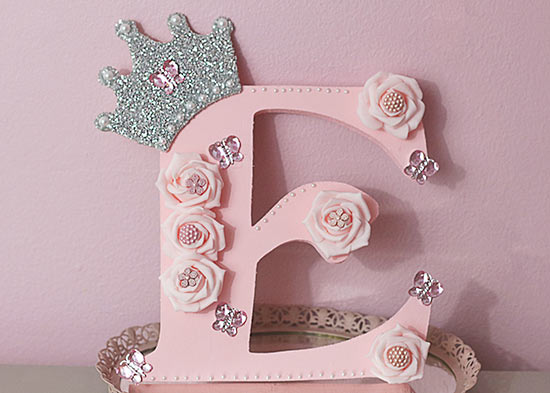
My little girl is obsessed with pink and sparkles, so I made her this stunning initial decor for her room. Here is how to make your own:
Difficulty level: Beginner
Time required: 1 hour of crafting plus paint and glitter drying time.
Age range: 10+ with adult supervision with glue gun
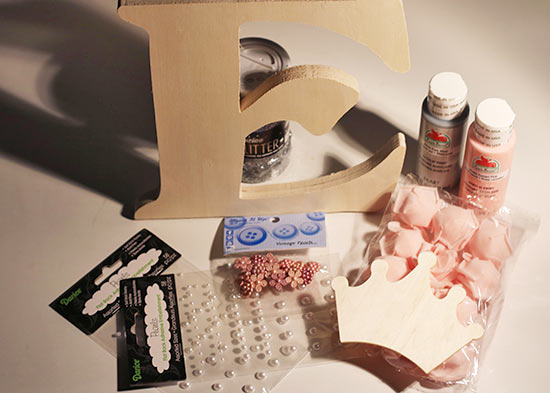
Things you’ll need:
Unfinished Wood Fancy E
Unfinished Wood Princess Crown Cutout
Cameo Pink Apple Barrel Acrylic Paint
Pure Silver Metallic Apple Barrel Acrylic Paint
All Purpose Spray Adhesive
Silver Glitter
Pearl Embellishments
Pearl Buttons
Pink Roses
Pink Butterfly Rhinestones
Things to do:
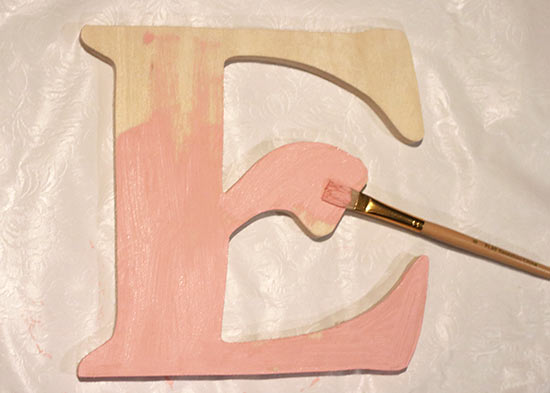
1. Grab your fancy wooden letter initial, your princess crown cutout, your paint colors and your paint brush(es).

2. Paint your wooden letter and princess crown cut with a light coat. Let dry and repeat coats until you have reached your desired color. I painted the wooden letter E with 3 coats of pink acrylic paint and the princess crown cut out with 2 coats of paint. Even though I will be covering the crown with sparkles, I like to paint the wooden coat out first, just in case any spots are missed with glitter. Let both dry.
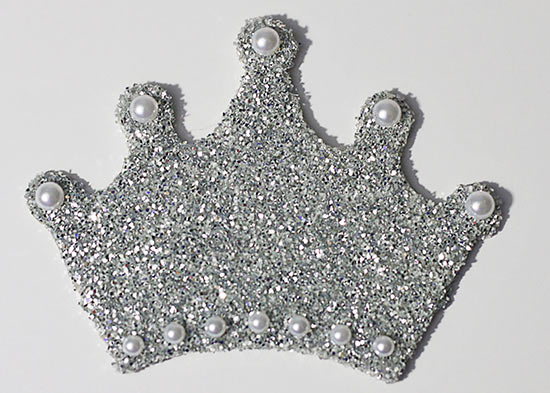
3. Grab your dry, painted princess crown cutout, adhesive spray and silver craft glitter.

4. In a well ventilated area, spray princess crown cutout with the adhesive spray.
5. Pour the glitter on top of the princess crown, then shake off excess glitter. Repeat until desired level of sparkle has been reached. I only used one coat. Let dry.

6. Heat Up Glue Gun
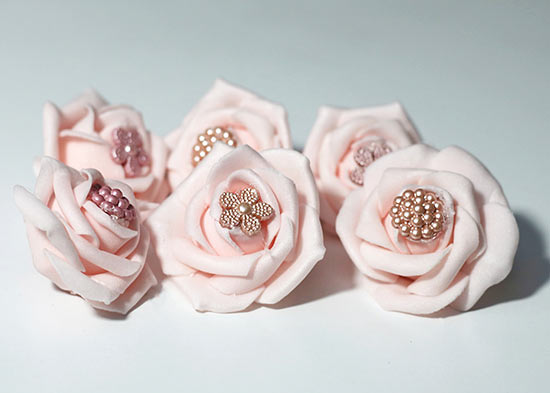
7. Grab your pink artificial rose heads and vintage pearl buttons. Decide on amount of flowers and vintage pearl buttons to use. I used 6 flowers and 6 pearl buttons.
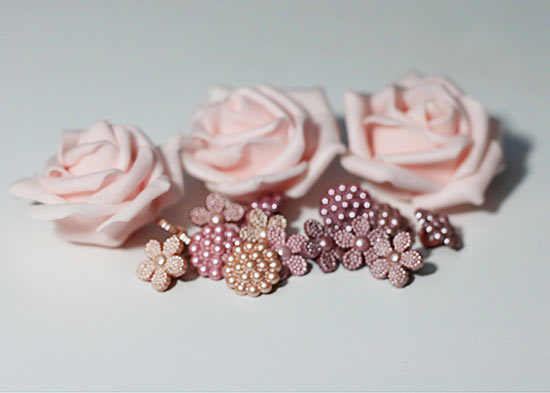
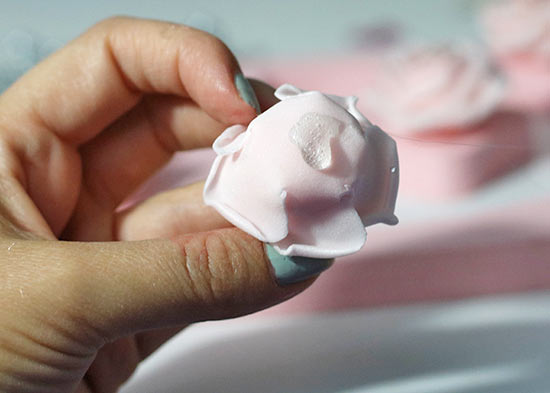
8. Once the heat gun is warmed up, place a dab of glue on the back of the button.
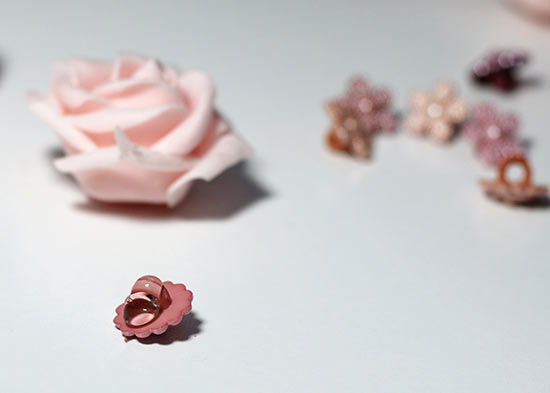
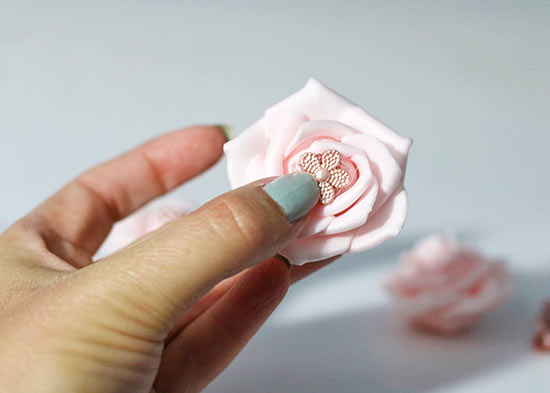
9. Insert the vintage pearl button inside the middle of the pink rose head. Hold the buttons in place for a few seconds until dry. Repeat until all roses are finished.
10. Set flowers aside to dry.
11. Once, the princess crown cutout glitter is dry, grab your flat back white adhesive pearls.
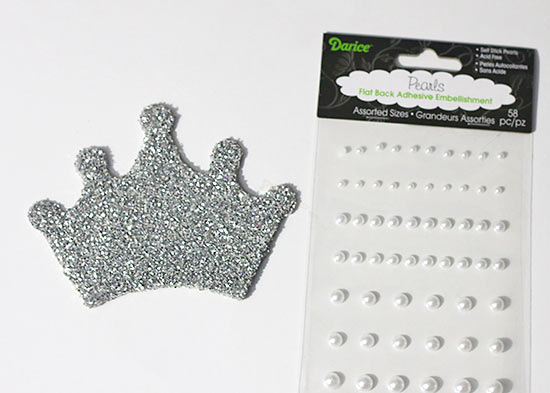
12. Stick the pearls to the princess crown. I chose the largest size pearls.
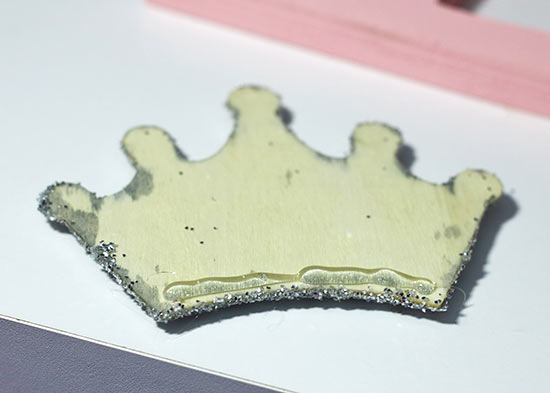
13. Place a line of glue along the bottom edge of the princess grown.
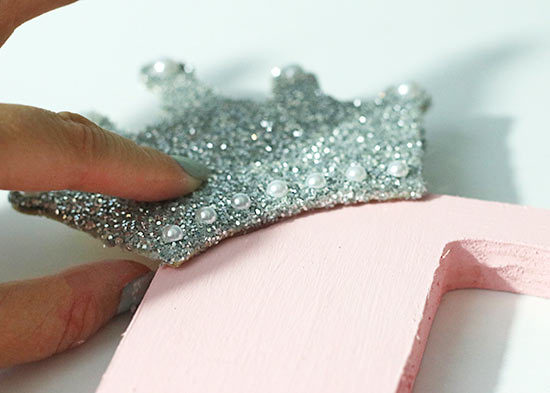
14. Place the crown along the top curve of the wooden letter, matching the side edges. Hold the princess crown for a few seconds to allow the glue to dry.
15. Before gluing, arrange flowers and butterflies on the wooden letter. I changed my mind several times where I wanted each item to be located. It is easy to change locations before gluing.
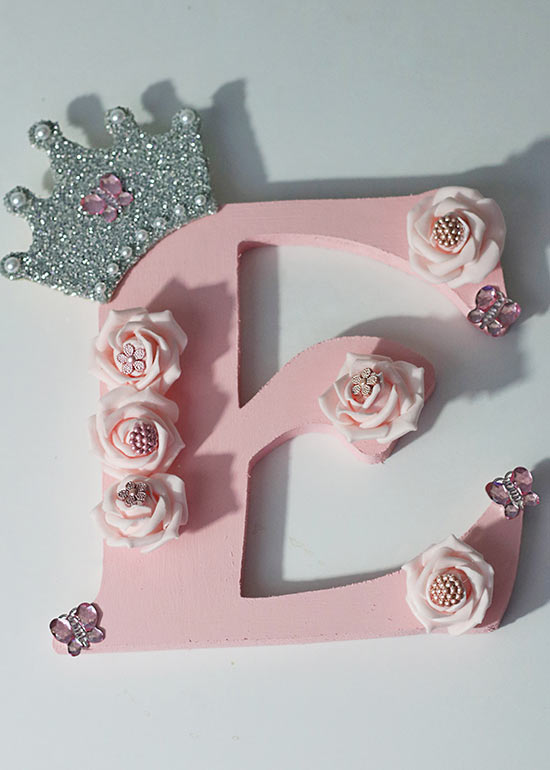
16. Once you have decided on arrangement of flowers, place a dab of glue on the back of each rose head. Then place the rose head in desired location and hold for a seconds to dry. Repeat until all rose heads have been placed on the wooden letter.
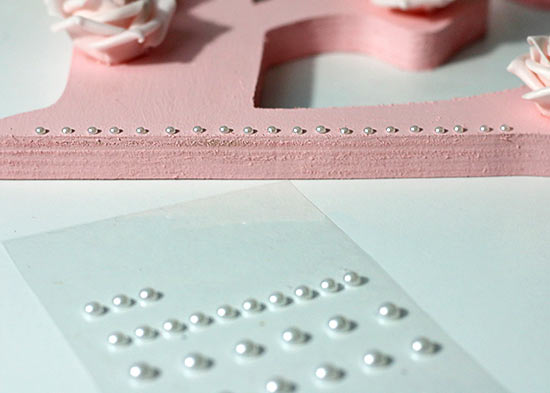
17. Grab your white flat back adhesive pearls and start sticking them along the edges of the wooden letter. I chose the smallest size pearl for the edging.
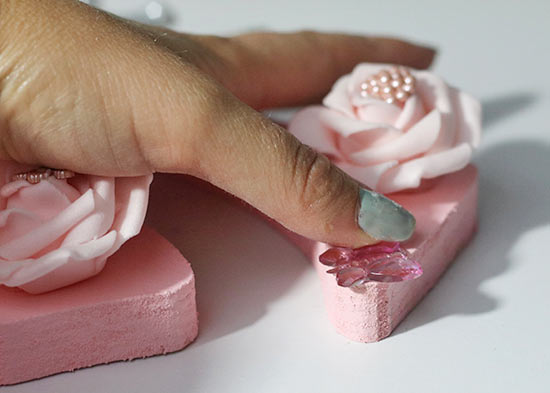
18. Place a dab of glue on the back of each pink flat back butterfly rhinestone and hold for a few seconds in place. Repeat with each butterfly rhinestone. Voila! You have made your own gorgeous initial decor!
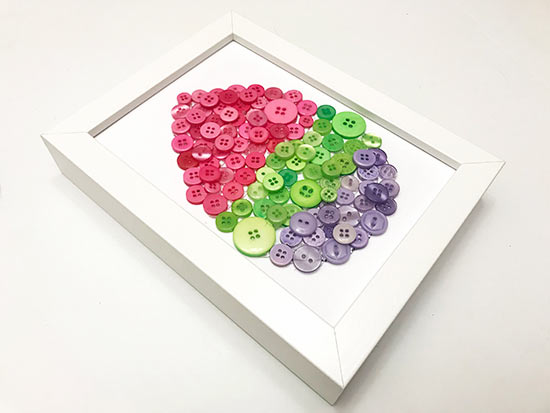
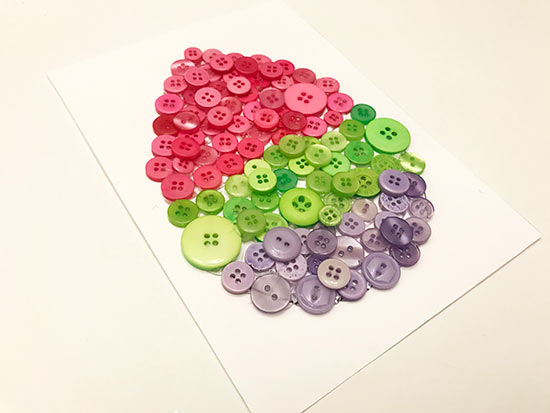
Button art is a fun craft to create fun, personalized holiday decor. Create your own unique Easter egg art with some bright buttons.
Difficulty level: Beginner
Time required: 1 hour
Age range: 8+
Things you’ll need:
Cardstock or other backing
Buttons
Hot glue
Hot glue gun
Frame
Things to do:
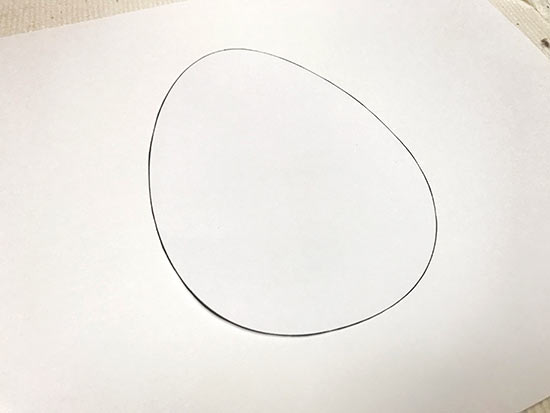
1. Cut the cardstock to fit the frame and sketch an egg shape on the front.
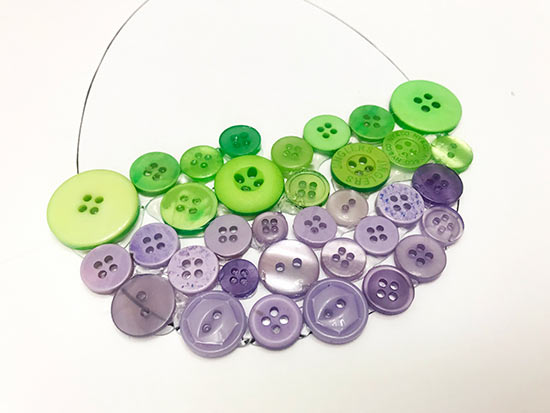
2. Starting from the bottom, glue a layer of purple buttons on the egg shape, covering the sketch lines.
3. Next, glue a layer of green buttons on the egg, creating a middle stripe, and covering the side sketch lines.
4. Finish off the egg shape by gluing pink buttons on the top of the egg, covering the last of the sketch lines.
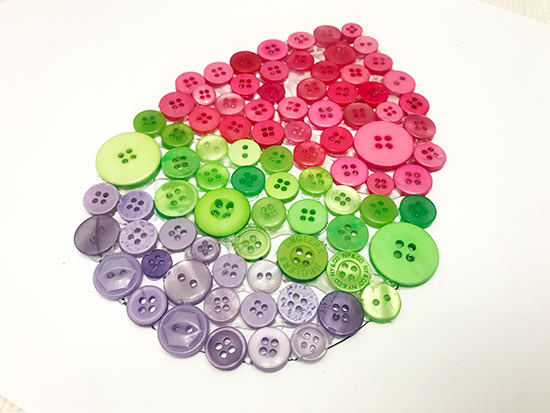
5. Finish of any gaps in the egg by gluing buttons in a second layer.
6. Place the cardstock in the frame.