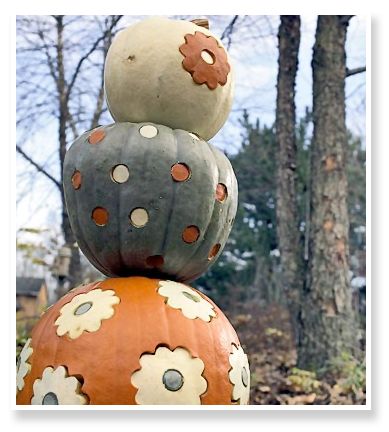
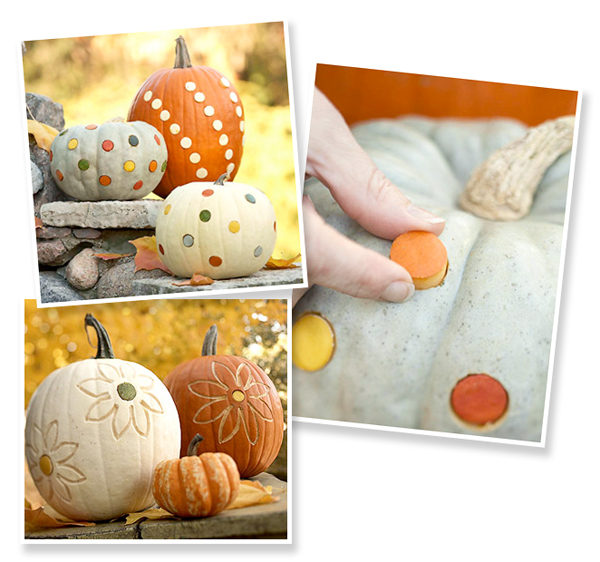
 You can use metal cookie cutters to add a new spin on an old tradition when it comes to “carving” pumpkins! To create this unique look is pretty simple, you will need to find pumpkins of unusual mix and match colors which should be available at any of your local nurseries or pumpkin farms. You may also want to buy a few extra pumpkins that you will just use for extra shapes of a certain color.
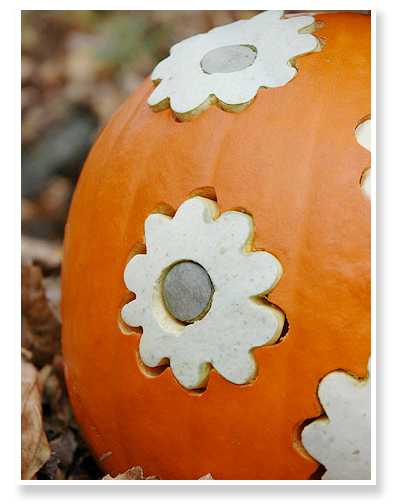
Before you begin using the metal cookie cutters, carefully cut a circle around the pumpkin stem, lift off the lid and remove the seeds from the lid and inside the pumpkin. Now it’s time for the fun part, using the metal cookie cutters! Take the metal cookie cutter of your choice and press the metal cookie cutter into the pumpkin. You can use a small piece of plywood to provide even pressure on the metal cookie cutter and press the cookie cutter straight through the inside of the pumpkin if it is thin. If this doesn’t work because your pumpkin is a bit thicker you can try using a rubber mallet, tap the metal cookie cutter firmly until at least half of the cookie cutter has pierced the pumpkin. You can then remove the metal cookie cutter with a pair of long nose pliers. Once the metal cookie cutter has been removed, you can then take a small serrated knife and follow the pattern made from the cookie cutter to cut out the shape. With one hand inside the pumpkin, push out cookie cutter shape from the pumpkin. Repeat this process with the your pumpkins of different colors. Finally, you can take the different color shapes made from the cookie cutter and place them in a different color pumpkin. 

Photo credits: Better Homes and Gardens
