Skip to search Skip to navigation menu Skip to main content Selecting option will reload page

Chocolate Filled Cookie Cutters

Chocolate_Filled_Cookie_Cutters
Every fall I start planning a couple of bulk gifts that I can have ready to hand out through the holiday season. They have to be easily constructed, inexpensive but still fun and preferably small so that storing them takes up little space in my small house. On my list this year are these cute little treats, chocolate filled cookie cutters. They are the perfect combination of a yummy treat with a lasting gift.

Things you need:
Chocolate melts
Dried cherries, cranberries, chopped nuts or broken up bits of candy cane
Metal cookie cutters
Freezer or Parchment paper
Cellophane Bags
Ribbon
Hang tags

Things to do:
1. Melt the chocolate in a double boiler or by pulsing with heat in the microwave. Stir in the dried fruit, nuts or candy.
2. Arrange the cookie cutters on the parchment or freezer paper, making sure the sit absolutely flat against the paper so that no chocolate leaks under the edges.

Chocolate_Filled_Cookie_Cutters2
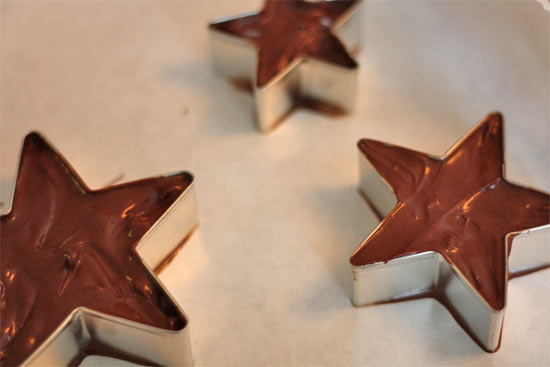
3. Holding the cooking cutter in place with one hand, carefully pour the melted chocolate mixture into the center of the cookie cutter until it reaches the top rim of the cutter.
4. Continue to fill the cookie cutters until you have used up all the chocolate. Allow the candy to harden completely before peeling up from the paper.
Chocolate_Filled_Cookie_Cutters3
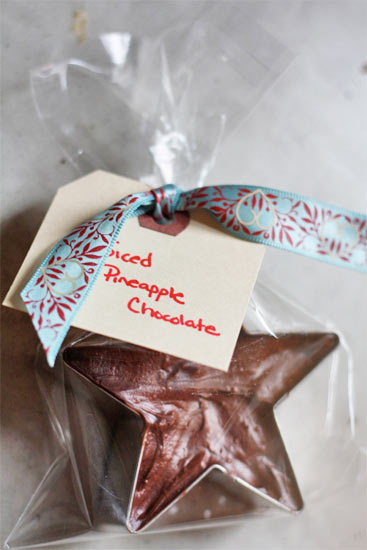
5. Slip each filled cookie cutter into a small clear gift bag and tie at the top with a ribbon and tag. Store in a cool place that’s easily accessible when you need a quick gift.
Continue Reading

Knit Holiday Wreath

Knit_Holiday_Wreath
After a long, hot summer, the cooler weather of fall is always a welcome thing. The sweaters come out of storage, coats hang on the peg and if your lucky enough to have a fireplace, the wood is stacked and ready for cozy evenings by the fire. Why not extend that cozy, comfy fall feeling to your door with a knitted wreath? Deceptively simple, this wreath will welcome your guests and your own family with a little fall goodness every time they approach your door.

Things you need:
Styrofoam Wreath Form
1 skein of worsted weight yarn in a fall color plus extra wool in a contrasting color
Size eight knitting needles
Fabric tape measure
Yarn needle

Things to do:
1. Measure the circumference of your wreath form by drawing your measuring tape around the side of the wreath. This will be the width of your knitted piece. Next place one end of your tape measure along the outer edge of the wreath and wrap around to find the length needed to cover the whole wreath, this will be the length of your knitted piece.
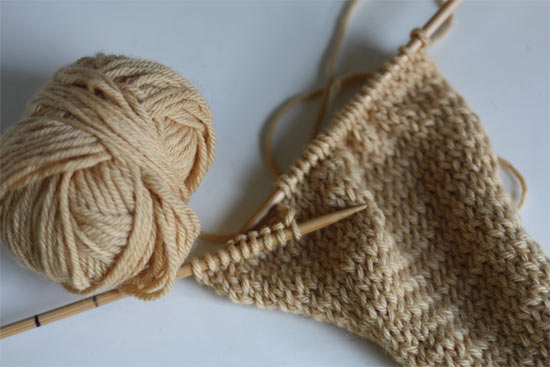
2. Knit a swatch of 2 x 2 inches to find your gauge. This will give you the number of stitches per inch you will get from your yarn. Use this to determine how many stitches to cast on. Err on the side of too small if it’s between two numbers, you want it to be tight on the wreath
Knit_Holiday_Wreath2
3. Cast on and knit across to the other end. Turn the piece over and purl the back side. Continue in stockinette stitch (right sides knit, wrong sides purl) until you have achieved the length needed to cover your wreath. Cast off loosely.

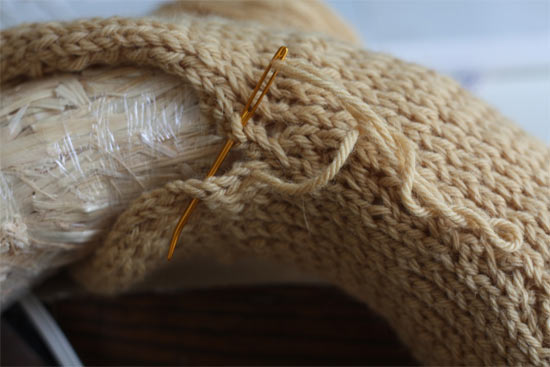
4. Wrap one end of the knitted piece around your wreath, using your yarn needle to stitch up the back. Continue to ease the fabric around the wreath, keeping the seam on the back side of the wreath, until you have covered the entire wreath. Stitch the two ends together to hold them in place.
Knit_Holiday_Wreath3
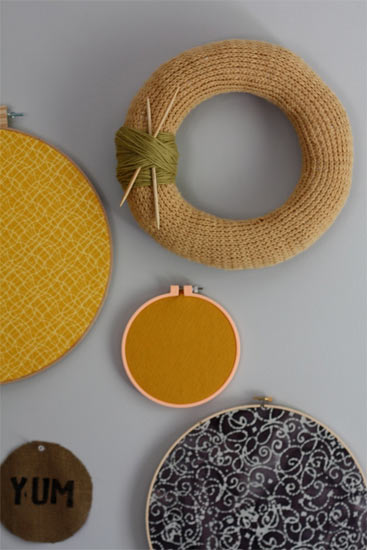
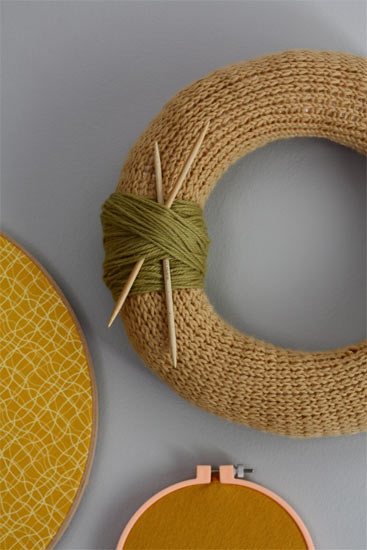
5. Use the remaining yarn to wrap around the wreath at the seam in place of a bow. Wrap a thick section of three or four inches or criss-cross the yarn for a more boy like look. This can also be done using a contrasting color of yarn. Insert a pair of DPN’s for decoration if you like.
Knit_Holiday_Wreath4

Continue Reading
Change Your Country
Please select your country, this will change the site to your country's currency:

Cancel