Skip to search Skip to navigation menu Skip to main content Selecting option will reload page

Children’s Art Handmade Soap

Childrens_-Art_Handmade_Soap
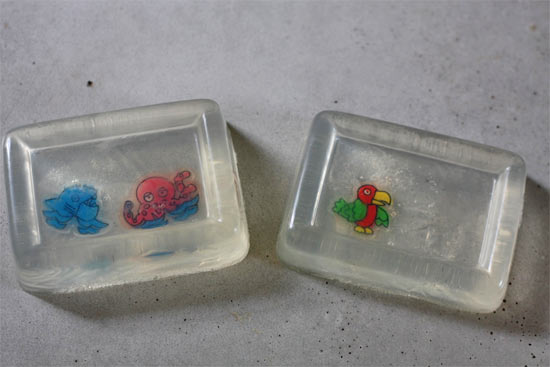
Every Year my kids bring home piles of art, and I struggle with what to do with it other than hang it on the fridge or slip it into their memory box. This year, I’m putting their art to good use as Christmas Gifts for the Grandparents with these little art handmade soap bars. If you’ve never made soap before, this is a great way to try your hand at it as Glycerin soaps are among the easiest to make. And just think how happy the grandparents will be to get something handmade by you and the kids!

Things you need:
Children’s Artwork
Transparency Paper
Scissors
Rubbing Alcohol in a spray bottle
Soap or candy molds
Glycerin soap base
Double boiler

Things to do:
1. Photocopy your artwork onto the transparency paper, sizing it down so that it will fit into your molds easily.
2. Cut around the edges of the artwork, trimming to a neat edge.
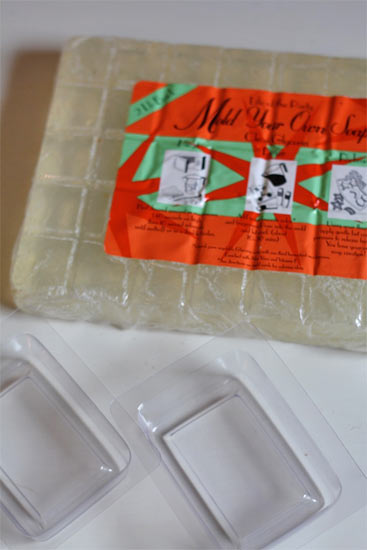
3. Melt the glycerin soap base in your double boiler over medium heat. You can add a few drops of essential oil here if you want scented soap.
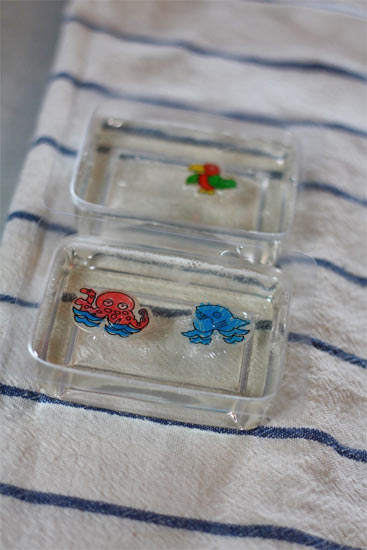
4. Lightly spray the molds with the rubbing alcohol and fill halfway with the melted soap. Let the soap set up for 30 seconds before centering the artwork in the mold. Spray lightly again with alcohol and carefully fill the molds the rest of the way.
Childrens_-Art_Handmade_Soap2
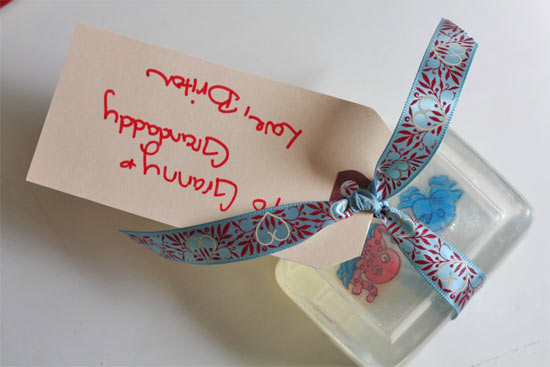
5. Allow the soap to harden completely before removing from the molds. The artwork should appear suspended in soap, perfect for the guest bath at the grandparent’s house. (Hint! This also makes a great teacher’s gift!)
Childrens_-Art_Handmade_Soap3
Childrens_-Art_Handmade_Soap4

Continue Reading

Paper Mache Tree Advent Calendar

Tree_Advent_Calendar
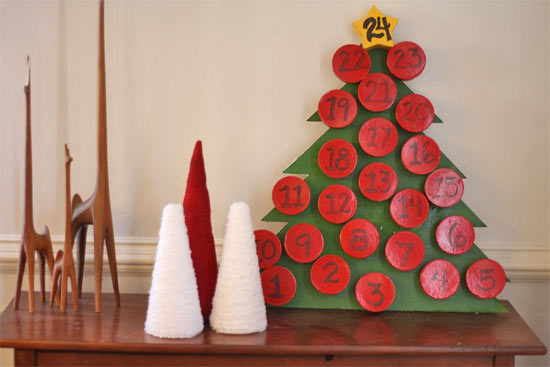
Although I’m partial to the boxful of Christmas ornaments that we’ve collected over the years, my kids favorite holiday decoration is hands down the advent calendar. Or I should say advent calendars, since on top of the homemade variety; they each receive an old-school chocolate behind the doors version from their grandmother every year. Every morning during December begins with them rushing down the stairs to see what today will bring from their countdown calendars. Since they are already getting a piece of candy each, the mama-made version usually holds a small gift, but this project could be scaled up or down to suit whatever treat you want (and however much space you have!)

Things you need:
1/4-inch plywood, 2 feet by 4 feet (or slightly bigger than the finished size you desire)
Jigsaw
Safety goggles
Acrylic paints in red, green, and gold/yellow
Paintbrushes
Number decals or stamps
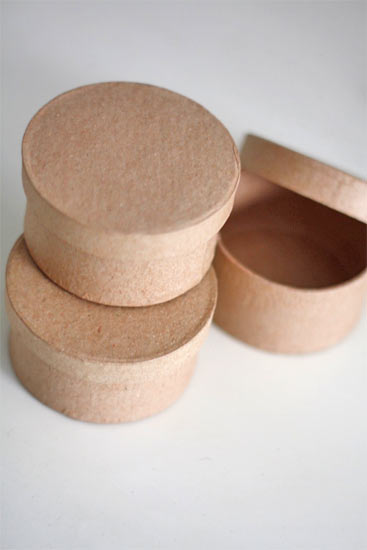
23 round paper mache boxes (3-inch) and 1 star paper mache box
Hot glue gun and glue sticks
Picture hanging supplies (optional)

Things to do:
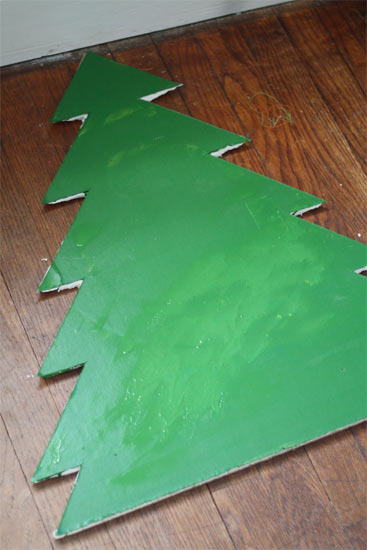
1. Cut a basic Christmas tree shape out of your plywood. If you’ve never used a jig saw, ask a friend to help and take the usual safety precautions for power tools.
2. Paint the entire tree green, this may take a few coats, and allow the paint to dry completely.
Tree_Advent_Calendar2
3. Coat the tops and sides of the cardboard boxes with red paint and the star box yellow/gold.
Tree_Advent_Calendar22
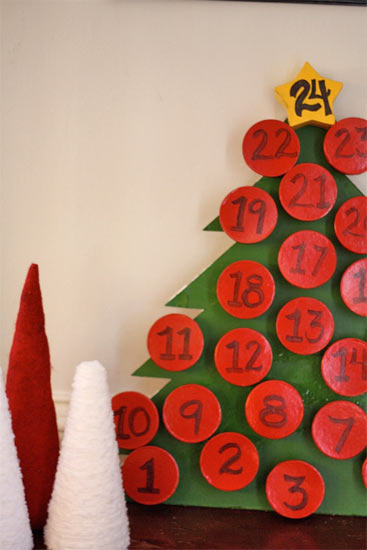
4. Once the boxes are dry, stamp or apply number decals to the top of each lid, numbering the boxes 1-24. (the star should be #24)
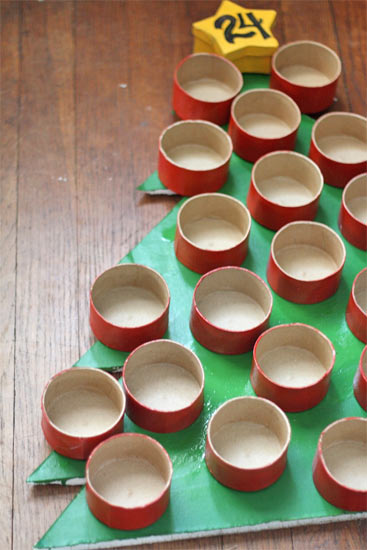
5. Starting with box #1 at the very bottom, spread your box ornaments” out over the tree. Glue the bottom of each box in place and fill with your advent goodies before replacing the tops.
Tree_Advent_Calendar4
6. Hang in a safe but kid-accessible spot.
Tree_Advent_Calendar5

Continue Reading
Change Your Country
Please select your country, this will change the site to your country's currency:

Cancel