Skip to search Skip to navigation menu Skip to main content Selecting option will reload page

Wax Paper Window Garland

Wax_Paper_Window_Garland
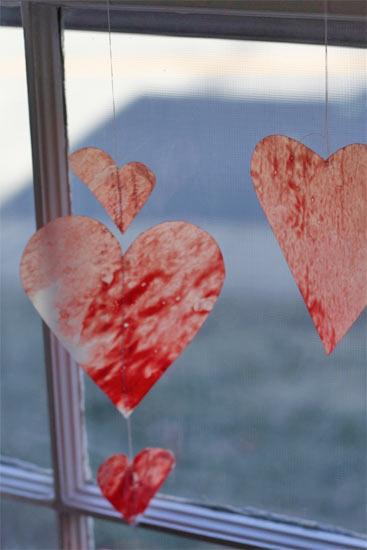
Valentines day often gets the short end of the stick when it comes to decorating, partly because it’s so short and partly because there’s not a lot out there that isn’t, well, tacky. But these are fun and easy and surprisingly pretty considering their humble materials. And hint! This is a great kid project! Let them to the crayon grating (careful of the fingers) and watch the ironing (they’ll love it! It’s magic!) and help cut the hearts!

Things you need:
Waxed paper
Pink and red crayons
Grater
Iron
Scrap paper
Thread and needle
Scissors

Things to do:
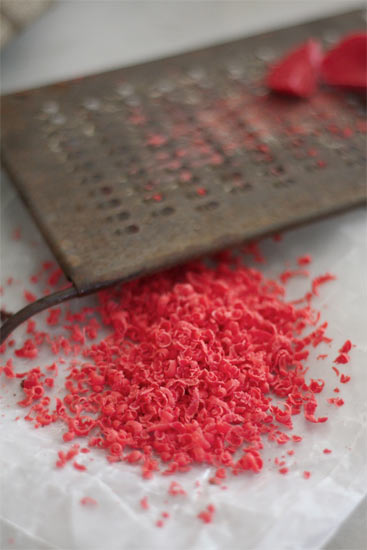
1. Grate the crayons until you have a good pile of crayon bits.
Wax_Paper_Window_Garland2
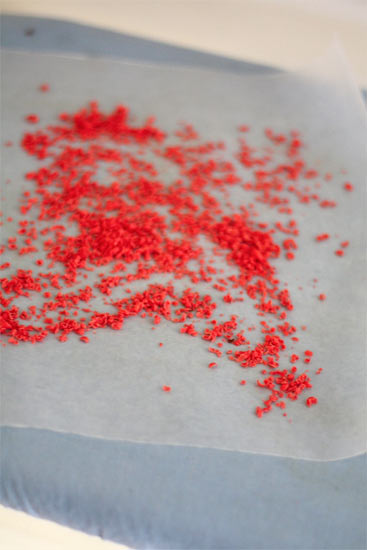
2. Sprinkle onto a piece of wax side up waxed paper. Cover this with another piece, this time wax side down (so the crayon pieces are between the wax layers)
Wax_Paper_Window_Garland3
3. Sandwich these between two pieces of scrap paper and iron with a medium iron until the crayon bits are well melted.
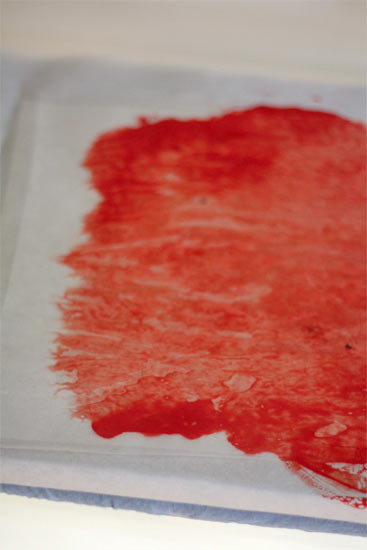
Wax_Paper_Window_Garland4
4. Cut the waxed paper into hearts of various sizes.
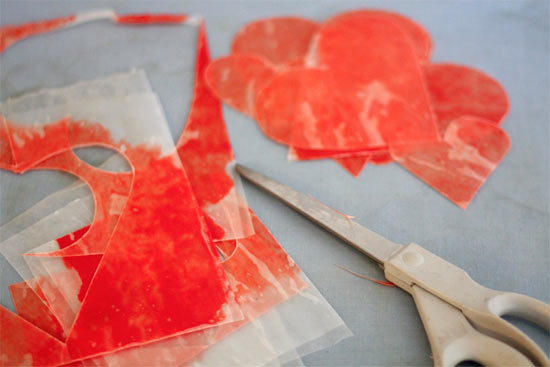
Wax_Paper_Window_Garland5
5. Using the needle and thread, stitch the hearts into a chain, adding an extra strand at the top for hanging. Pin at the top of a window and hang down to catch the light and spread a little love.
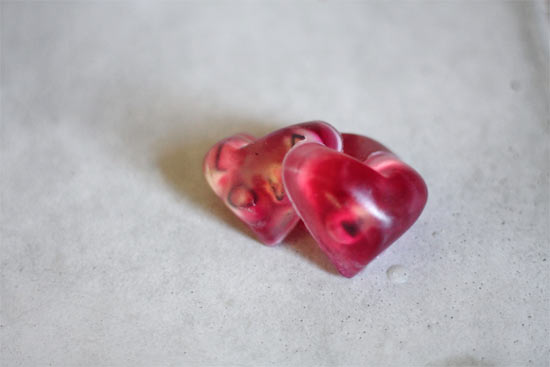
Continue Reading

Love Heart Handmade Soap

Love_Soap
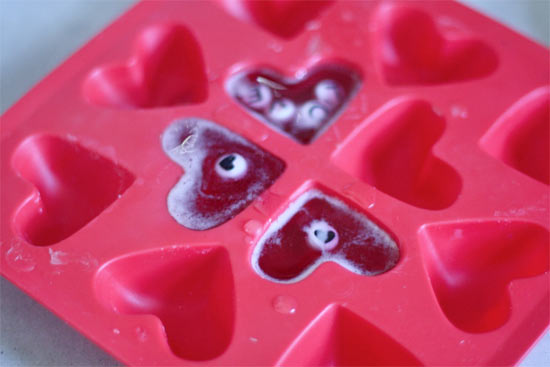
Give some out of the ordinary love to someone this Valentines day with these sweet little soaps. Glycerin soaps lend themselves to a variety of applications because of their clarity so you can embed a variety of things in the soap during the molding process. Think beads, paper cutouts and even tiny photographs. These are also fun for your own guest bathroom for some February fun!

Things You Need:
Glycerin soap base
Soap colorant (optional)
Letter or heart shaped beads
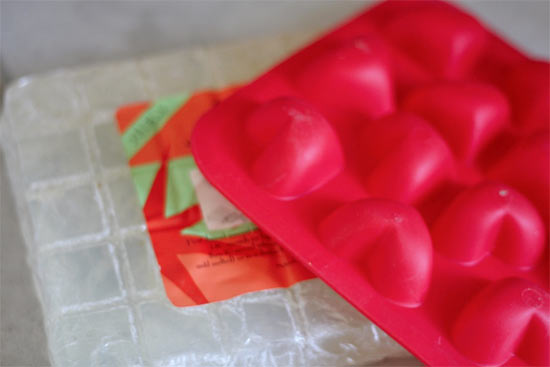
Heart shaped ice cube tray or candy mold
Double boiler

Things to do:
1. Cut off enough soap to roughly fill your molds and set it to melt in the double boiler.
Love_Soap2
2. Put your molds on a heat safe, spill proof surface and have your beads ready to go.
3. Fill each mold halfway. Allow the soap to set up for a few minutes and then nestle the beads in the mold where you want them.
4. If you are adding colorant, add it at this point so that the bottom half of the soap is a different color (this sets off the beads nicely, but you can just go clear too!)
Love_Soap3
5. Fill the molds the rest of the way and allow them to set up completely before removing and wrapping up for gifts!

Continue Reading
Change Your Country
Please select your country, this will change the site to your country's currency:

Cancel