Skip to search Skip to navigation menu Skip to main content Selecting option will reload page

Magnetic Chore Coins

Magnetic_Chore_Coins
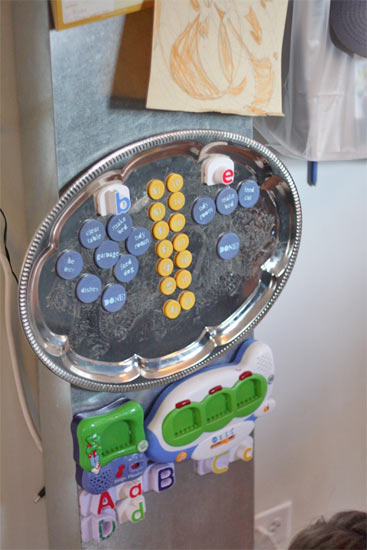
I love the idea of a chore chart but I don’t love what a chore chart looks like. Don’t get me wrong, I know they are useful and that kids like colorful things, but having rainbow stickers pasted on my wall isn’t my favorite thing. Instead, we use painted chore coins” in our house with a magnetic back. This system can be used on any metal surface, here we used an old serving tray so that the chart” can be toted to the table or up to the kids rooms when they are at work and hung easily out of the way when it’s not in use (the back of the tray is magnetized as well!)

Things you’ll need:
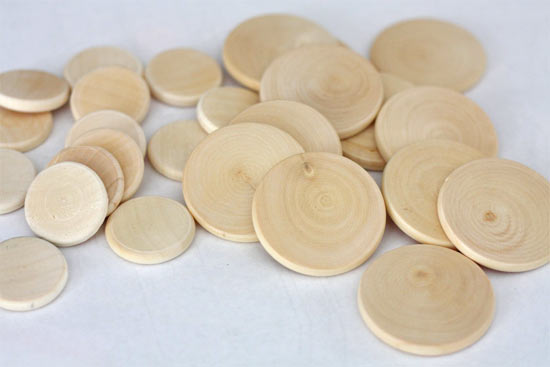
Wooden Coins, two sizes
Paint, two colors
Sticky backed magnetic sheets
Vinyl letters, a pen or stencils

Things to do:
1. Coat both sides of the coins in paint with each size coin being a different color. Here we made a larger coin for each chore and a smaller chore for each day of the week.
Magnetic_Chore_Coins2
2. Write, paint with stencils or apply letter stickers to each of the larger coins to indicate which chore or duty your child needs to fulfill. Also create a larger coin that says DONE!
3. Add a monetary amount (25 cents, $1, your choice) to the smaller coins” for the amount your child earns for each day of completed chores.
4. Cut a square of magnetic sheet for each coin and attach it to the back side.

Magnetic_Chore_Coins3
5. Spread your coins out on a magnetic surface. As your child completes a chore they can move it down with the DONE! Coin. At the end of the day they receive their money coin for the day to help keep track of what they earn over the course of the week and can add it to the DONE! area. (This is great for money skills too!)
Continue Reading

Save A Shirt! … with a little crafting of course

Save_A_Shirt
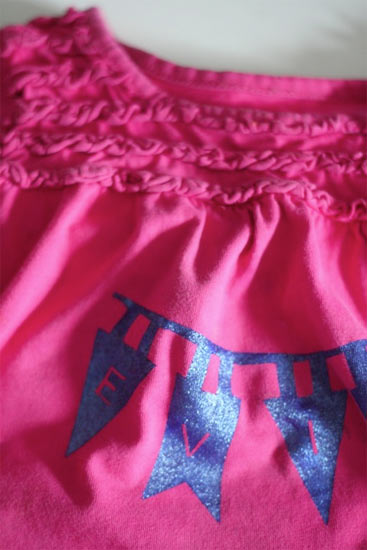
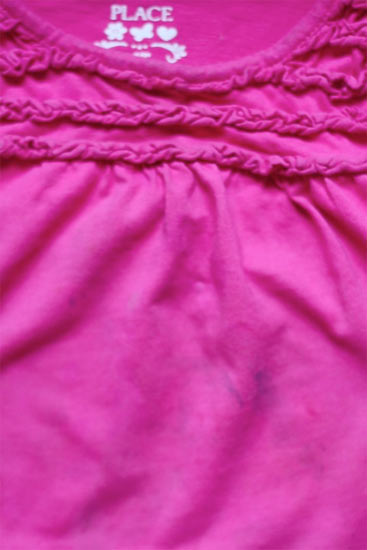
My daughter has reached the age where she seems to ruin her t-shirts within hours of putting them on for the first time. Between preschool art time, lunch and her dirt-princess play in the garden, every shirt she owns is covered with splotches and stains. But instead of constantly throwing them out, I’ve started giving them new life with some carefully places stencil painting. It’s a great money saver and give me to opportunity to make her shirts a little more fun than just plain old t’s.

Things you’ll need:
T-shirt (you can use a new one too!)
Fabric paint
Foam brush
Freezer paper
Craft knife or digital cutter
Iron

Things to do:
1. First, look at the stains, decide which areas will need to be covered and make a small mark on your paper to help you place the stencil shapes.
Save_A_Shirt2
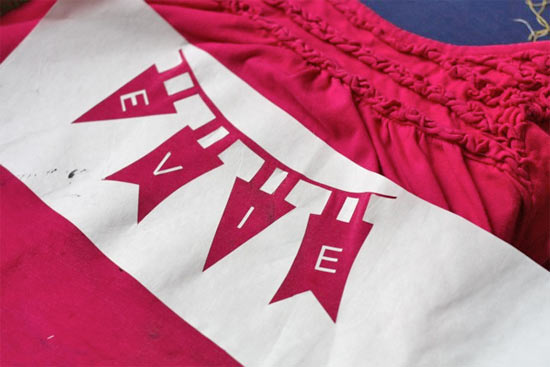
2. Cut your design, using either a craft knife and traced shapes or a digital or die cutter, out of the freezer paper. Remember you want to take away the area you want painted so make sure the remaining edges are smooth.
3. Press the stencil into place, plastic coating side down, with a warm iron, paying particular attention to the edges.
Save_A_Shirt3
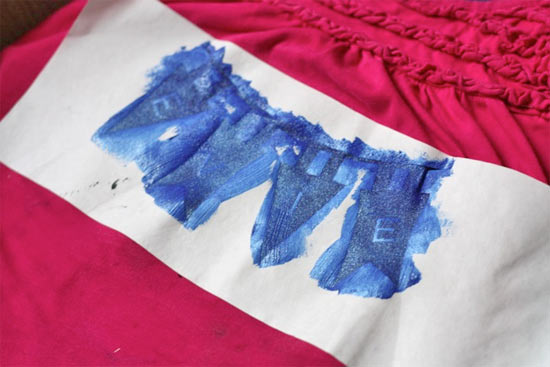
4. Paint a light coat of fabric paint onto the stencil, making sure the exposed fabric is evenly coated. Allow the paint to dry slightly and add a second coat if needed.
Save_A_Shirt4
5. Once the paint is dry, peel the stencil off of the shirt and heat set the fabric paint according to the directions on the package.

Continue Reading
Change Your Country
Please select your country, this will change the site to your country's currency:

Cancel