Skip to search Skip to navigation menu Skip to main content Selecting option will reload page

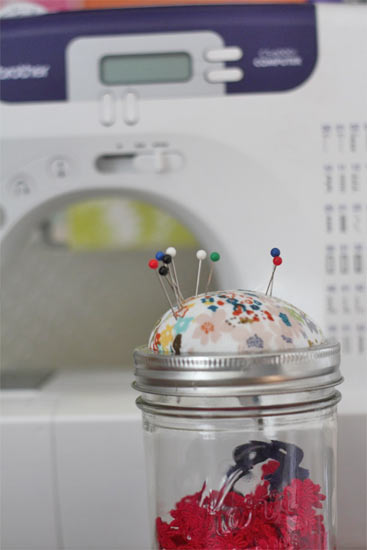
Pin Cushion Jar

Pin_Cushion_Jar
I use jars a lot in my craft space. They are an excellent, inexpensive and easy to use storage solution for all the little bits that we like to create with. They are especially useful in sewing, the perfect way to contain buttons, snaps, spools of thread and lengths of trim. So adding a pincushion to the top of one (or more) of my jars just made good sense.

Things you’ll need:
Wide mouth canning jar with ring and lid
Cotton fabric, about a 12 x 12-inch piece
Glue gun and glue sticks
Scissors
Batting

Things to do:
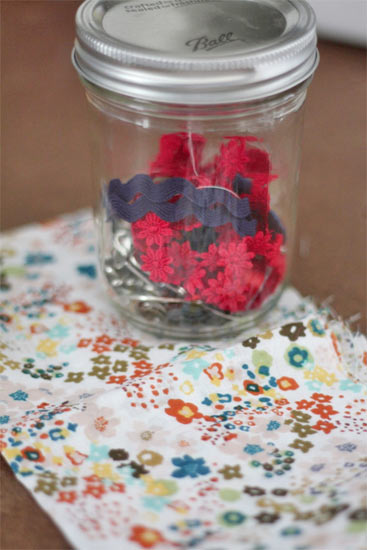
1. Cut a piece of fabric about 2-inch larger all around than the flat lid from your jar.
Pin_Cushion_Jar2
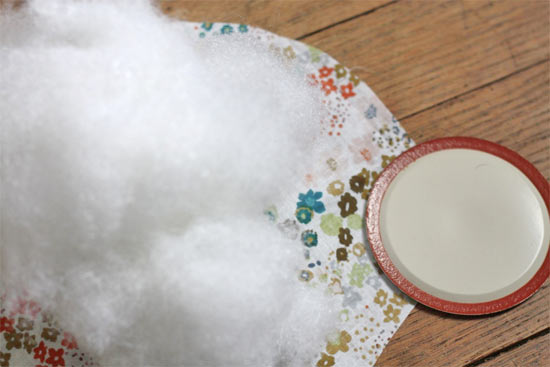
2. Pull a large wad of batting out of your stash, about twice the size of the lid. Place this in the center of the fabric.
Pin_Cushion_Jar3
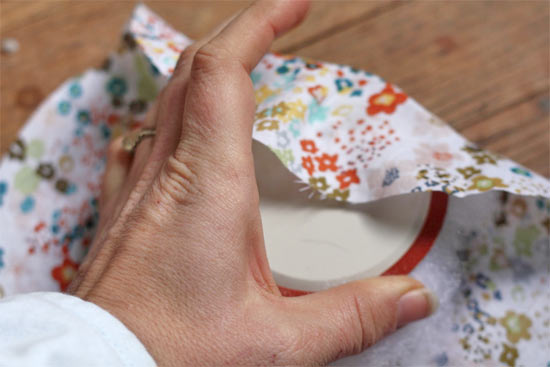
3. With the lid squarely in the center of the batting, start pulling the sides of the fabric in, tightly but not overly so, and attaching to the underside of the lid with a dot of glue. You don’t want too much excess fabric or glue so try to attach it close to the edge and trim off any excess fabric as needed.
Pin_Cushion_Jar4
4. Work around the edge of the lid, checking that the top has an even bulge as you go, until the fabric is secure.
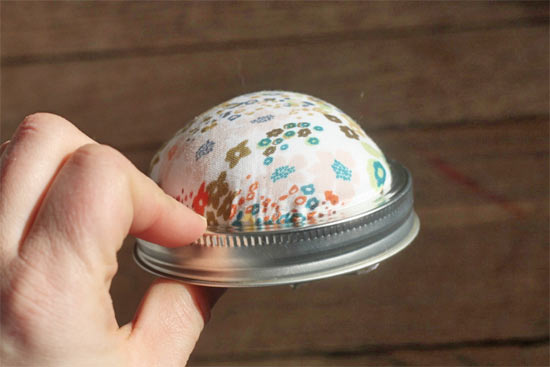
Pin_Cushion_Jar5
5. Cut a circle just smaller than the lid and glue it in to cover the trimmed edges of fabric.
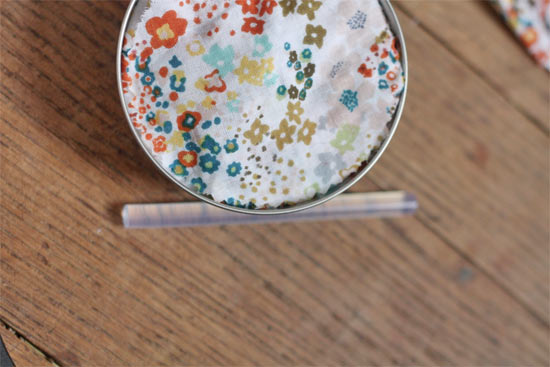
Pin_Cushion_Jar6
6. Insert the lid into the ring and screw into place.
Continue Reading

Heat Transfer Sweater

Heat_Transfer_Sweater
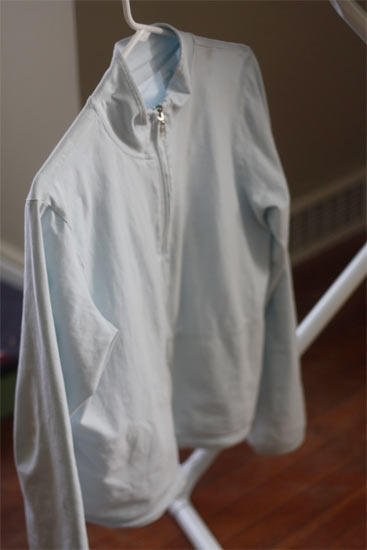
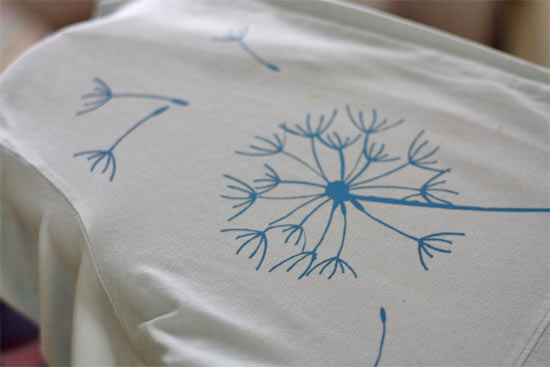
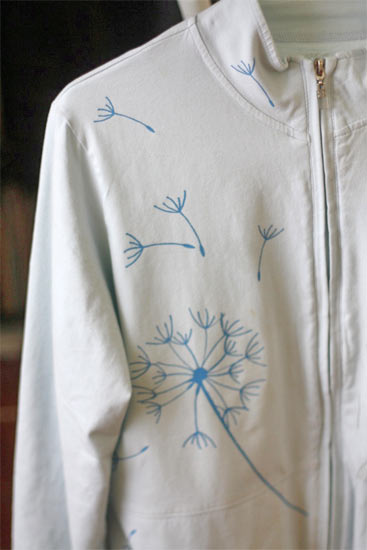
Every morning I get up with my kids, throw on some yoga pants, a tee and a zip up running jacket and head out to the bus. Which is all very well and good. Warm, comfortable, the perfect way to start my day. But oh, so boring. The jacket in particular. Because soft and comfy as it may be, it’s pretty darn plain. And who wants to start the day off feeling plain, right? Well heat transfer to the rescue. If you don’t have a digital cutter, you’ll want to stick with larger shapes since you’ll be hand cutting, but don’t let that scare you off. Grab some scissors and a design you like and get to work. If you do have a digital cutter, well, the sky’s the limit on how intricate you go.

Things you’ll need:
Heat transfer material (like freezer paper)
Scissors or digital cutter
Plain cotton or spandex sweater
Iron
Pressing cloth
Ironing board

Things to do:
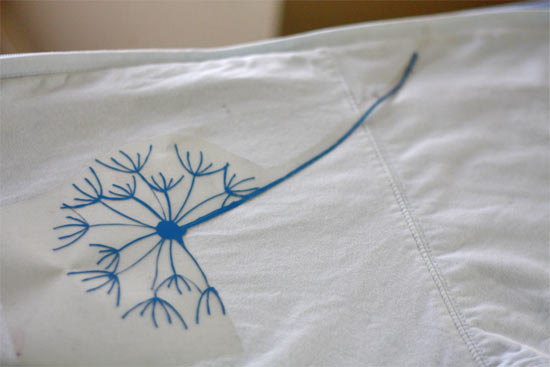
1. Start by cutting out the pattern of your choice. Think about using things that wrap around for more interest, use the sleeves or the collar, Get creative and get cutting!
Heat_Transfer_Sweater2
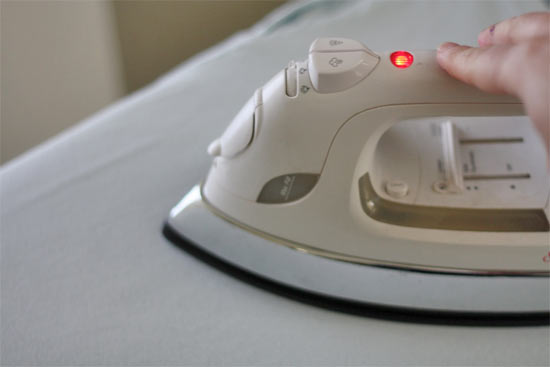
2. Give the whole sweater an initial pressing to make sure the surface is smooth (start with a clean sweater too!)
Heat_Transfer_Sweater4
3. Peel off and arrange the image on your sweater and carefully lay the pressing cloth on top.
Heat_Transfer_Sweater5
4. With your iron set according to the directions on the packaging, press the image on one section at a time until you have the whole thing covered.
Heat_Transfer_Sweater6

Continue Reading
Change Your Country
Please select your country, this will change the site to your country's currency:

Cancel