Skip to search Skip to navigation menu Skip to main content Selecting option will reload page

Heritage Art

Heritage_Art
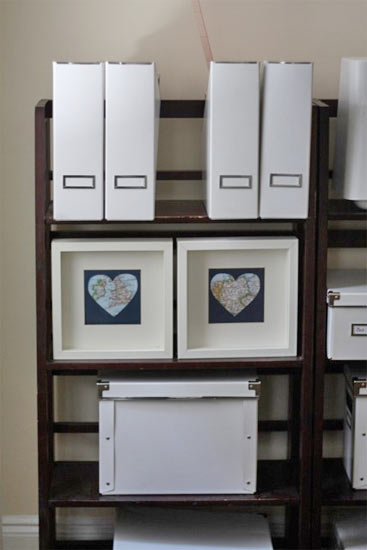
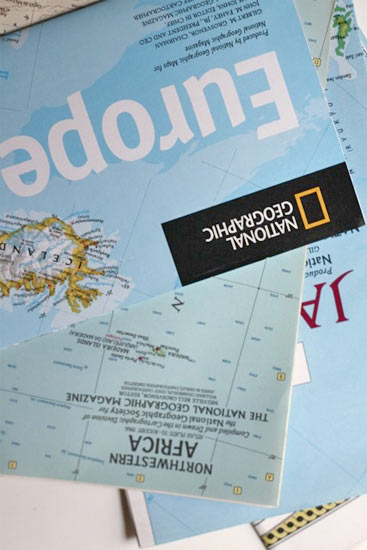
A great way to display your family history, these little art pieces are simple and pretty. Alternatively you can use this technique to display places you have traveled, places you’d like to see or spots that have special meaning in your life. Online auction shops and used book stores are a great source for inexpensive maps for this project!

Things you’ll need:
Maps
Matted Frame
Solid colored cardstock + a scrap piece
Scissors
Sharpie marker pen
Spray adhesive

Things to do:
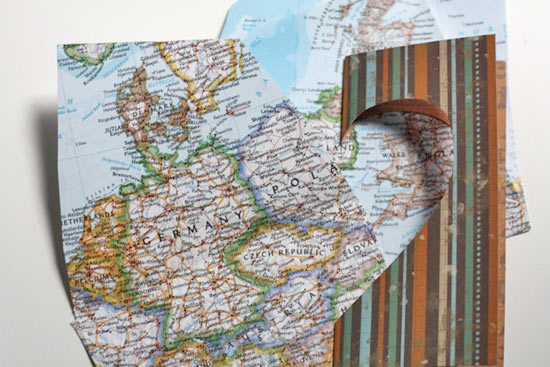
1. Fold your scrap piece of cardstock in half and cut a heart big enough to over most of the spot on the map you want to highlight but still small enough to fit into your mat.
Heritage_Art2
Heritage_Art3
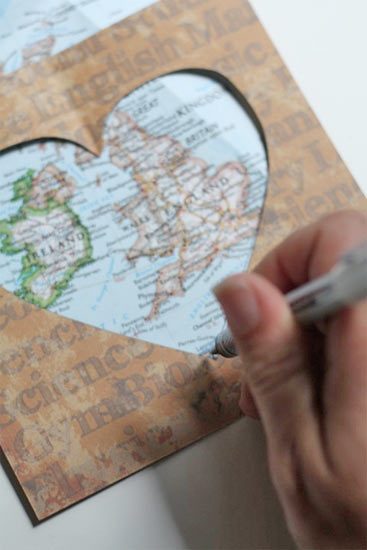
2. Trace the heart onto your map.
Heritage_Art4
3. Carefully cut out the heart with smooth, even edges.
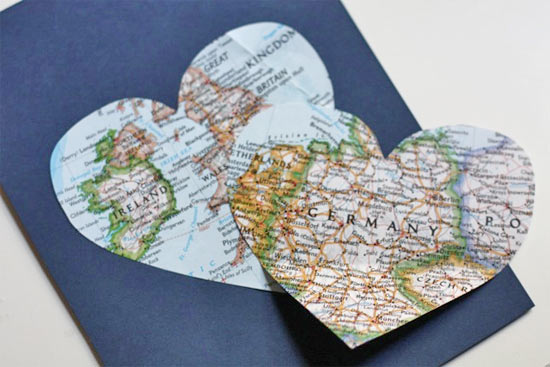
4. Coat the back side of your map heart with the adhesive and smooth onto your cardstock.
Heritage_Art5
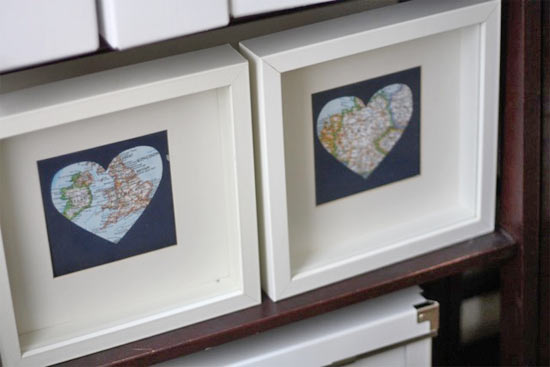
5. Pop into your frame and secure in place.
Heritage_Art6

Continue Reading

DIY Hot Glue Stamp

DIY_Hot_Glue_Stamp
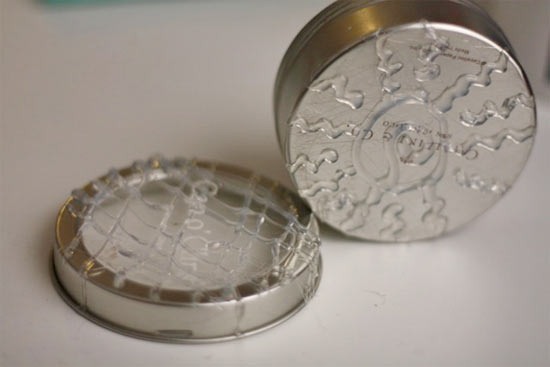
Here is a simple way to create fun, rustic stamps using materials you have sitting around the house (or in the recycling bin!) Perfect for kids stamps” but also great for adding texture to projects or just creating a rustic image, these stamps can be as simple or as complicated as you want to get. If you don’t want to free hand the image, try drawing the shapes you want on the lids with a sharpie before adding the glue.

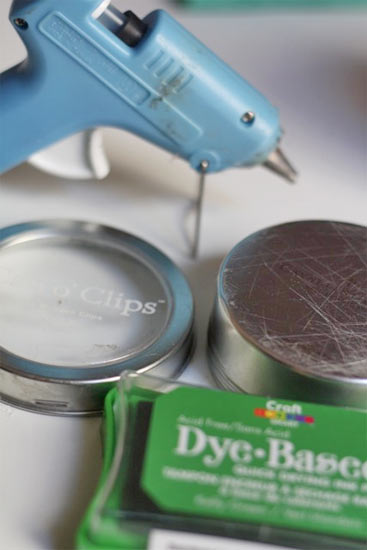
Things you’ll need:
Plastic or metal jar lids with flat tops
Hot glue gun and glue sticks
Stamp pad

Things to do:
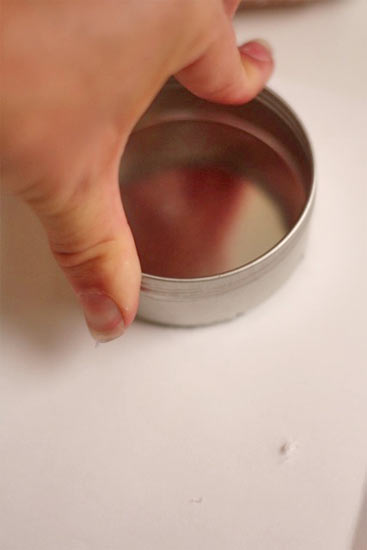
1. Allow your glue gun to warm up fully before getting started. You want a good flow so trying to start before the glue is really melting will end up causing lots of mistakes.
DIY_Hot_Glue_Stamp2
2. Decide on the general shape of the image you want. Glue is, by nature, going to come out squiggly. You can create straight lines but think about using the squiggles as part of your shapes.
3. Draw” the shape you want with the glue on the top of the lid. Try to keep the thickness of the glue as even as possible as it comes out. Allow the glue to dry.
DIY_Hot_Glue_Stamp3
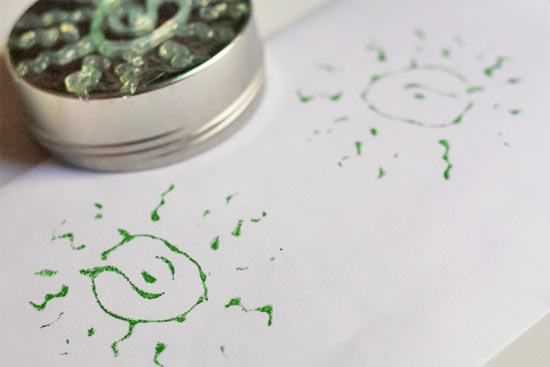
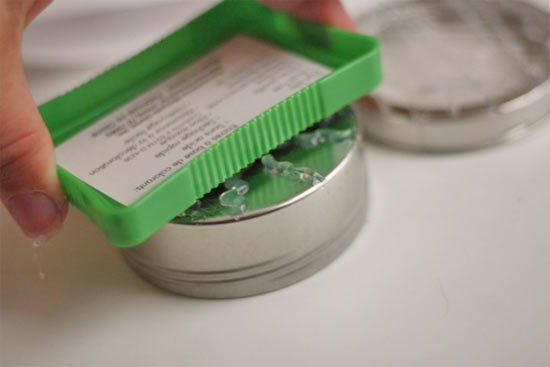
4. Rub the stamp pad over the glue, making sure the stamp” is well coated before using. Rinse with water after use.
DIY_Hot_Glue_Stamp4
DIY_Hot_Glue_Stamp5

Continue Reading
Change Your Country
Please select your country, this will change the site to your country's currency:

Cancel