Skip to search Skip to navigation menu Skip to main content Selecting option will reload page

Handprint Family Tree

Handprint_Family_Tree
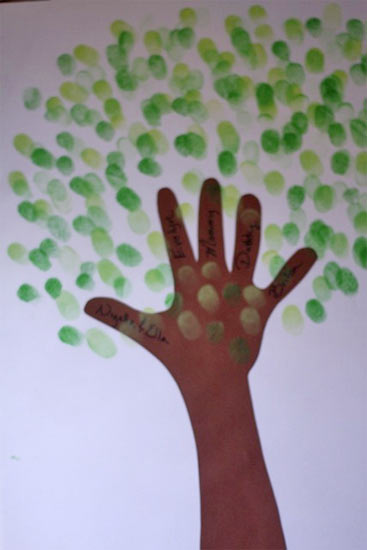
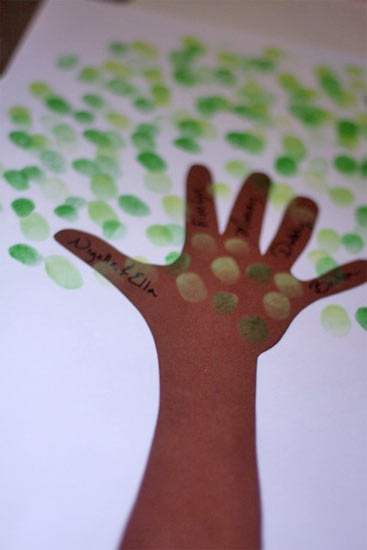
Record your family tree with a little help from the smaller hands in your house with this sweet project. If you don’t have brown cardstock, this can also be done with brown craft paint painted on the hand and arm and pressed right onto the white paper!

Things you’ll need:
Brown cardstock 8 1/2 x 11
White Cardstock 11 x 17
Scissors
Green acrylic paint or ink pads (several shades would be best)
Black marker
Glue stick or spray glue
Pencil

Things to do:
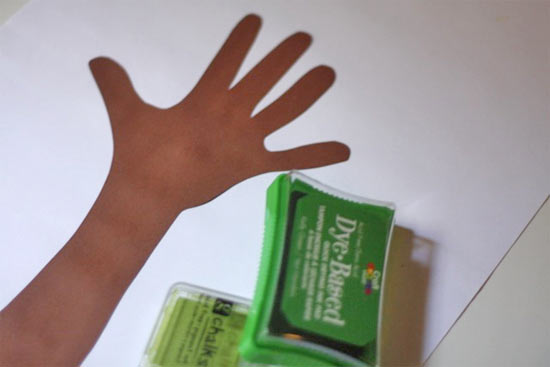
1. Track your child’s hand and arm onto the brown cardstock and cut out carefully.
2. Glue the tree” onto the white cardstock, centering the arm or trunk” on the bottom edge.
Handprint_Family_Tree2
3. Write the names of your family members onto the fingers or “limbs” of the tree. If you need more than five fingers, cut a second hand from the paper and add it to create a larger tree”.
4. Paint leaves around the tree using fingerprints dipped in ink or paint.
Handprint_Family_Tree3

Continue Reading

Pom Pom Garland

Pom_Pom_Garland
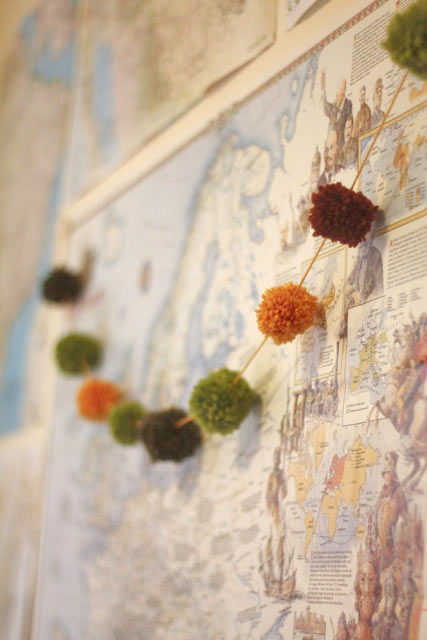
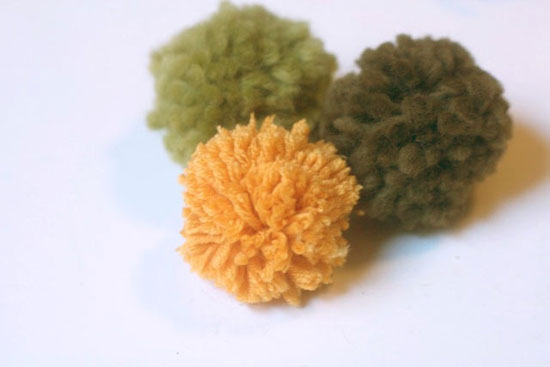
Pom poms are great for all sorts of things. Crafts, gift toppers, cat toys, and they make super cute garlands for your home.

Things you’ll need:
Pom Poms, 1 for every six inches of garland you want
Yarn, DK or Worsted weight
Yarn needle
Scissors

Things to do:
1. Cut a piece of yarn twice as long as the length you want to cover. Tie a loop in one end. Thread the other end with the yarn needle.
2. Thread the needle through the first pom pom and slide it to a point about six inches from the loop. Thread the needle back through the center of the pom pom about 1/4 inch away from where it exited and pull tight. Again, thread the yarn back through the pom pom, close to the original exit spot. This secures the pom pom into that spot.
Pom_Pom_Garland2
3. Thread the next pom pom to a point six inches from the last and repeat the process. Continue to thread and secure the pom poms onto the yarn until you have the length of garland you are after. Remove the needle and tie a loop in the free end.
4. Use the loops to hang the garland.

Continue Reading
Change Your Country
Please select your country, this will change the site to your country's currency:

Cancel