Skip to search Skip to navigation menu Skip to main content Selecting option will reload page

Less Mess Sponge Paints


My little girl loves to fingerpaint. And while I love that she loves to paint, I don’t love the inevitable mess of fingerpainting. To help with this problem, we’ve started making sponge pallets for her painting sessions, which cuts down on the mess and the drying time! Less globs = faster drying.

Things you’ll need:
Plain kitchen sponge
Scissors
Tempera paint or finger paint
Coffee can lid
Hot glue gun and glue sticks (optional)

Things to do:
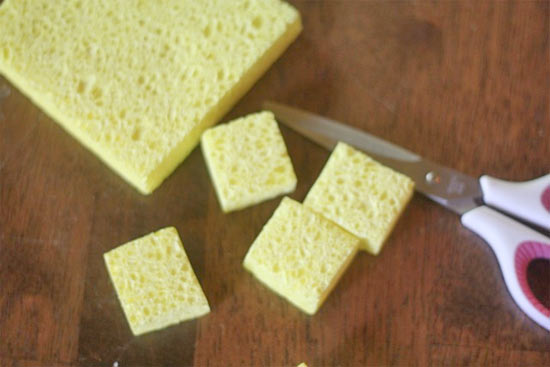
1. Cut the sponge into 1-inch by 1-inch squares.
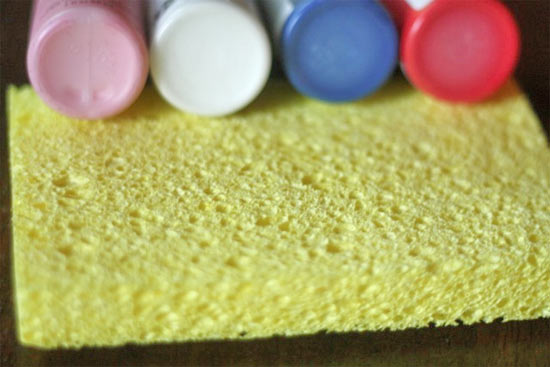

2. Using a dot of glue, secure the squares of sponge to the underside of the lid. This helps keep the sponge in place while your little one paints (less chance of it dropping on the floor!)
3. Drop a generous amount of paint onto the sponger and massage it slightly so that the paint soaks into the sponge material.
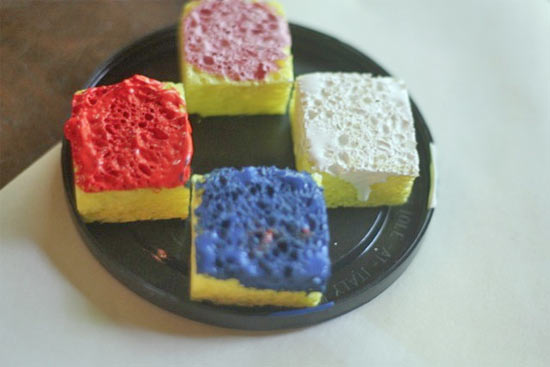
4. Allow your little one to depress the sponge square with their fingers and paint away!
Continue Reading

Upcycle: DIY Emergency Mini-Candles


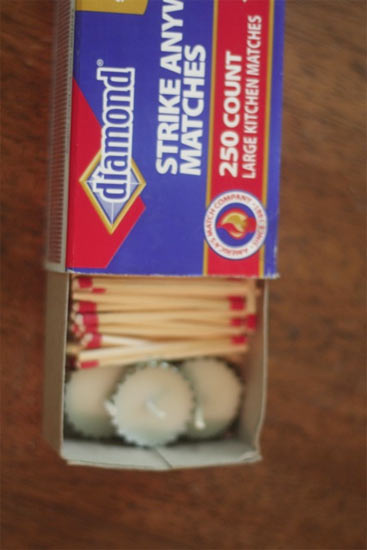
With fall approaching, we will be heading into stormy weather at our house and that means occasional power outages. While we always have a flashlight ready to go and candles safely stowed for these occasions, it’s those first few minutes of dark that can be the most frustrating. Finding that flashlight or the first candle and getting it lit. This year we are ready with a store of mini candles that fit right into our matchbox. Perfect for emergency kits, cars and even purses, these candles burn for about forty five minutes, giving you ample time to get more candle lit and flashlights out and in use.

Things you’ll need:
Old, leftover wax candles
Candlewicks
Bottle caps
Double boiler
Scissors

Things to do:
1. Heat a chunk of wax in your double boiler until it is liquid.
2. On a covered work surface, lay out your bottle caps.
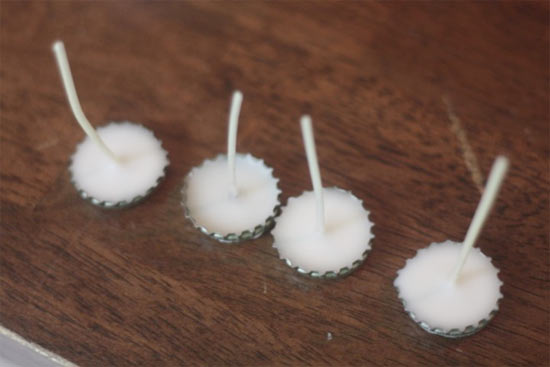
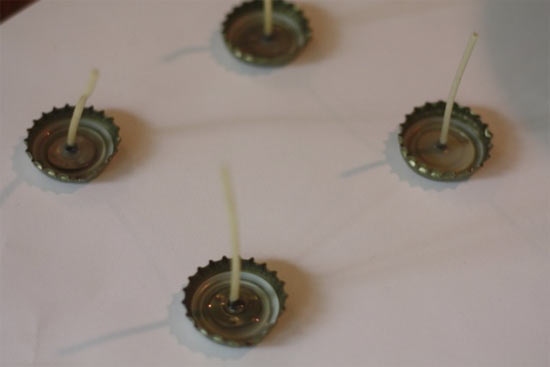
3. Dip the ends of the wicks into the melted wax and set into the center of the caps, holding them in place for a moment while the wax hardens.

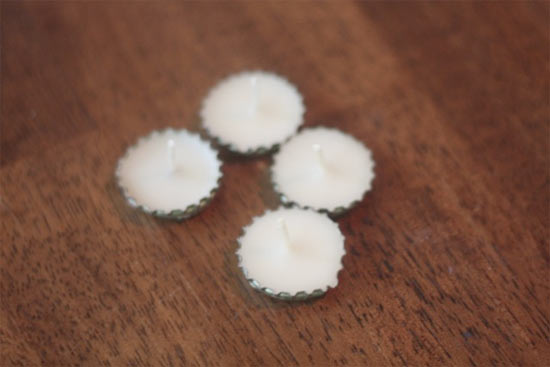
4. Pour wax to just fill the cap, if it spills over you can scrape away the excess once it’s cooled.

5. Allow the wax to cool and trim the wicks to about 1/4 inch in length.

Continue Reading
Change Your Country
Please select your country, this will change the site to your country's currency:

Cancel