Difficulty level: Beginner
Time required: 45 minutes
Age range: 6 and up with optional adult supervision
Things you’ll need:
Set of crayons
Pumpkin
Glue (or hot glue and glue gun)
Wax paper
Hair dryer
Things to do:
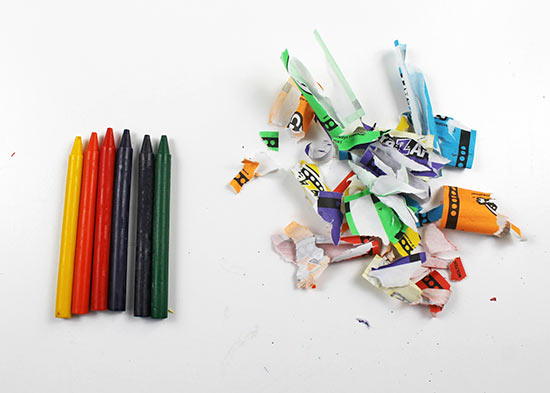
1. Peel the wrappings from each crayon.
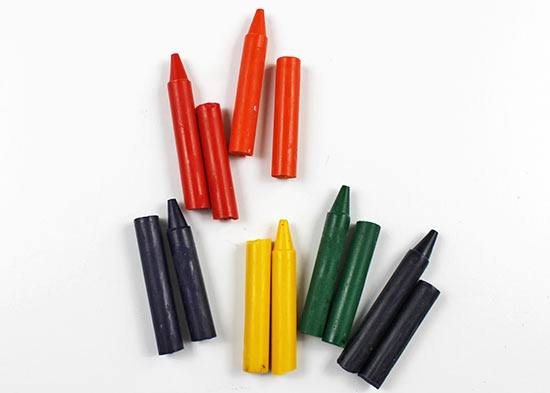
2. Break each crayon in half. It doesn’t have to be perfect!
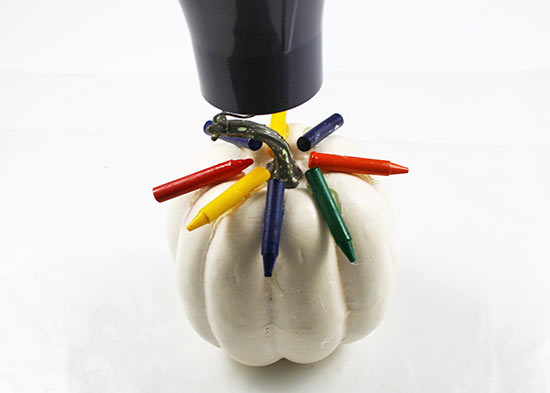
3. Place the pumpkin on a sheet of wax paper. Add a thin line of glue to one of the crayons, then place the crayon on top of the pumpkin, making sure the crayon extends out from the stem. We placed the crayons in the indented ridges of the pumpkin so that they are more stable. You may also need to hold the crayon in place for a few minutes so that the glue begins to dry.
Tip: If you do not want to wait for the glue to dry or if you are working with an older child, you can alternately use a hot glue gun to attach the crayons.

4. Repeat step 3, placing crayons around the pumpkin and leaving about 1/2 ” of space between each crayon, until you have filled the pumpkin with crayons. You may not use all your broken crayons, so put those aside for a second pumpkin or another project.

5. Grab a hair dryer and turn it on high. Aim it directly on top of the pumpkin to begin melting the crayons. This process can take a while, so be patient.
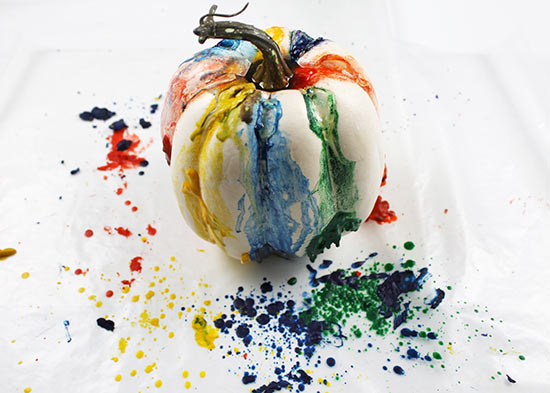
6. The crayons will begin to slowly drip down the pumpkin. Continue aiming the hair dryer toward the stem.
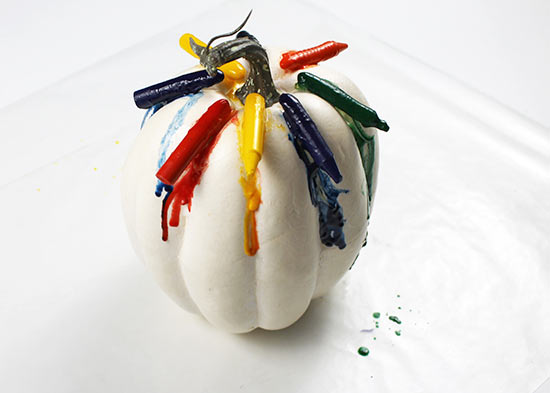
7. Some crayons may be completely melted, while others are not. As you spot the crayons that are not melted, aim the hair dryer toward those while still keeping the heat straight above the pumpkin.
Tip: If you want the colors to mix for a creepier, spookier look, aim the hair dryer toward the side of the pumpkin so that the colors will start to mix.
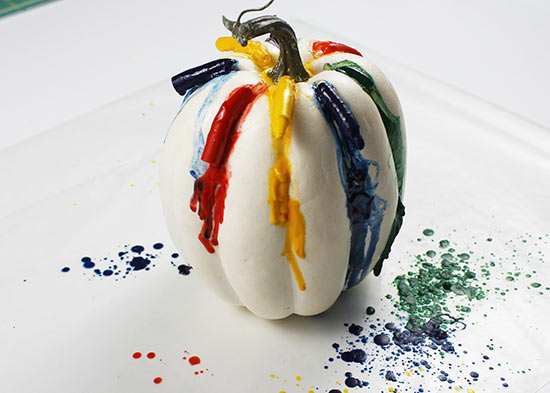
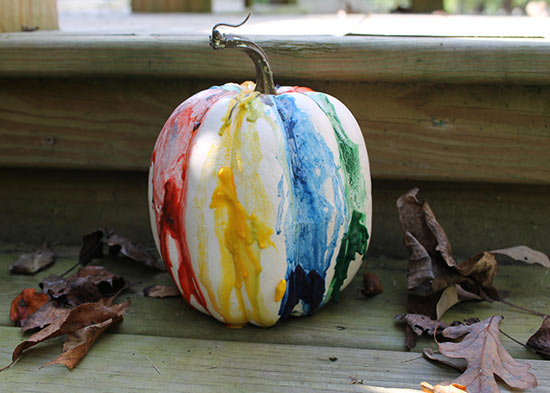
8. When all the crayons have melted, allow the crayons time to set before displaying your new work of art.