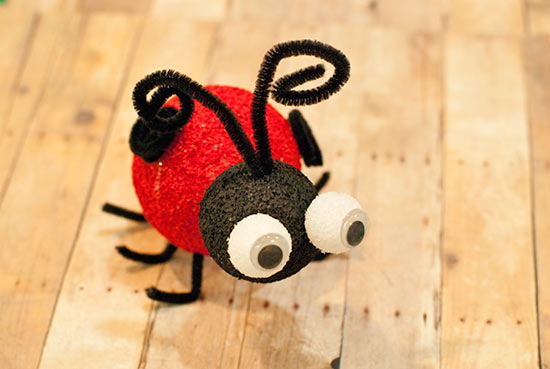
Enjoy creating this whimsical Styrofoam lady bug – just some paint, pipe cleaners and little imagination and this cute bug becomes an adorable toy for an older child or part of nursery room decor!
Difficulty level: Intermediate
Time to complete: 1-2 hours (includes drying time)
Age range: 12+
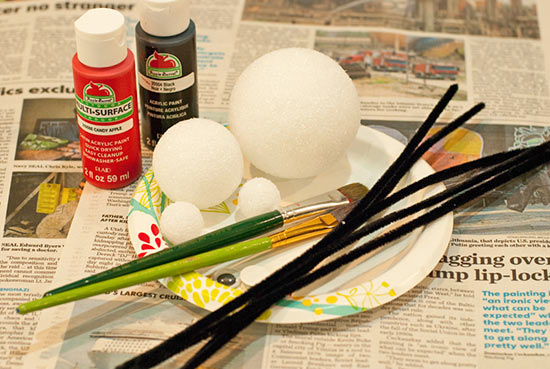
Things you’ll need:
3-inch Styrofoam ball
2-inch Styrofoam ball
1-inch Styrofoam balls
Red acrylic paint
Black acrylic paint
Black pipe cleaners
Paintbrushes
Scissors
Medium google eyes
Hot glue gun
Glue sticks
Things to do:
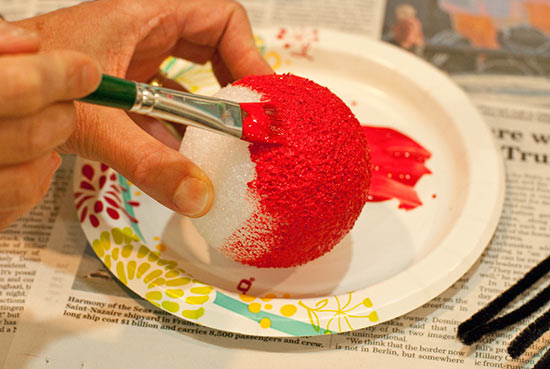
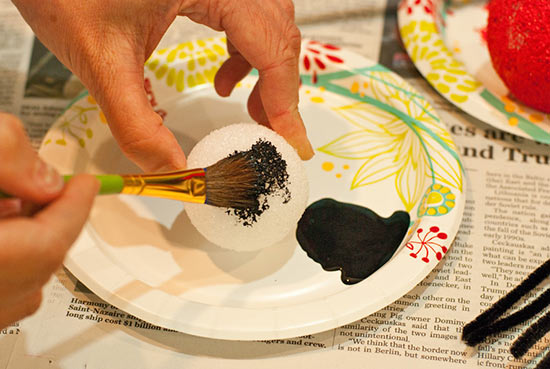
1. Paint larger ball red.
2. Paint the 2-inch ball black. Allow both to dry and warm up your hot glue gun.
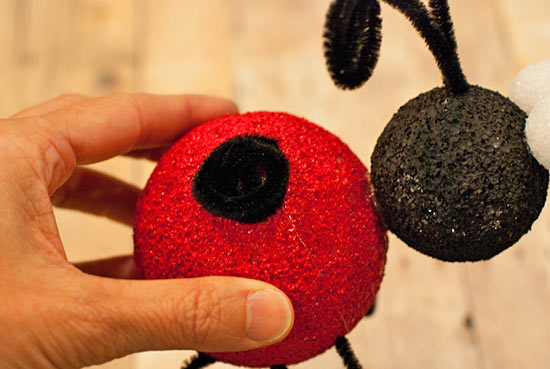
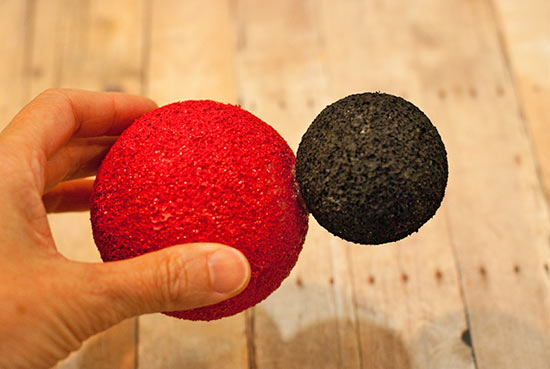
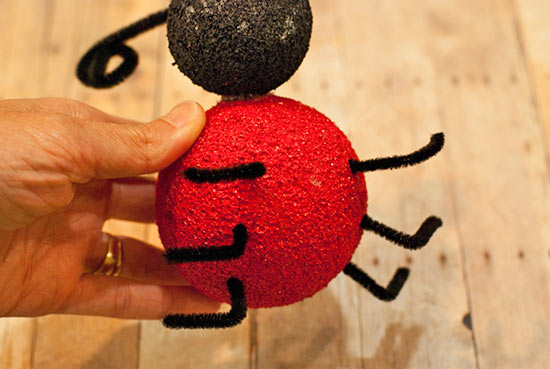
3. Glue the balls together.
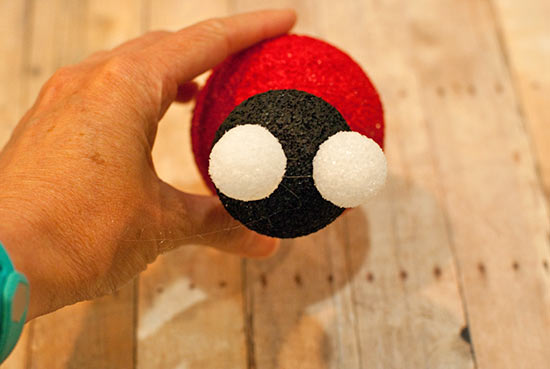
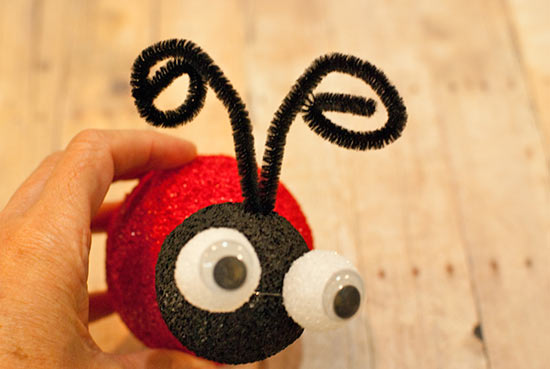
4. Glue two, 1-inch balls to the black on, for eyes.
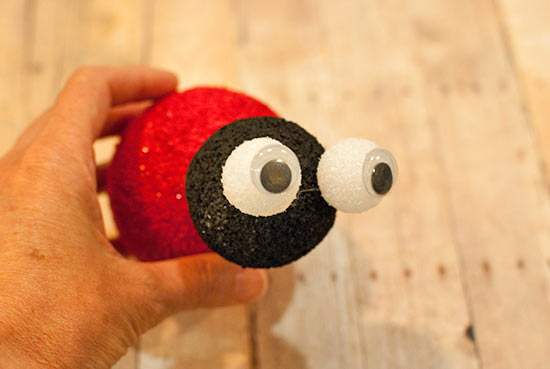
5. Glue the google eyes to the small balls you just glued on.
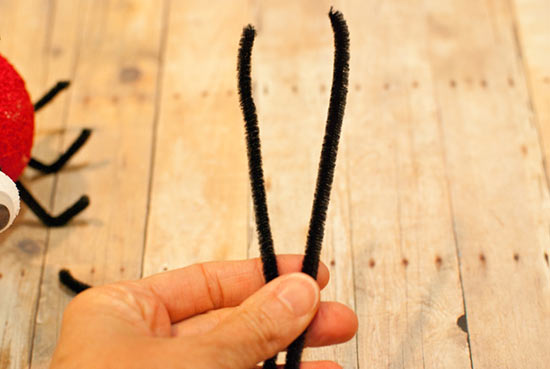
6. Bend a piece of pipe cleaner as shown.
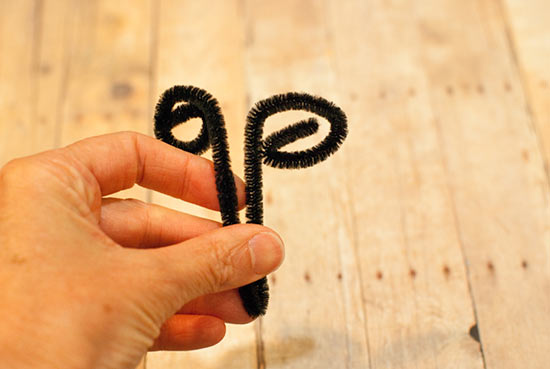
7. Insert this into the top of the ladybug’s head.
8. Cut two pieces of pipe cleaner in half, then in half again. Bend the lower part of each, forming feet.
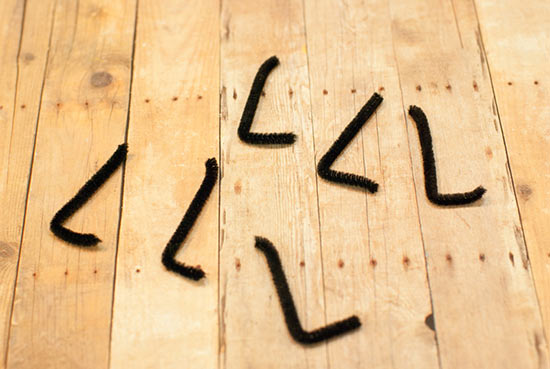
9. Insert these into the bottom of the red ball as shown.
10. Cut another pipe cleaner in half.
11. Roll these into tight spirals.
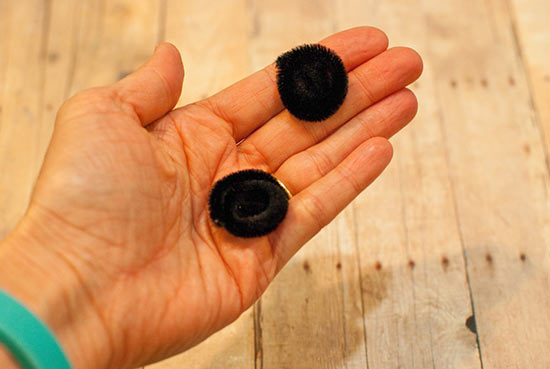
12. Glue these to either side of the ladybug’s body.