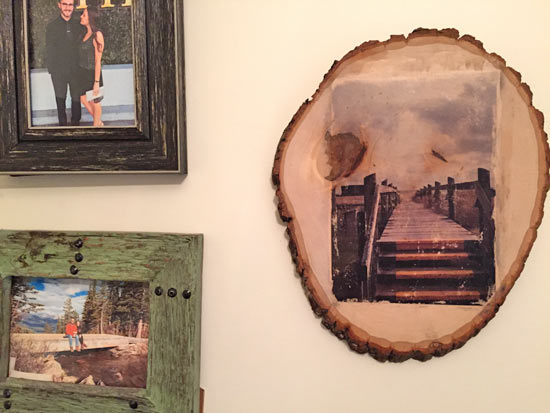
This crafting technique will take your DIY’s to the next level! In a few simple steps, you can transfer photos to any piece of wood, creating customized masterpieces for you to display.
Difficulty level: Intermediate
Time to complete: 1 Hour
Age range: 12 and Up
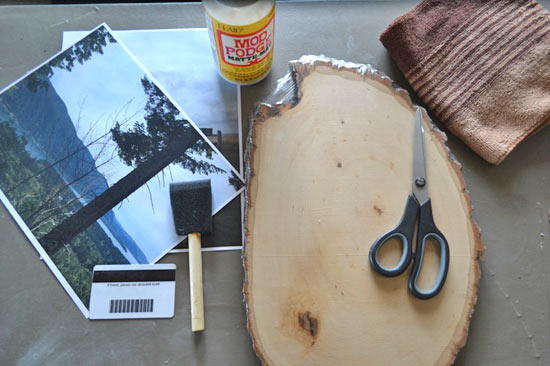
Things you’ll need:
Large log slice
Photo (printed with a laser printer)
Mod Podge Photo Transfer
Foam brush
Towel
Scissors
Things to do:
1. Print one of your favorite photos using a laser printer. If the image has any words, be sure to reverse it, because it will transfer backwards.
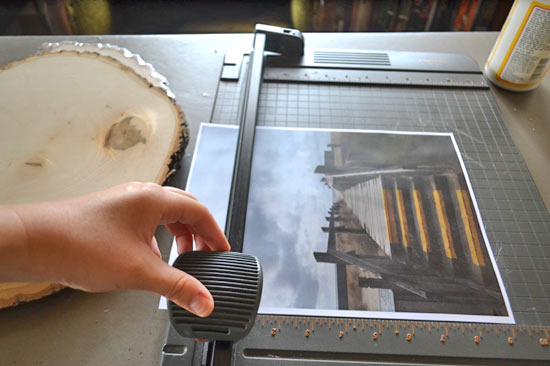
2. Now it’s time to trim your image. Remove any white boarder and crop the photo to fit onto your piece of wood.
3. Use your sponge brush to apply a thick coat of Mod Podge to the surface of the image.
4. Place the image Mod Podge side down onto your piece of wood.
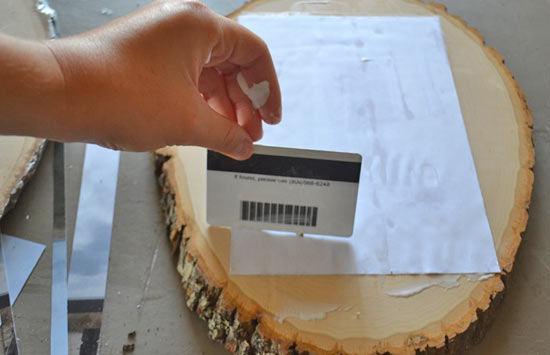
5. Use a plastic id card to remove any air bubbles. Wipe any excess Mod Podge that escapes from the edges of the paper.
6. Let the Mod Podge dry for 12-24 hours.
7. Place a wet rag on the dried image. Let it soak in for 15 minutes.
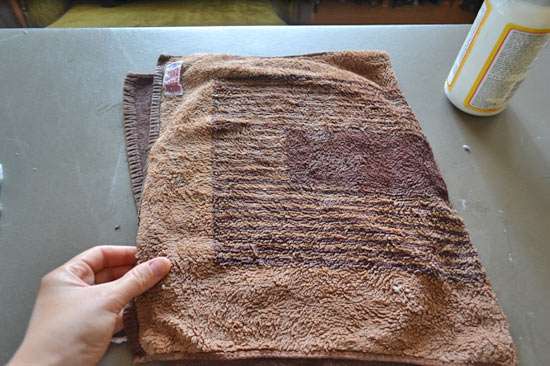
8. Use the wet rag to peel back the white paper, leaving the image behind!
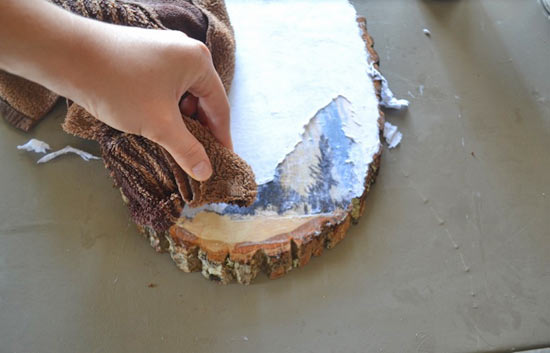
9. Once the paper is removed completely, apply a coat on Mod Podge Gloss-Lustre to protect it. Allow time to dry before displaying.