
You will love this quick and easy paper bag journal tutorial. It’s the perfect place for writing down all your secrets and stashing away notes.
Difficulty level: Intermediate
Time to complete: 40 minutes
Age range: 8 and up
Things you’ll need:
Kraft Paper Bags
Acrylic Paint
Embroidery Thread
Stencil
Needle
Scissors
Threader (optional)

Things to do:
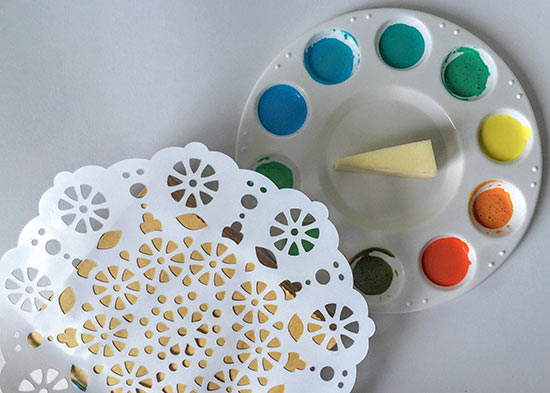
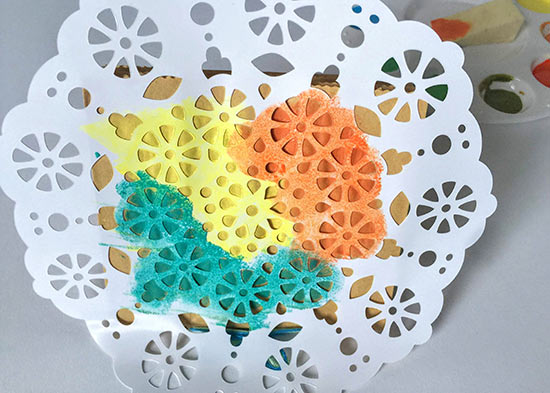
1. Squeeze your paint and set aside. If you don’t have a palette a piece of deli or freezer paper will do!
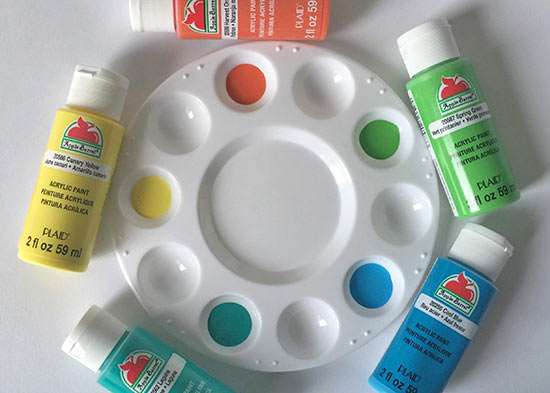
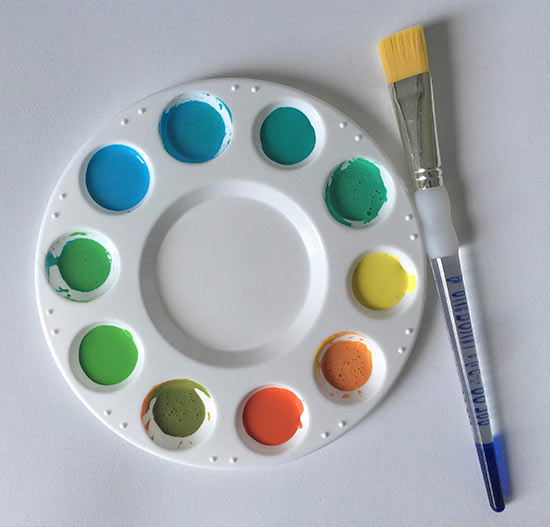
2. You can mix the paints to create even more colors. Just remember to mix warm colors (reds, oranges, yellows) and cool colors (blues, greens, aquas) separately so you don’t get mud.
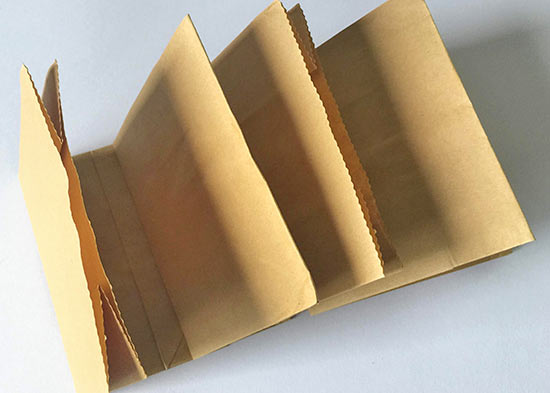
3. Fold your paper bags in half.
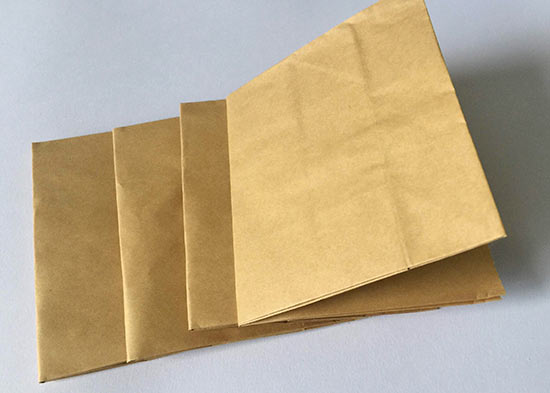
4. Alternate the bag openings so you’ll have pockets on different sides.
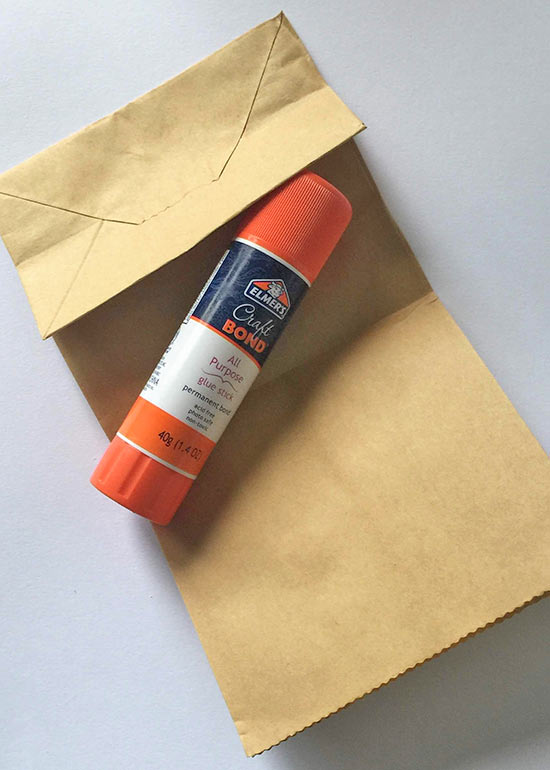
5. You can glue the flaps or use double-sided tape. (This step is optional.)
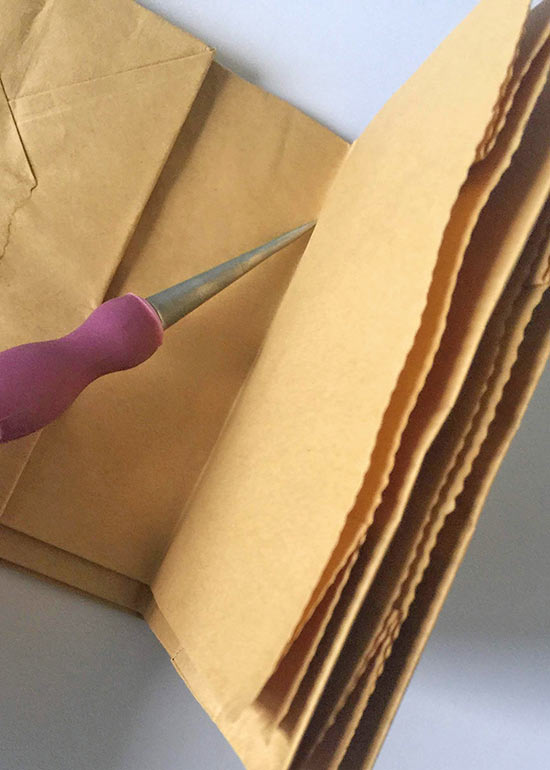
6. Use an awl or your craft needle to piece three holes in the center of the bags.
7. Thread your craft needle with two pieces of embroidery floss. The variation makes it more interesting!
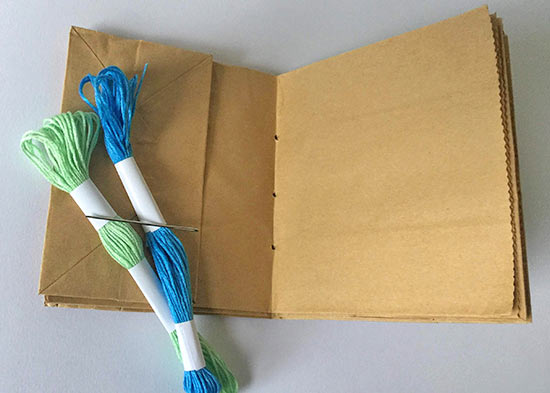
8. Gather the ends of the embroidery thread and knot together.
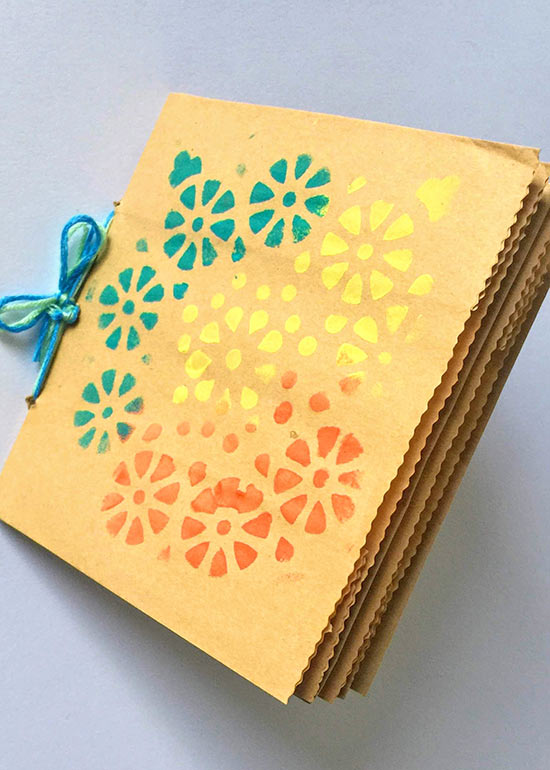
9. Bind the paper bags together with the embroidery thread.
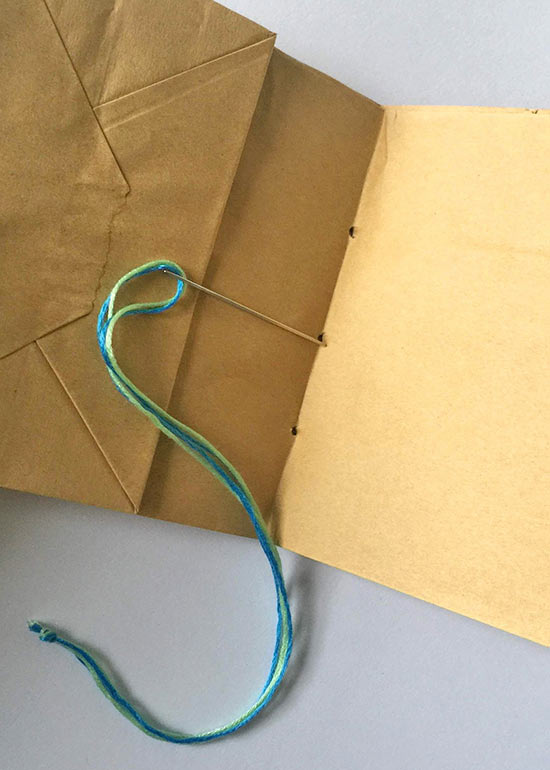

10. Use your needle to make a knot on the spine of your journal. Depending on how you threaded it, this may be on the inside. That’s perfectly ok!
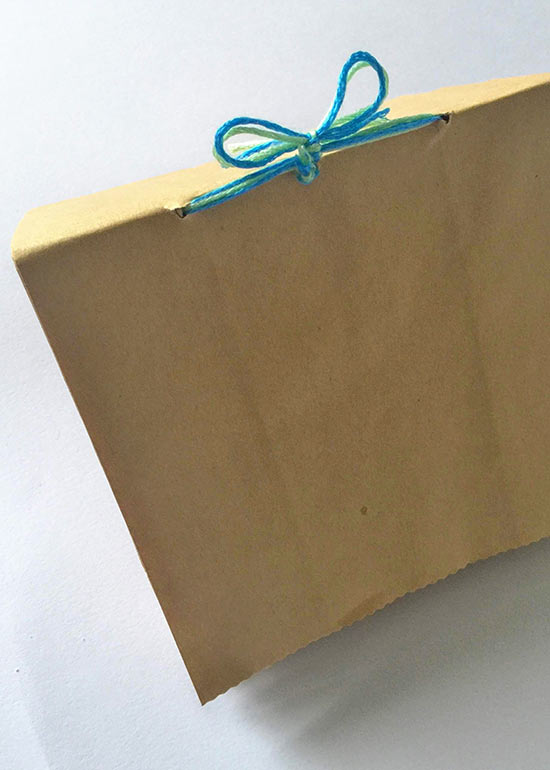
11. You can make a little bow with the embroidery thread.
12. Press your adhesive stencil on the cover of your journal. Make sure it’s secure.
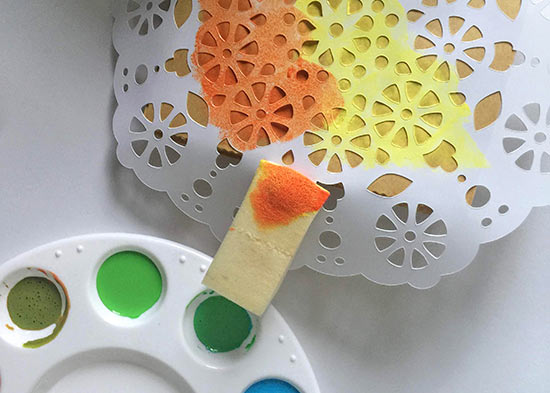
13. Use a makeup sponge and dab the paint over the stencil. Don’t worry if it’s a little messy. It’s handmade 🙂
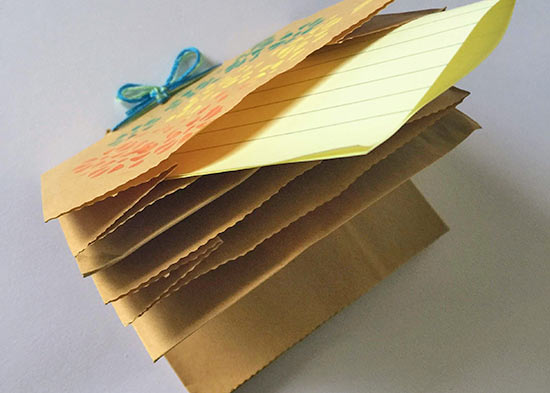
14. The bag openings create the perfect little pockets to hold paper or ephemera.
15. Time to create more art in your new journal!
Variations: You can different colored thread to bind your journal. Use stickers, markers, pencils, crayons, and washi tape to decorate the pages!