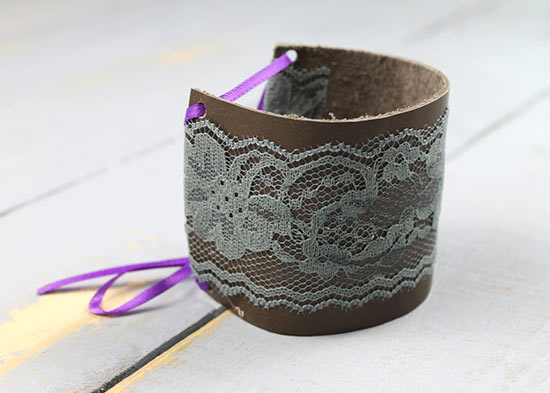
Vintage meets modern in this pretty yet unexpected combination of leather and lace.
Difficulty level: Beginner
Time required: 30 minutes, plus time for glue to dry
Age range: 12 and up
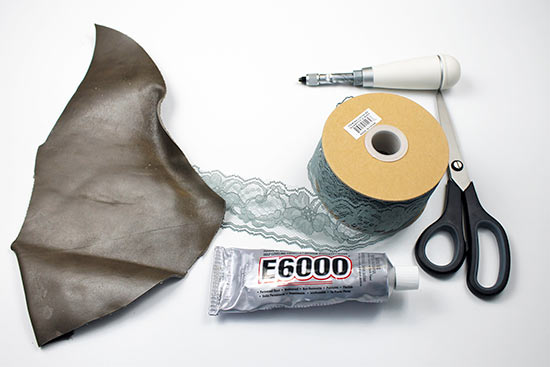
Things you’ll need:
Leather remnant scraps
Craft knife
Self-healing mat
Awl or leather punch
Vintage-inspired lace ribbon
E6000 glue
Purple Double Sided Satin Ribbon
Scissors
Things to do:
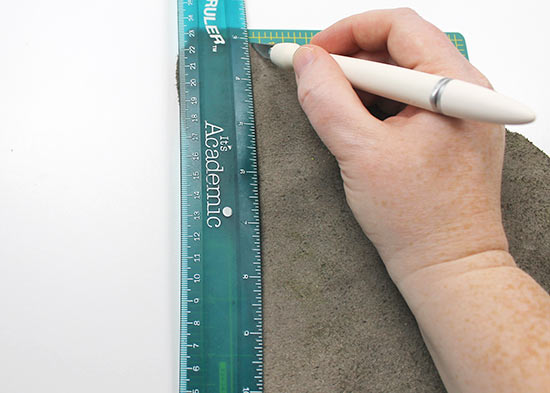
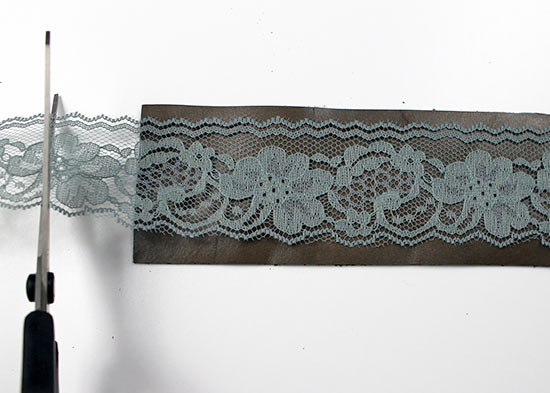
1. Using a craft knife and self-healing mat, cut the leather scrap to 2 1/2 ” wide and about 1/2 ” longer than the circumference of your wrist.
2. Cut the lace 1″ longer than the length of the leather cuff.
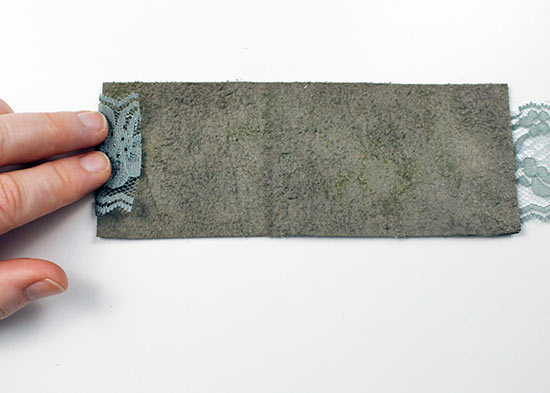
3. Wrap the lace over one short edge of the cuff, centering it and overlapping it by 1/2 “.
4. Glue the lace end in place on the wrong side of the cuff.
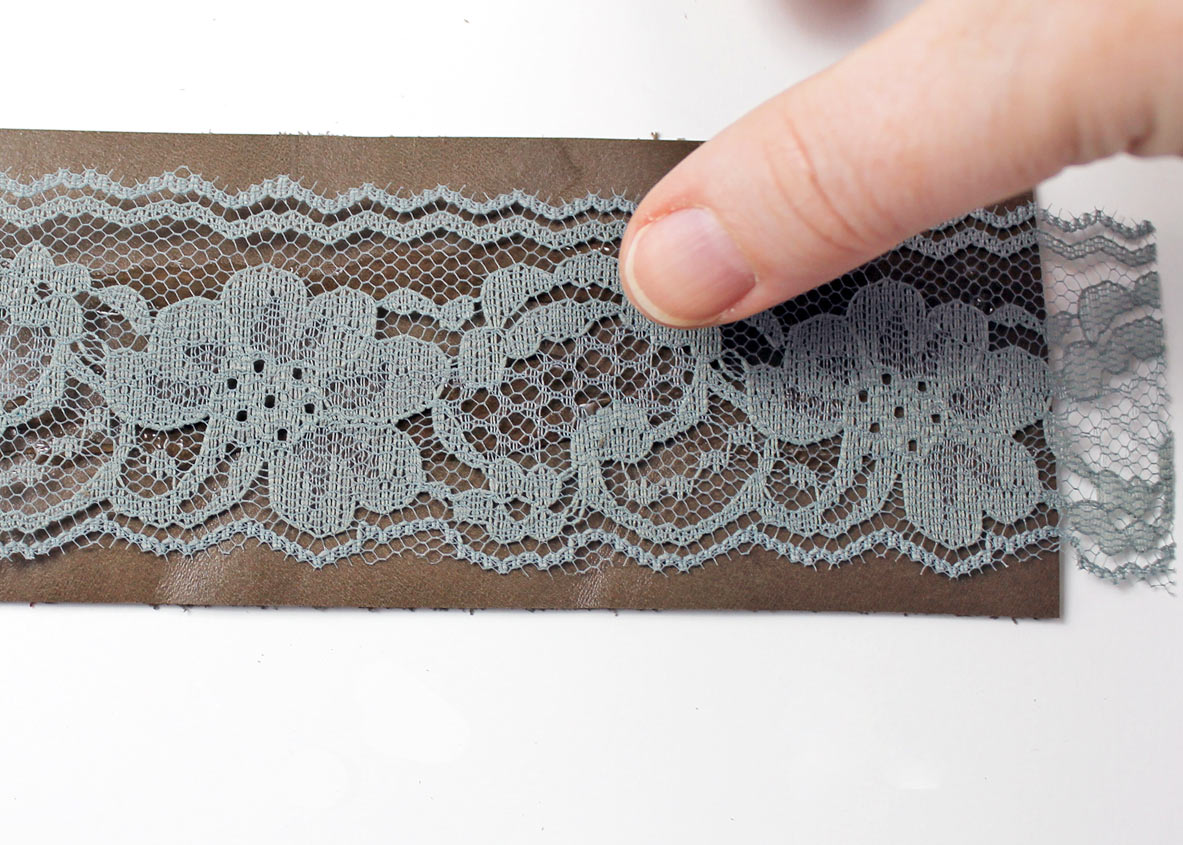
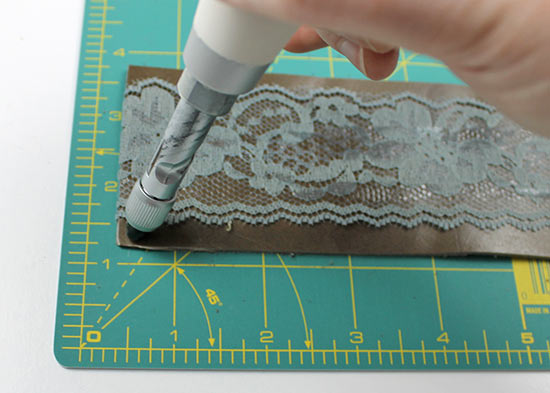
5. Place a small dab of glue every couple of inches along the right side of the cuff, then carefully glue the lace to the center of the cuff. Don’t apply the glue too thick, otherwise it will darken the lace.
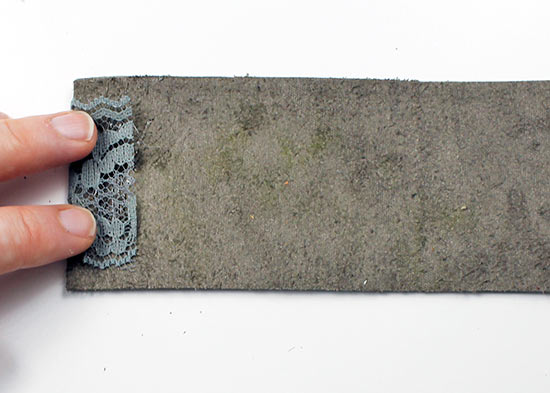
6. When you reach the other end of the cuff, overlap the lace once again, just as you did in Step 3. Glue to secure the end of the lace. Allow the glue to dry.
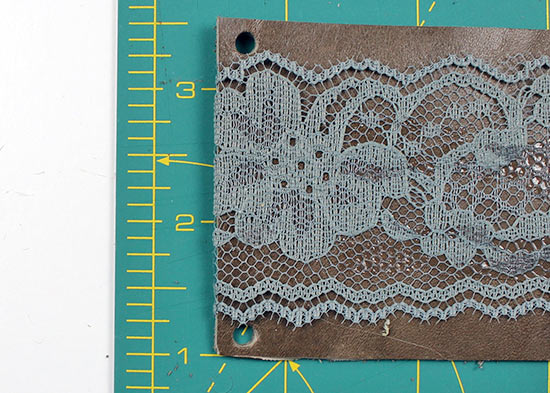
7. Using an awl or leather punch, punch a hole on each end of one short end of the leather.
Tip: If you do not have an awl or a punch, you can use a screwdriver and hammer to punch the hole.
8. Repeat on the opposite end.
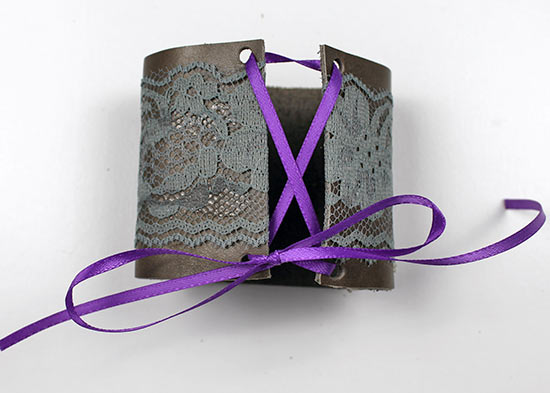
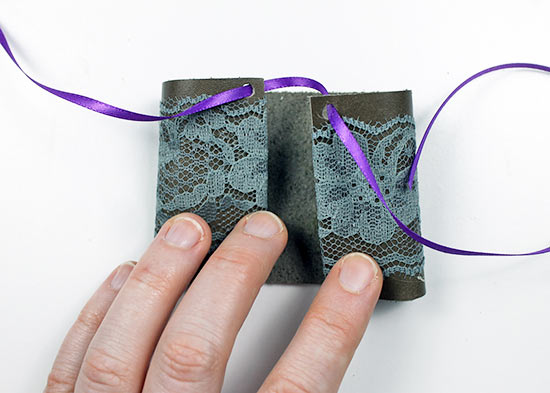
9. Cut a length of ribbon 24″ long. Insert the ribbon through one hole on each edge of the cuff.
10. Crisscross the ribbon like a shoe lace, inserting the ribbon through the other two holes on each edge of the cuff.
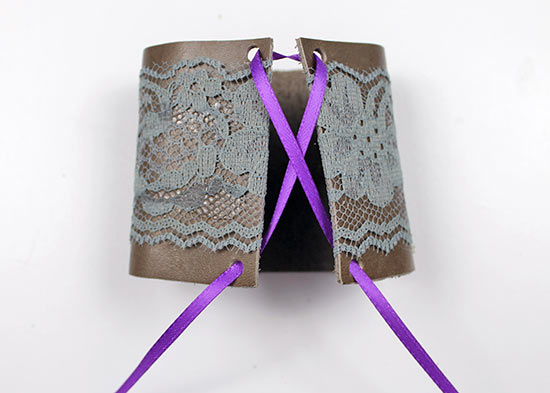
11. Tie the ribbon to close the cuff.