Difficulty level: Intermediate
Time required: 30 minutes, including baking time
Age range: 12 and up
Things you’ll need:
Clay
Clay tools
Roller
Nail or awe
Oven and baking sheet
Necklace chain
Flat-nose jewelry pliers
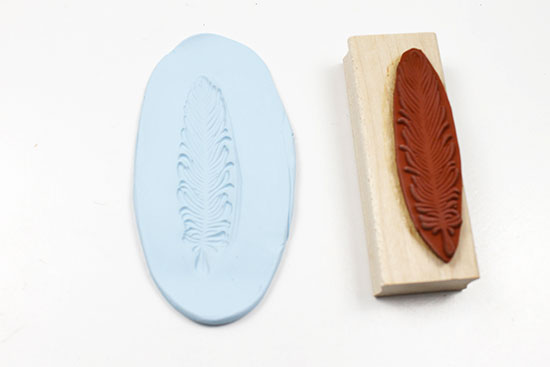
Rubber stamp
Jump ring
Things to do:
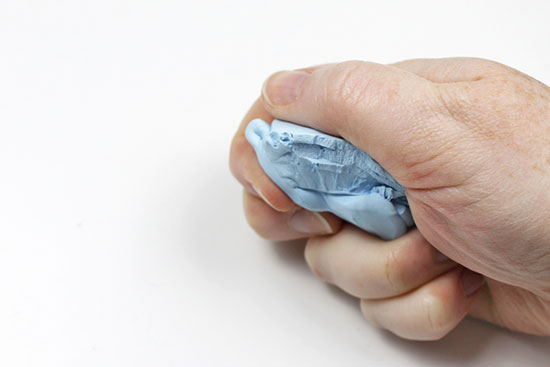
- Pinch off a block of clay. Roll the clay around in your hands to soften it.
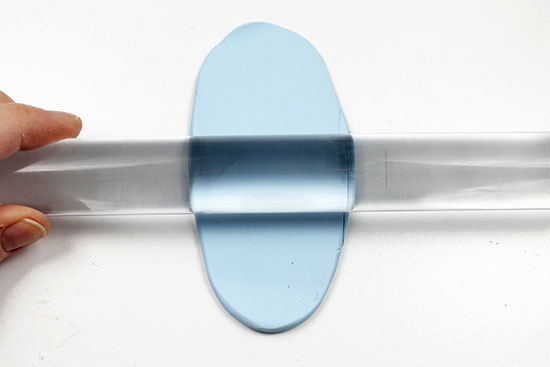
- Roll the clay out so that it is about 1/4 ” thick. Roll the clay as evenly as possible in roughly the same shape as your rubber stamp.
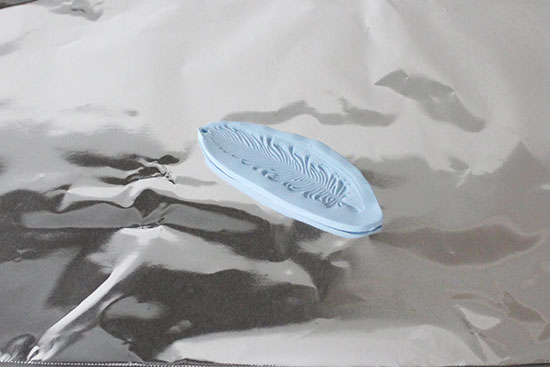
- Place the stamp over the clay and firmly push down to imprint the clay. Be sure you press down, never moving the stamp side to side.
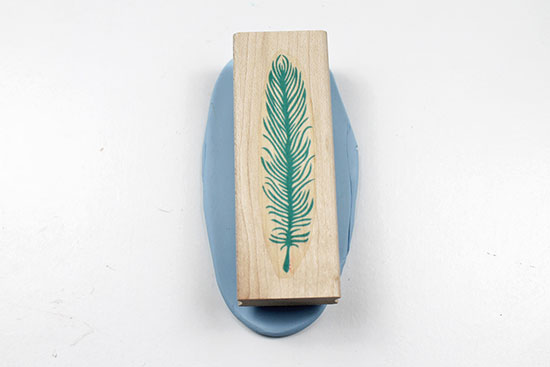
- Remove the rubber stamp.
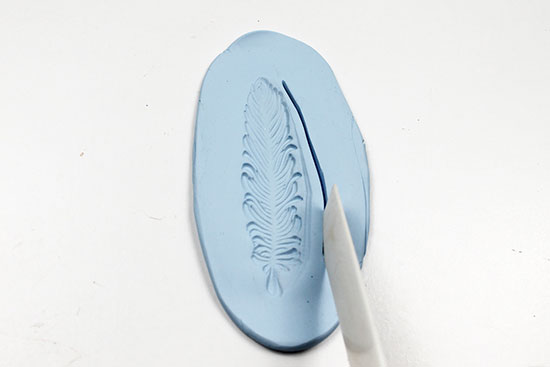
- Using a clay tool, cut around the stamped design. If your stamp is a square or circle, you can use a household item as a cutter, like a jar lid.
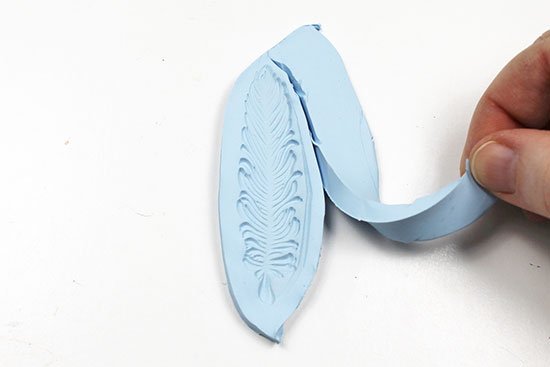
- Peel the clay away from the stamped design.
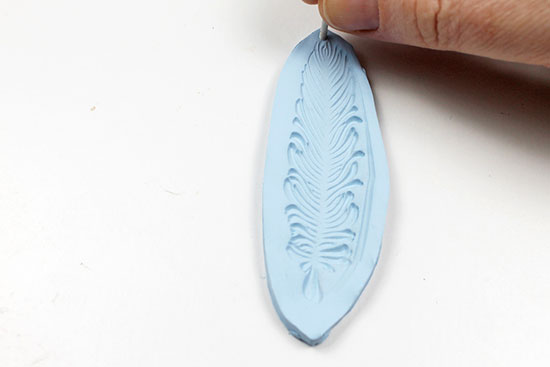
- Pierce the top center of the pendant with a nail or awl. Make sure the nail goes all the way through the clay.
- Place the pendant on a baking sheet. Bake at 275 degrees for 15 minutes. Don’t remove the pendant immediately from the oven; instead, leave the oven door open a bit to prevent cracking the clay as it dries.
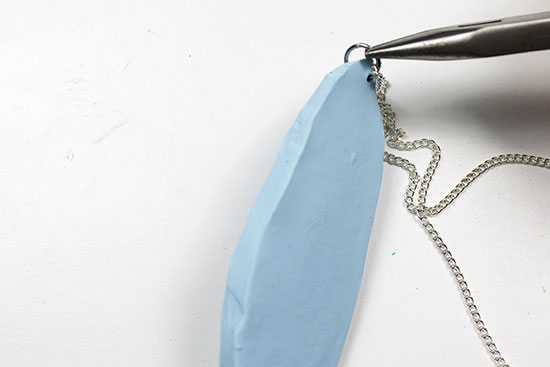
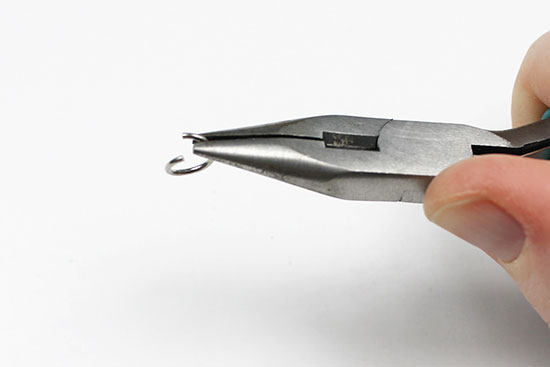
- Using the flat-nosed pliers, open the jump ring by pulling one side up and away from the other side. Do not pull the ring apart in the center as this will weaken it.
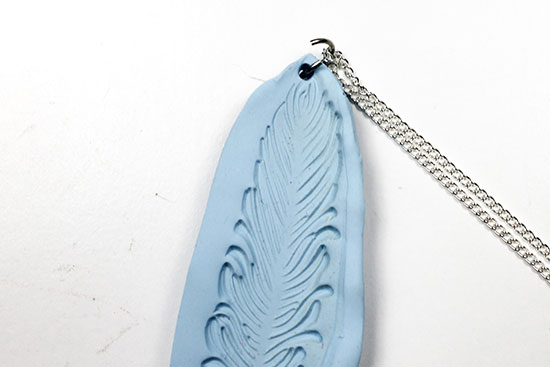
- Slide the jump ring through the clay pendant, then around the necklace chain.
- Close the jump ring, using the same technique as when you opened it.