Difficulty level: Intermediate
Time required: 45 minutes
Age range: 12 and up
Things you’ll need:
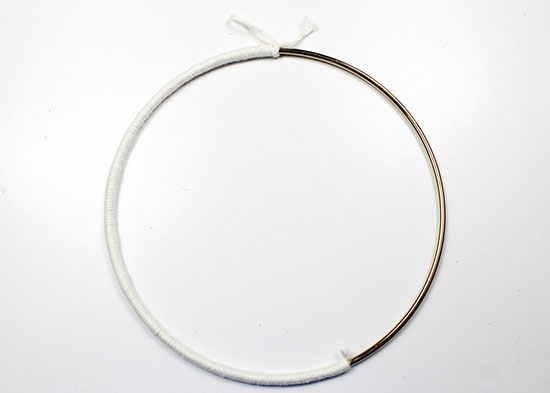
8″ gold metal craft ring
Cotton yarn
Ruler
Ribbon
Scissor
Things to do:
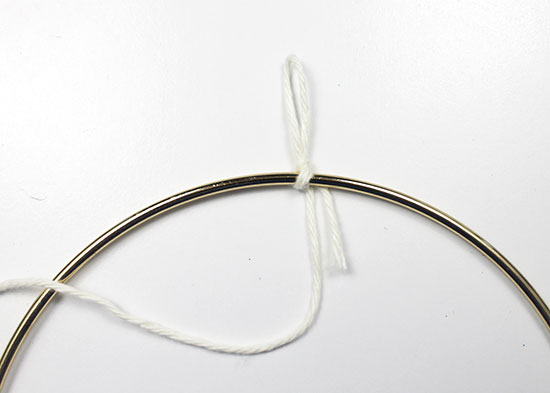
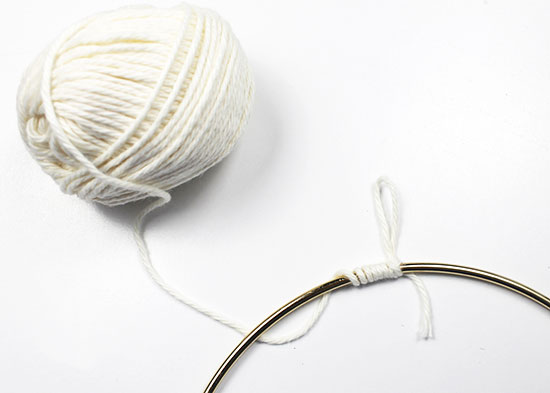
- Fold the cotton yarn into a loop that’s about 3″ long. Place the loop around the metal ring, tying a knot to secure it.
- Begin wrapping the yarn around the craft ring.
- Wrap until the yarn extends just over halfway around the ring, using the loop as a guide for the midpoint. Tie the yarn in a double knot around the ring, then trim it.
- Tie a new length of yarn to the ring near the loop. Place the working yarn behind the ring…
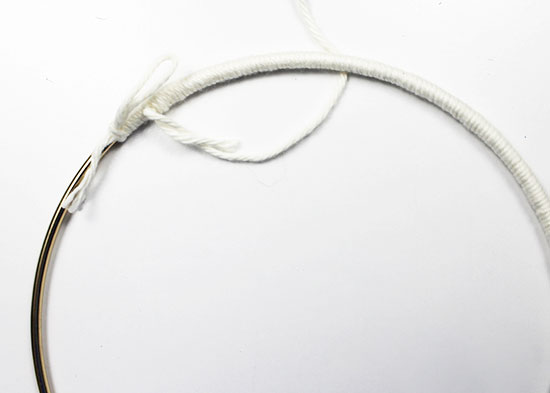
- …then bring the yarn up and around the ring and through the center of the loop. Pull gently to tighten.
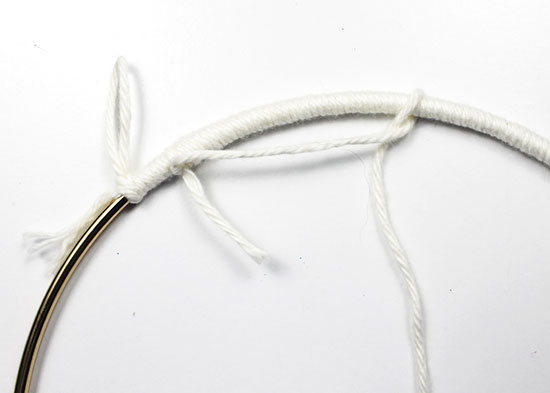
- Repeat across the length of the tied yarn, spacing the loops evenly and ending at the edge of the yarn wraps.
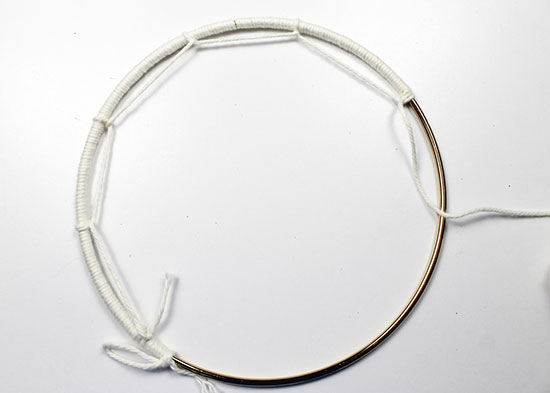
- Flip the ring over to the other side, then repeat the loops across, this time looping the yarn through the loops of the previous row. When you reach the edge, just loop the yarn around the metal ring, then flip the ring to the other side to tie loops in the opposite direction.
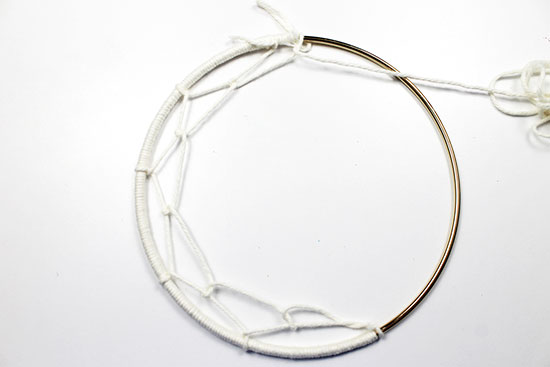
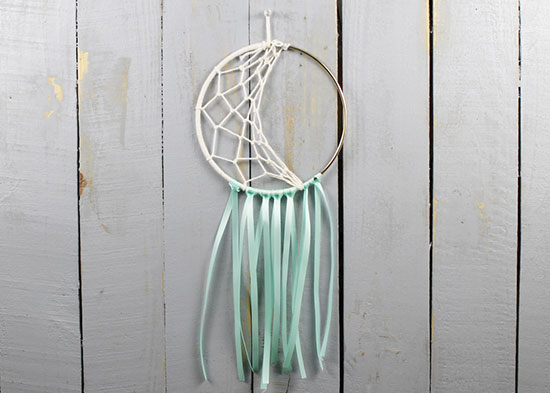
- Continue working back and forth until you have about 6 tied rows, or until you have the desired moon shape.

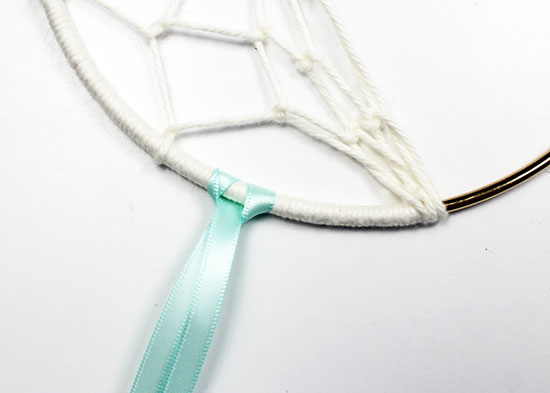
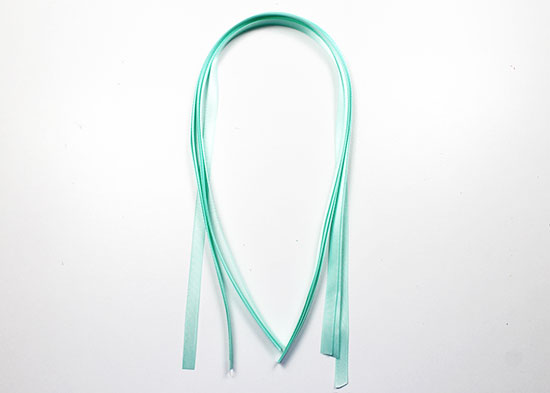
- Cut 7 lengths of 20″-long ribbon.
- Fold a piece of ribbon, then lay the folded loop under the craft ring along the bottom.
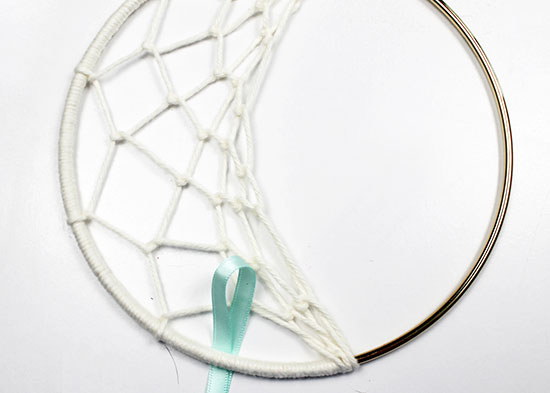
- Pull the ends of the ribbon through the loop, then tighten to secure. Repeat steps 10-11 along the bottom of the ring until you have used each length of ribbon.