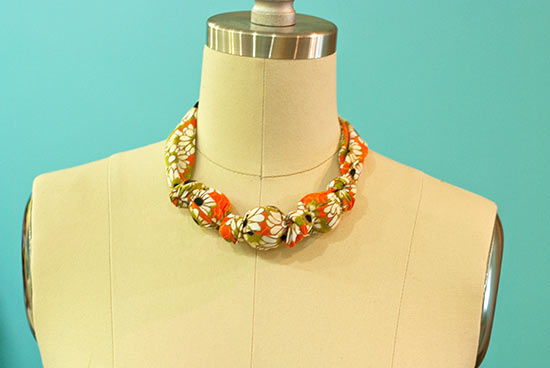
Bead and fabric necklaces have become popular in boutiques and in upscale catalogs. With a bit of sewing knowledge, you can make your own! You’ll need a bolt-length width of fabric, and you can choose either quilting cottons or stretch fabrics (if you know how to sew with stretch fabric). Stretch fabric will allow you to make the knots tighter, but the project is shown here with quilting cotton. Also, you can use one size of beads, shown here, or use different sizes to taper your necklace’s shape as you desire!
Difficulty level: Advanced
Time required: 1 hour
Age range: 12+
Things you’ll need:
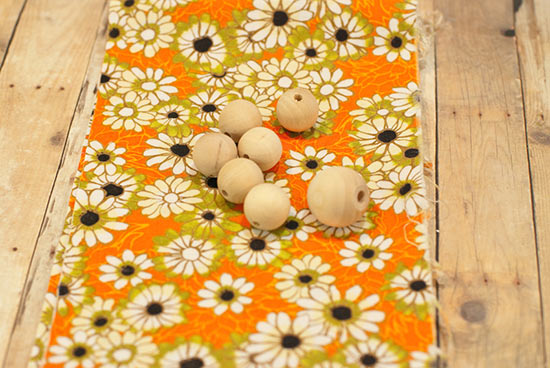
Large wooden beads
Piece of fabric the width of the bolt (at least 42 inches for quilting cottons up to 60 for stretchy fabrics)
Scissors
Ruler
Sewing machine and basic sewing supplies
Iron and ironing board
Things to do:
1. Decide on the width of your fabric. You’ll need enough to cover your bead plus about 3/4″ inch more, depending on the seam allowance you use on your machine. Cut the fabric to the necessary width and make sure it’s at least 42″ long. The beads and knots shrink” it quite a lot because they take up a lot of fabric.
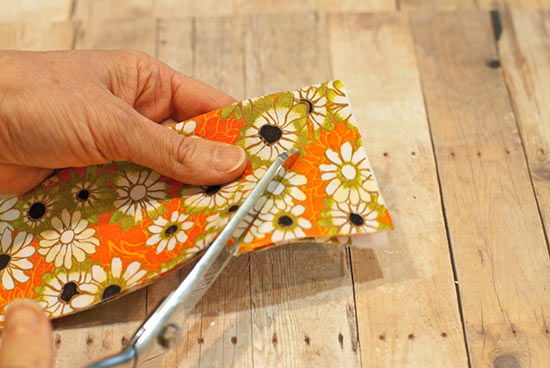
2. Fold your fabric in half the long way and cut a wedge out of each end, from the outside edges to a point at the fold.
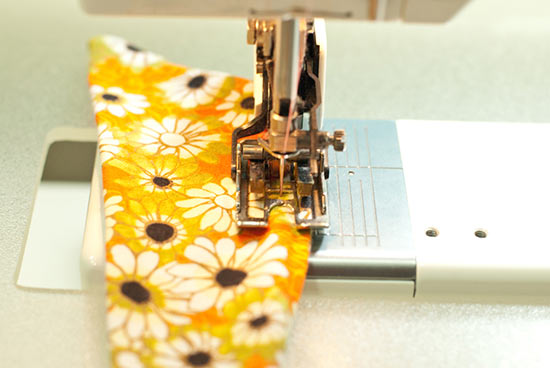
3. If you haven’t already, fold your fabric right sides together, press, and begin stitching at one tapered open end, remembering to back stitch at the beginning.
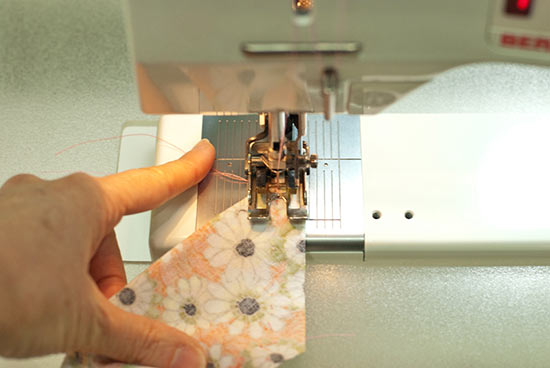
4. Sew down the long side a couple of inches and back stitch, then clip your threads. You need to create an open space to drop in your beads.
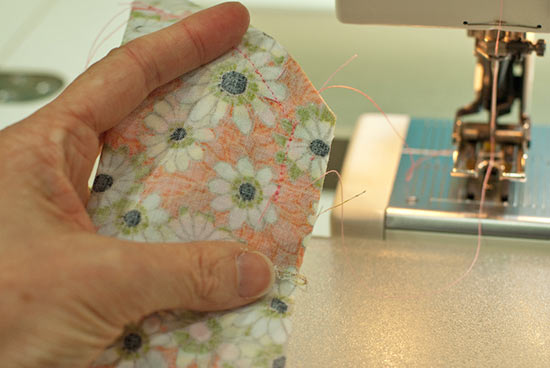
5. Start stitching again about two inches from where you stopped, being sure to back stitch. Continue stitching down the length of the fabric until a few inches before the end. Back stitch and remove from the machine. You need to leave a space at this end as well. Re-start your stitches a couple of inches after your stopping point, then continue to stitch all the way to the tapered point at the end. Remember to back stitch.
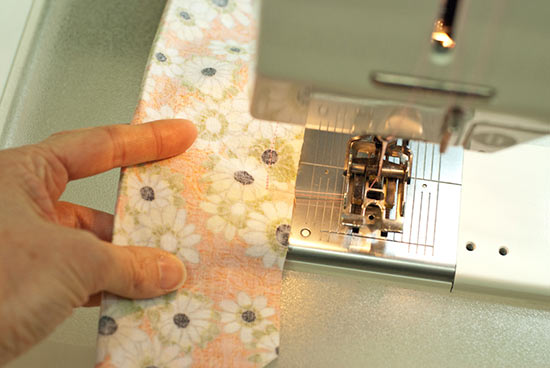
6. Trim your seam allowance to about 1/4″, but leave the seam allowance untrimmed in the two areas that you left open.
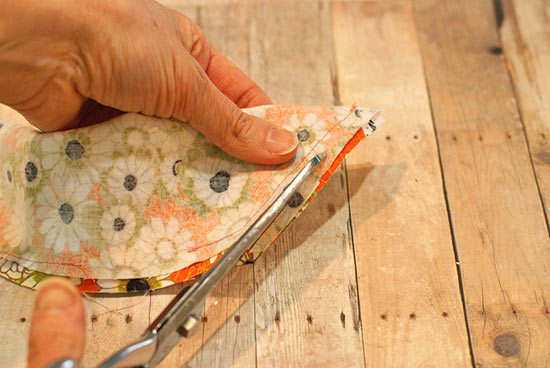
7. Here’s an example of how you should trim your piece.
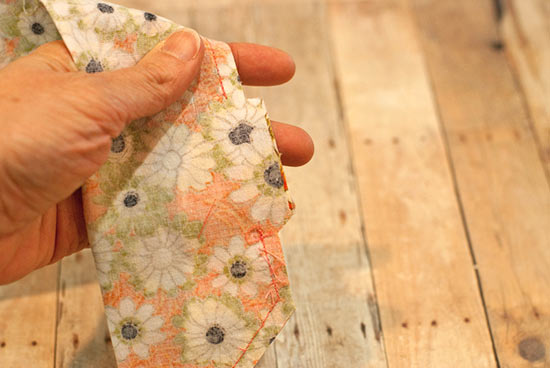
8. Turn your fabric tube right-side out.
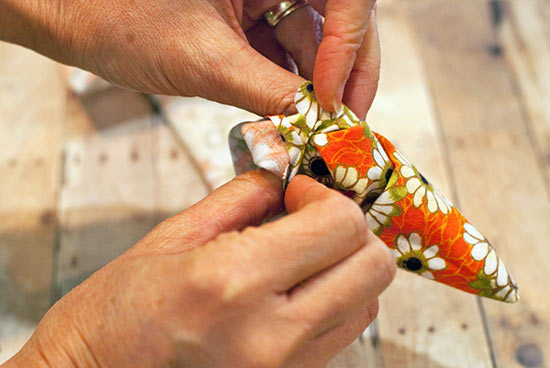
9. Press the tube and fold in half to find the center. Feel free to make a light mark if needed.
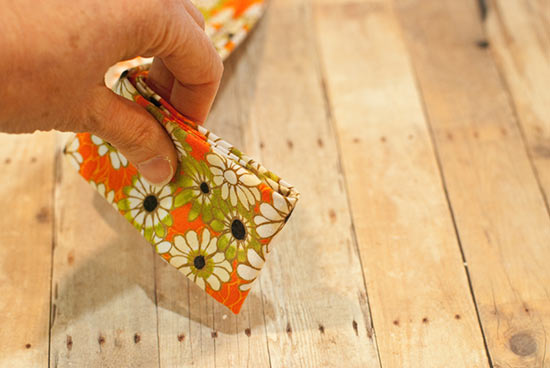
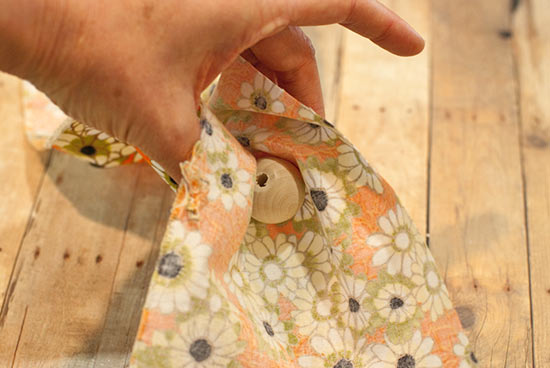
10. Insert your center bead and make sure it drops to the center.
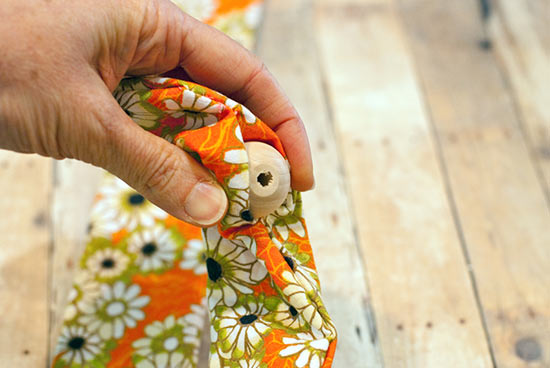
11. With one hand, hold the bead in the place.
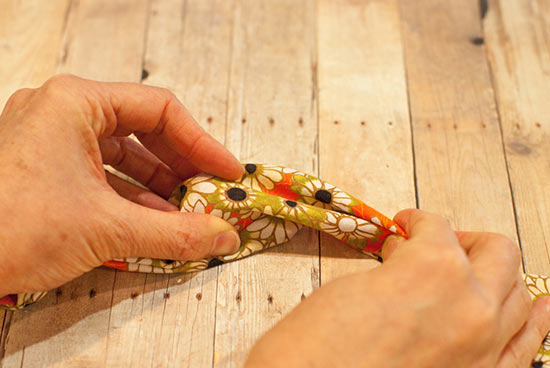
12. With the other hand, tie a tight knot flush with one side of the bead.
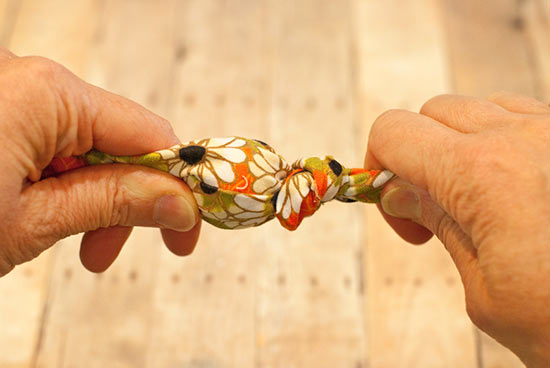
13. Tie a tight knot on the other side of the bead.
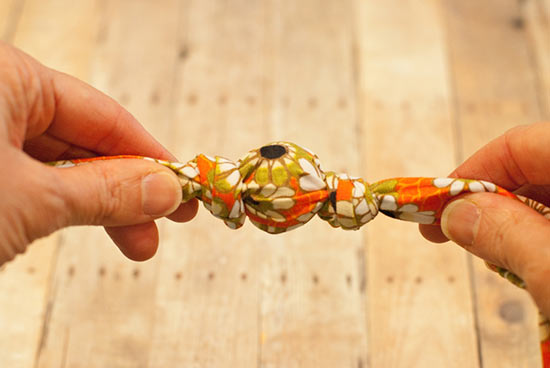
14. Repeat with other beads, dropping them in at either end as you work to make your necklace symmetrical.
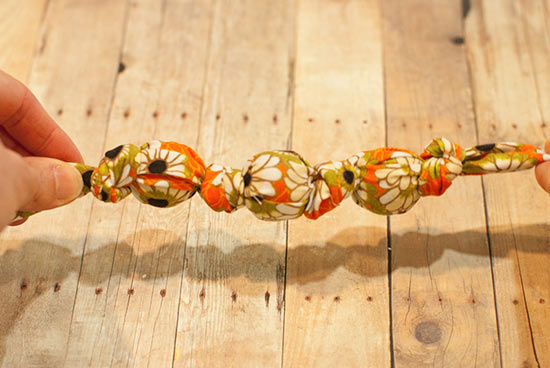
15. Once you’ve finished adding your beads, topstitch the two openings closed. Tie the necklace around your neck, and be prepared for some compliments!
