Difficulty level: Beginner
Time required: 30 minutes
Age range: 12 and up
Things you’ll need:
Medium pompom maker
Yarn in green and brown
Scissors
Hot glue gun and glue sticks
Things to do:
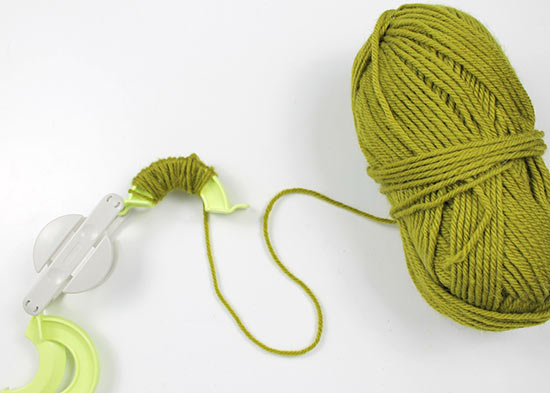
1. Open the medium pompom maker, then begin wrapping the green yarn around one end.

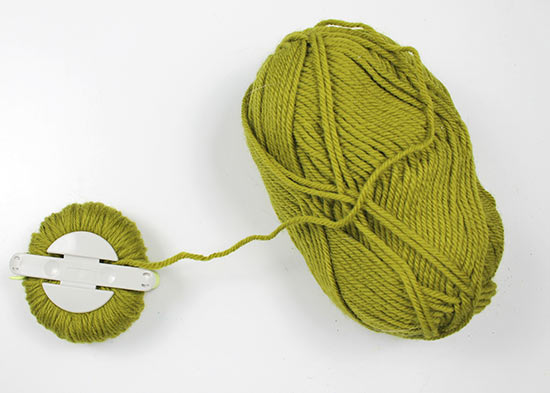
2. Continue wrapping until you have filled the entire half of the pompom maker. The more yarn you wrap, the thicker and puffier your pompom will be.
3. Repeat steps 1-2 on the other side of the pompom maker, trying to make the second side even with the first side.
4. When you are happy with the thickness, close the pompom maker, then trim the yarn.
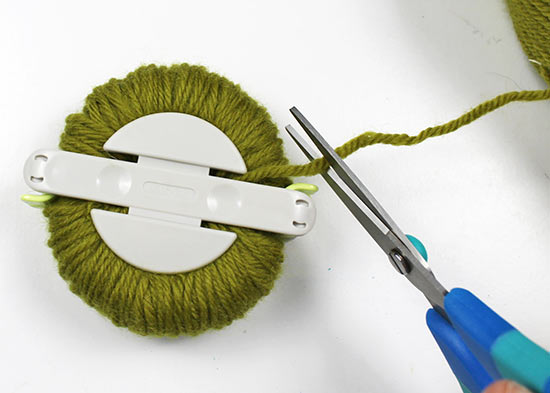
5. Using sharp scissors, cut the pompom loops from one side of the pompom maker.
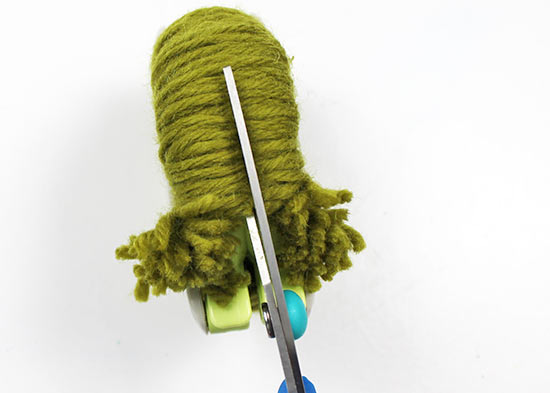
6. Repeat step 5 on the other side of the pompom maker. Cut an 8″ length of yarn, then tie it around the pompom tightly.
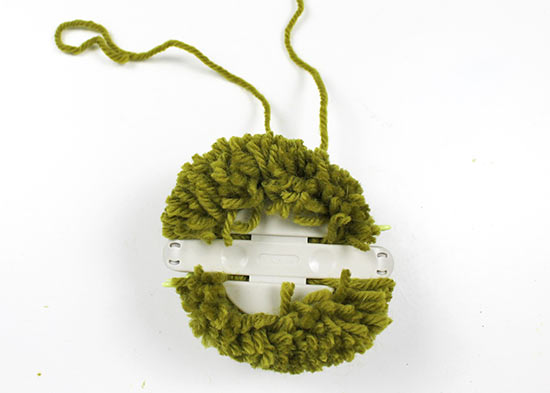
7. Remove the pompom from the pompom maker by pulling the maker apart.
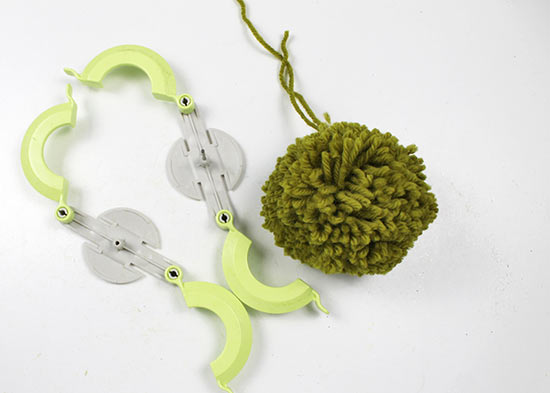
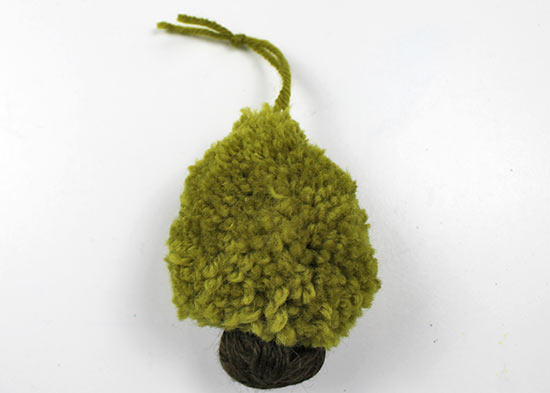
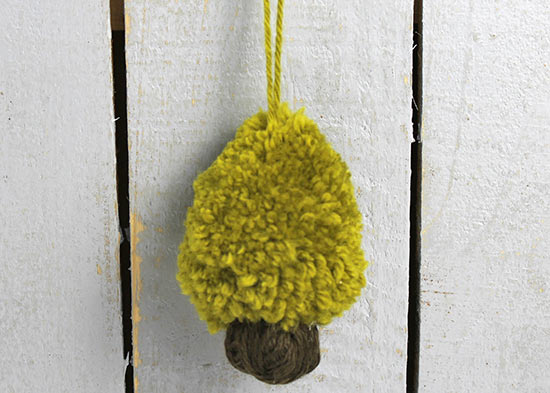
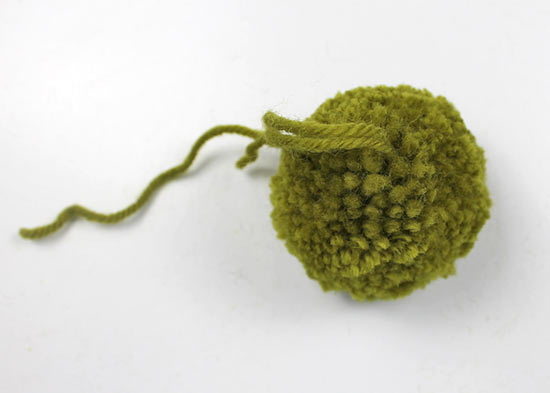
8. The top of the pompom, where the tie is, will be the top of the tree. With this in mind, begin trimming the pompom into a 3-D triangle.
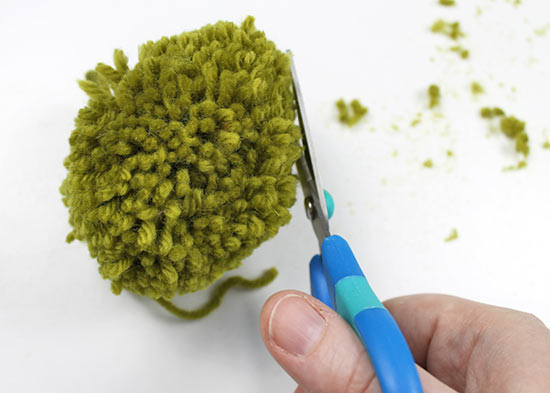
Tip: If you’re having problems seeing the shape of the tree, place the tree upright and look straight down onto the top of it. Trim the tree shape from this view.
9. Grab the brown yarn. Begin rolling the brown yarn into a ball using your fingers.
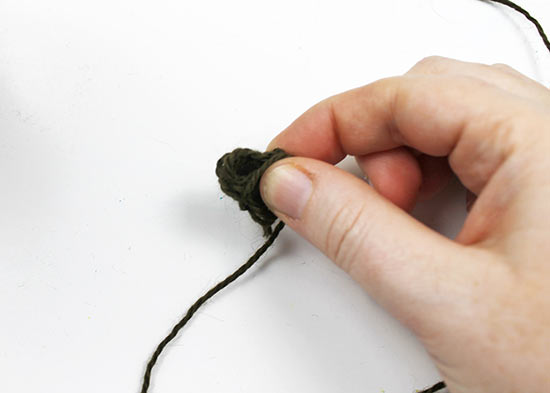
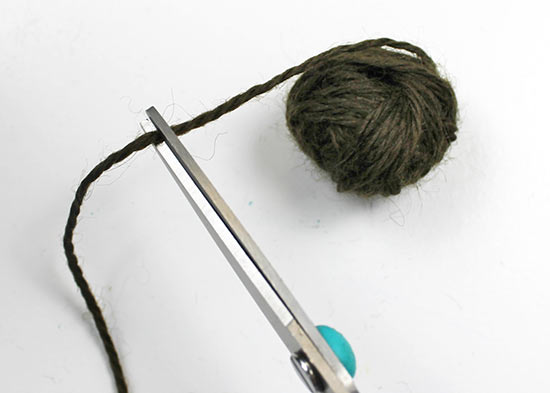
10. When the ball is the size you’d like for the bottom of the tree, trim the yarn. Tuck the yarn tail into another few strands of the ball.
11. Using the hot glue gun, place a large dot of glue onto the brown ball where the end is tucked in.
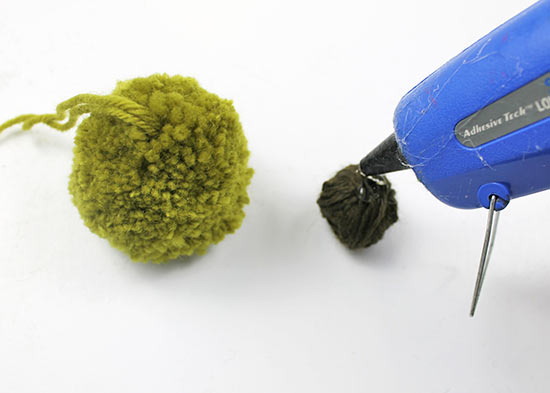
12. Glue the ball to the bottom of the tree.
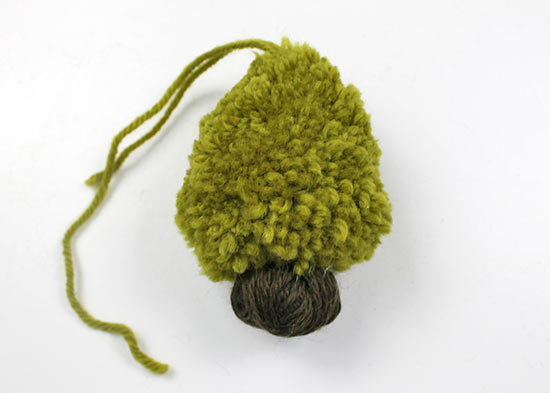
13. Trim and tie the top of the tree to use the tie as an ornament hanger.