

What a fun and festive way to decorate your home for Easter! This easy to make DIY topiary tree is Simple and Colorful for adding that POP of color to any room!
Difficulty level: Beginner
Time to complete:25 minutes
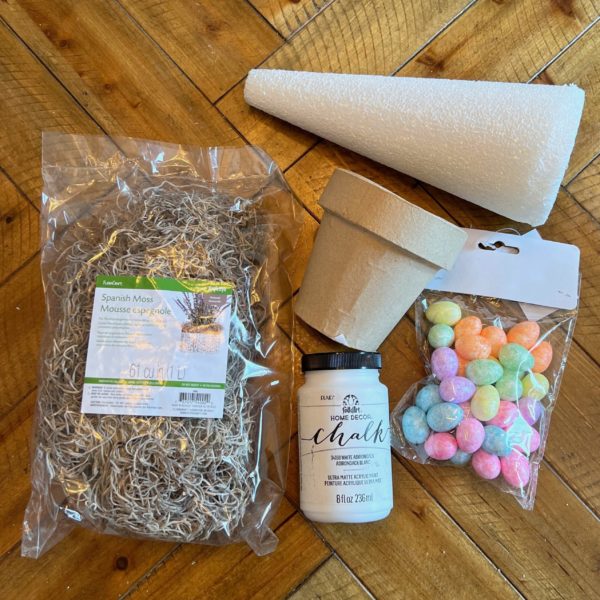
Supplies needed:
- 3 packages- Pastel Glitter Easter Eggs
- FolkArt Home Decor White Adirondack Chalk Pain
- 9″ Styrofoam Cone
- 4″ Paper Mache Flower Pot
- Natural Spanish Moss
- Glue gun
- Paint brush
Now that we have the materials – Let’s get crafting!
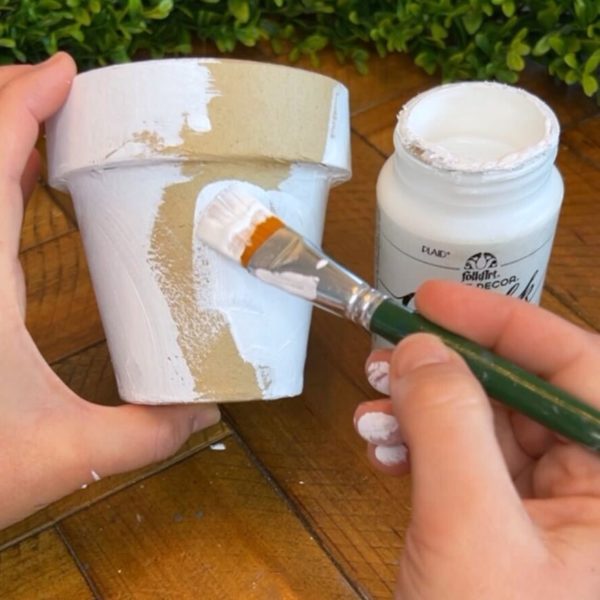
This first step we will take the chalk paint and cover the paper Mache pot with a coat or two.
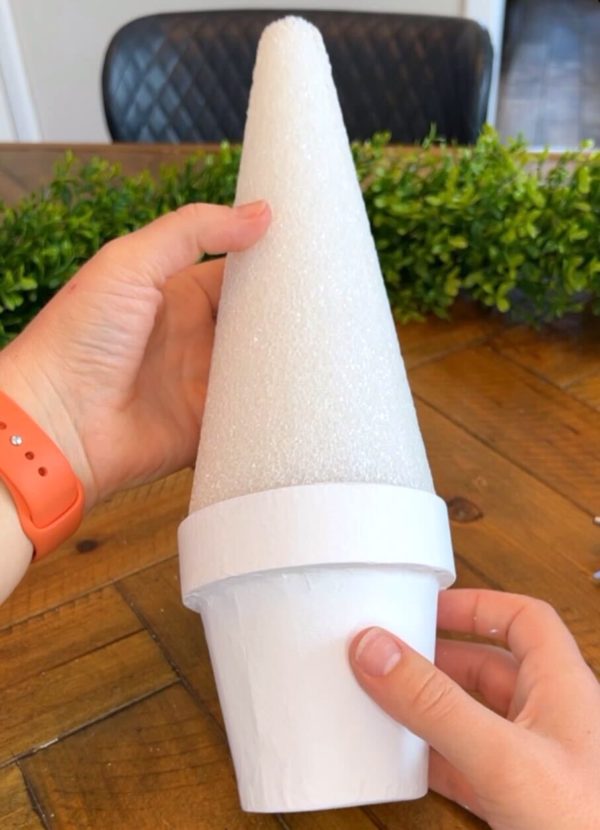
Once the paint is dry, grab your Styrofoam cone and make some indents by pressing your pads of fingers tips into the bottom of the Styrofoam base. This will help allow the cone to fit nicely in the pot.
Then take your glue gun and add some on the inside lip of the paper mache pot to secure the cone in place when placed in.
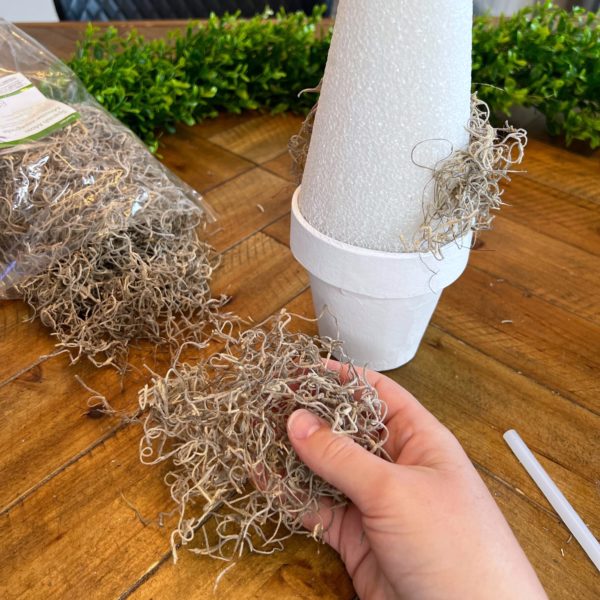
I loved this moss. It is messy, but there is so many possibilities with the natural moss. I pull apart pieces and glue all throughout the cone until covered
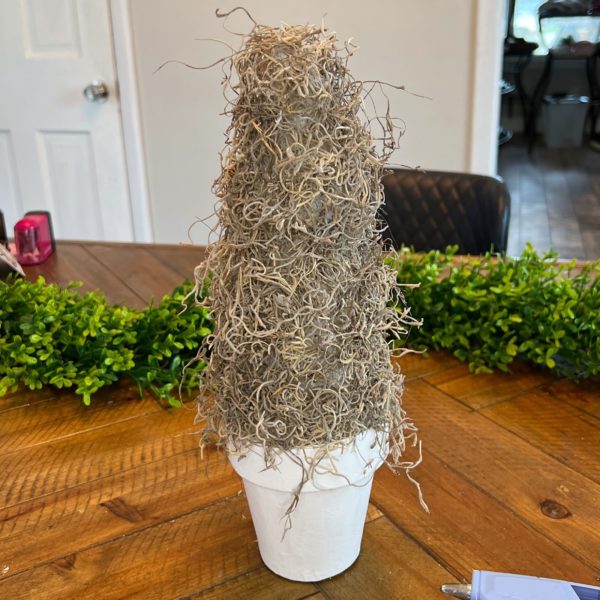

Now we add the fun pops of color from the glittered eggs! I started gluing them in rows with spaces in-between. Once the cone was covered, I then came back and add the eggs in at a diagonal in the spaces between to help fill all the gaps. This helped the topiarytree to no be so uniform.


This project is customizable, so feel free to get creative with the colors and patterns of the eggs you use. You can also vary the size of the cone and the number of eggs you use to create a larger or smaller topiary tree.
Overall, this DIY Easter Egg Topiary Tree is a fun and easy project that is sure to add a festive touch to your home this Easter season. Happy crafting!