Difficulty level: Intermediate
Time required: 1 hour
Age range: 12 and up
Things you’ll need:
Printer
Fabric
Tracing tool such as a pen
Red and blue felt
10-inch embroidery hoop
Embroidery needle and floss
Scissors
Things to do:
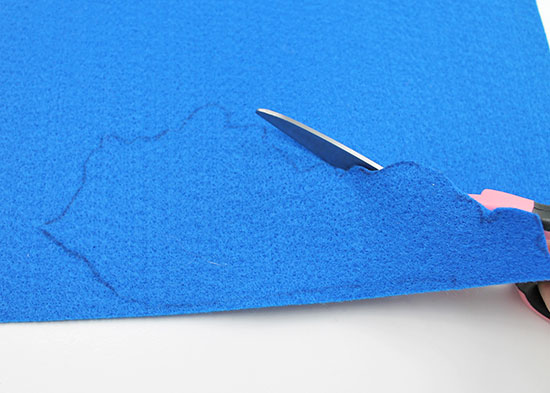
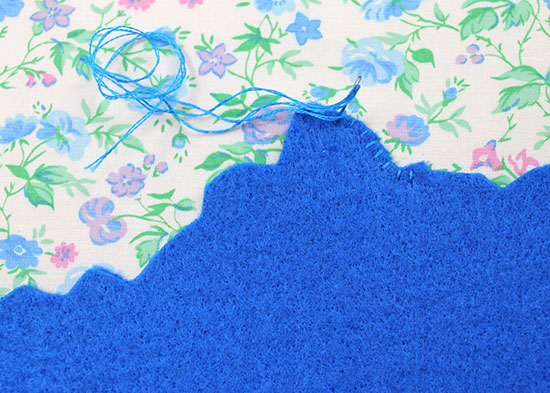
- Find the outline of your home state online. Print it, then cut it out. Place the state face down on a piece of felt. Using a marking tool, trace the outline of the state onto the felt.

- Cut out the traced outline. Some states have jagged borders, but do your best to cut around those.
- Draw a small heart on red felt, then cut it out.

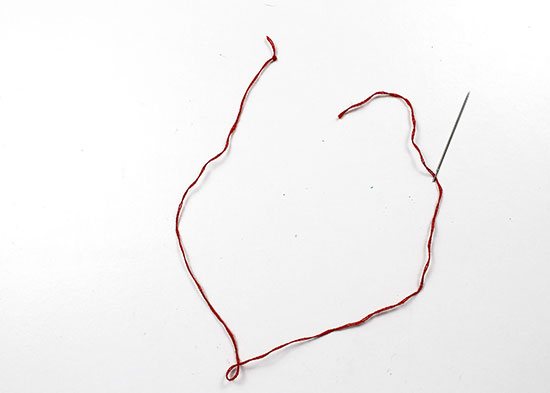
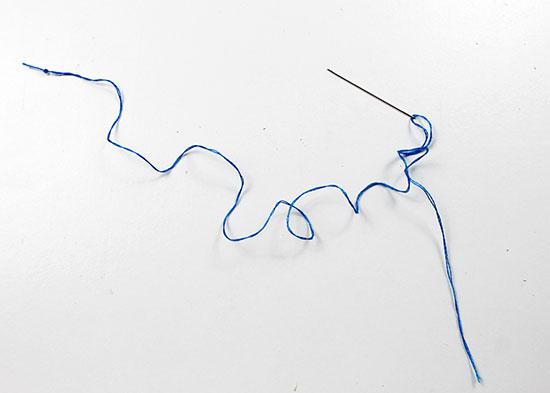
- Separate a 26″-long piece of embroidery floss that matches the red felt, pulling two strands away from the floss. Thread an embroidery needle with the two strands of floss, then knot the end.
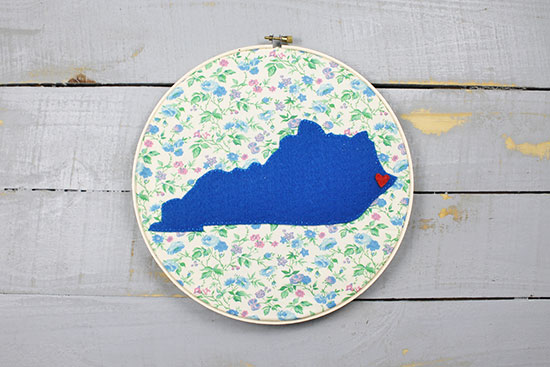
- Place the heart over the location of your hometown, then sew a running stitch all the way around the heart.

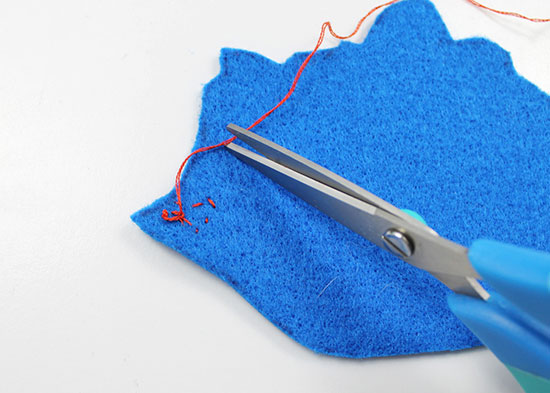
- When the heart is secured, flip the state over, knot the floss, and trim it.
- Cut two pieces of fabric that are slightly larger than the embroidery hoop. One piece of fabric will be the background, and the other will just help stabilize the hoop; the second piece of fabric can be a scrap fabric since no one will see it.
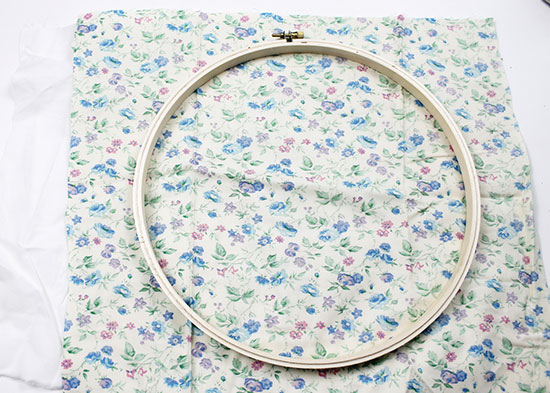
- Iron the two pieces of fabric, then center them over the part of the hoop without hardware with the background fabric on top.
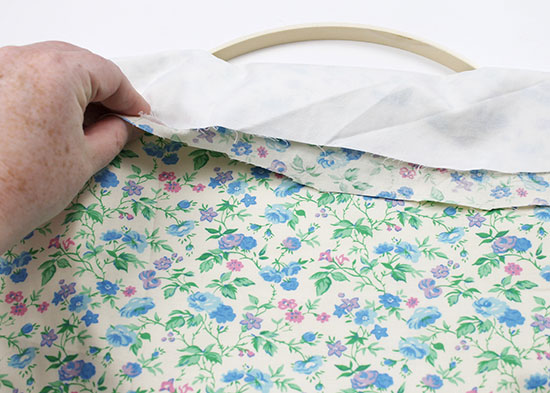
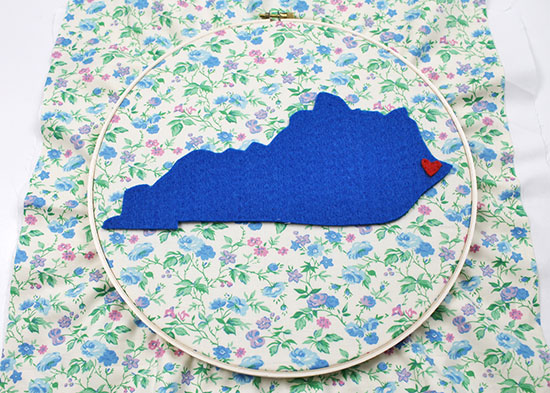
- Slide the part of the hoop with the hardware over the other part of the hoop, making sure the fabric is tight like a drum. Screw the top of the hoop to secure the fabric, then place the felt state on the fabric, centering it.
- Cut a 26″ long piece of embroidery floss. Separate two strands from the floss, then thread the two strands through an embroidery needle. Knot the ends.
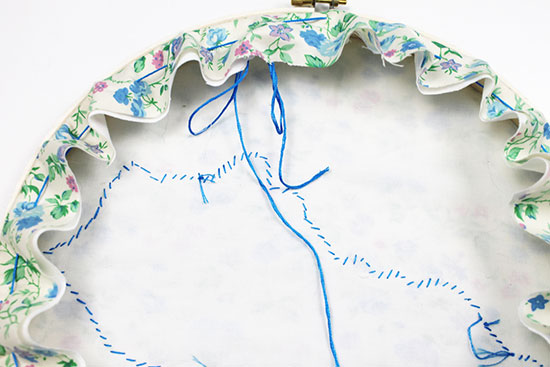
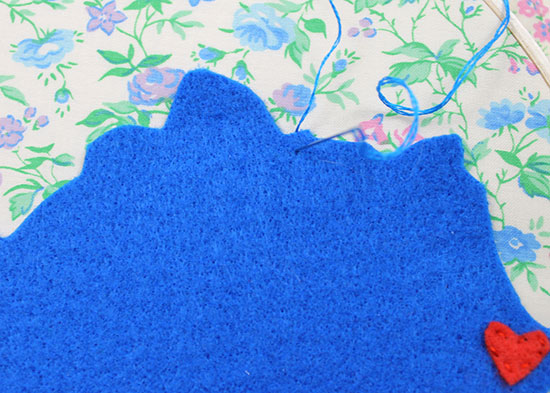
- Pull the embroidery needle from the back up through the front, right next to the felt piece at any point.

- Insert the needle into the felt about 1/4 ” from the edge to create a straight line.
- Pull the needle through from front to back. This is your first whip stitch.
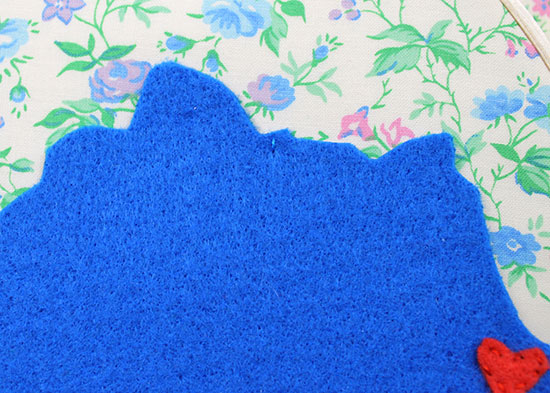
- Pull the needle up from back to front, about 1/4 ” from the first stitch.
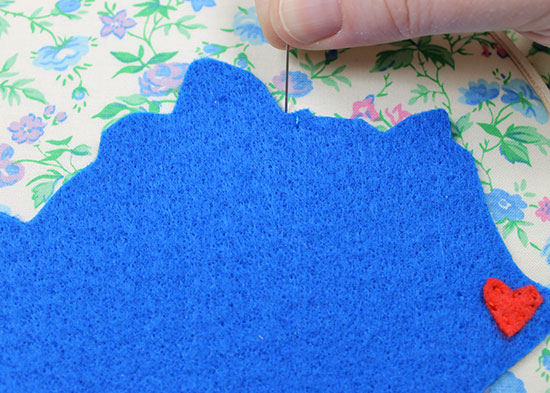
- Continue whip stitching all the way around the state, making the stitches as even as possible.
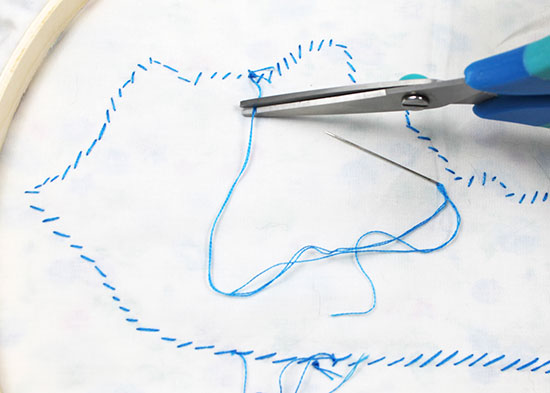
- Once you’ve worked all the way around the state, turn the work over to the back. Slide the needle through a nearby stitch, then knot and trim the embroidery floss.
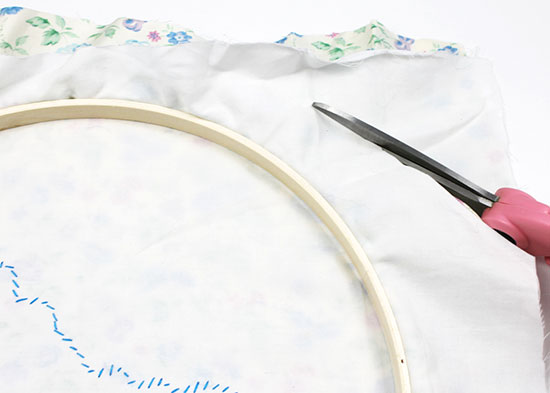
- Cut around the fabric to trim away any excess at the corners.
- Cut a piece of embroidery floss that’s slightly longer than the circumference of the embroidery hoop. Leave enough room to tie off the embroidery floss. Thread the floss through a needle, then sew a running stitch all the way around the hoop, leaving several inches of floss when you begin and gathering the fabric as you stitch.
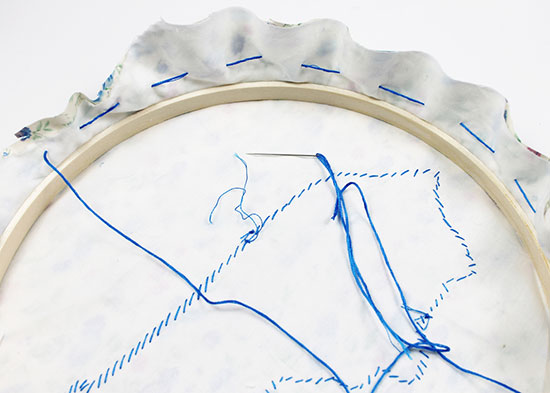
- When you reach the starting point again, pull both ends of thread to gather the fabric tightly around the back of the hoop. Tie the two floss ends in a bow. Tip: If you ever need to remove the fabric from the hoop to clean it, simply untie the bow and loosen the fabric.