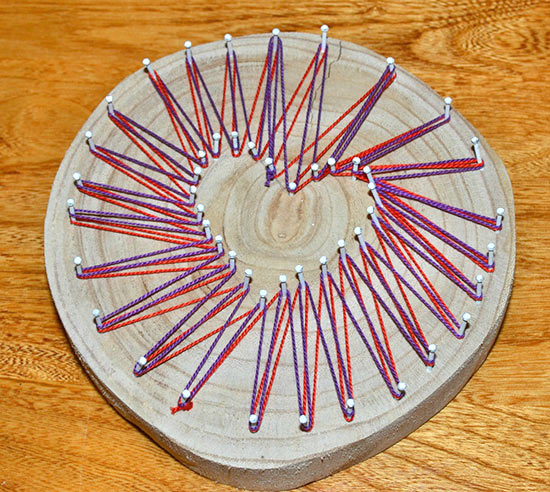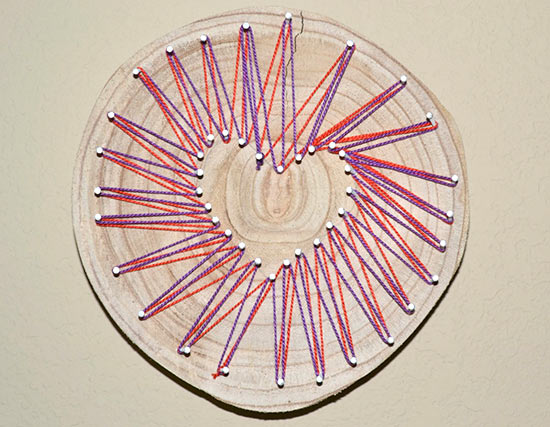
String art is a fun project you and your kids can do together, and it’s a perfect gift for a parent, grandparent or teacher, or to keep and hang on your wall.
Once you have the basics down you can use all sorts of shapes in the center, from the outline of your state to your child’s initial letter or the first letter of your last name. Keep the string winding in a regular pattern or go wild with multiple colors wrapped haphazardly.
Difficulty level: Intermediate
Time to complete: 1 to 2 hours
Age range: 12+
Things you’ll need:
Round wood slice
White distressed nails
Cotton embroidery thread
Scissors
Tack hammer
Pencil
Things to do:
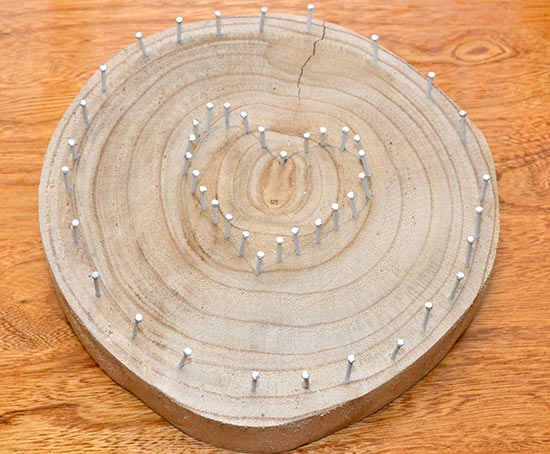
1. Decide which side of the birch slice is the front and which part you want to be the top. Use something heart-shaped as a guide or freehand draw a heart shape at the center of the wood slice.
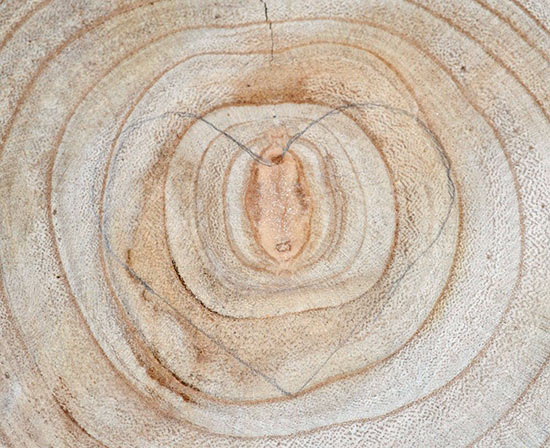
2. Beginning at the bottom of the heart, hammer in nails around the heart shape. There are 48 nails in a pack, so I used 24 on the heart and 24 around the outside edge, but you can space them however you like.
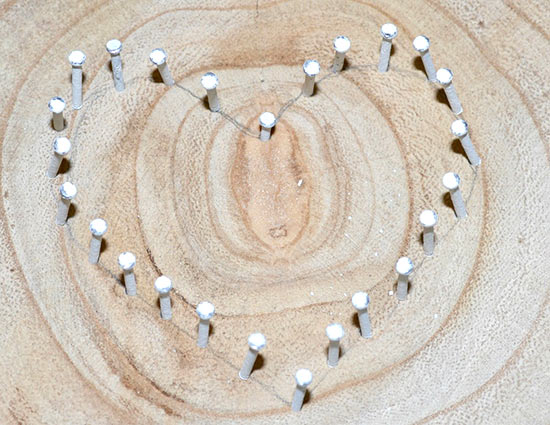
These nails have a portion toward the tip that looks like a screw; that’s a good guide to how deep your nails should be. You can mark out in advance where you want each nail to go or just eyeball it like I did. Banging on the nails will cause some of the paint to chip off, which gives them an even more weathered look. The nails don’t have to be perfectly straight.
3. Hammer the remaining nails around the outside of the birch slice. I started by putting them in the positions of a clock face, then filled in between them until I was out of nails.
4. Choose the thread you want to use and tie it to one of the nails.
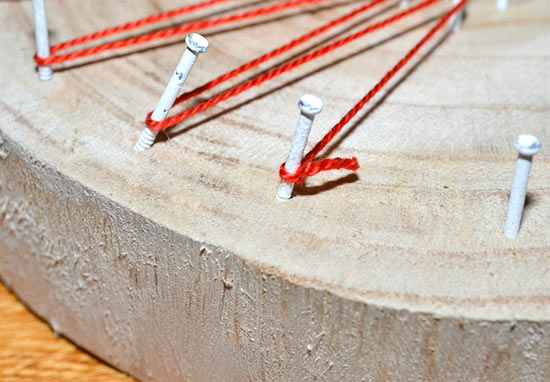
5. Begin wrapping the thread as you like, first around a nail on the outside, then a corresponding nail on the inside. Because I had the same number of nails in each section, I could wrap around each nail once all the way around. You may need to do something different if you have a different number of nails or if you want a different look.
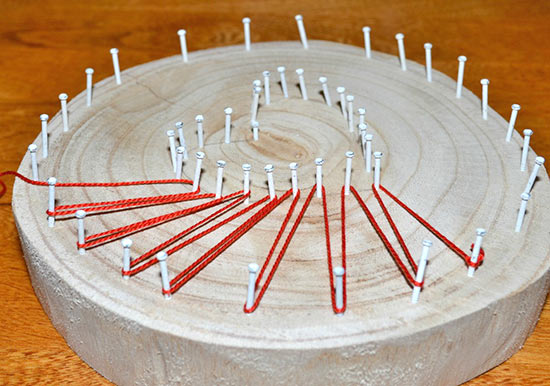
6. When you’ve made it all the way around, cut the thread, leaving a couple inches of tail. Tie the thread to the nail, then tie the thread ends together and trim.
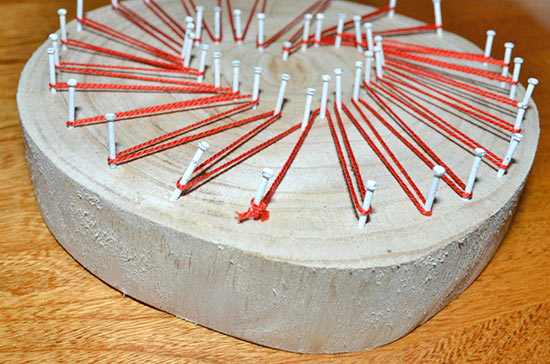
7. Just for fun I added a second color, starting at a different place and from the inside instead of the outside. You can continue to add colors, work in different directions, wrap double instead of single, whatever you like. It’s hard to decide when to stop!
