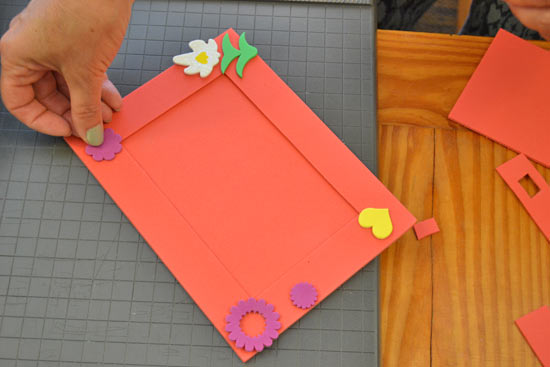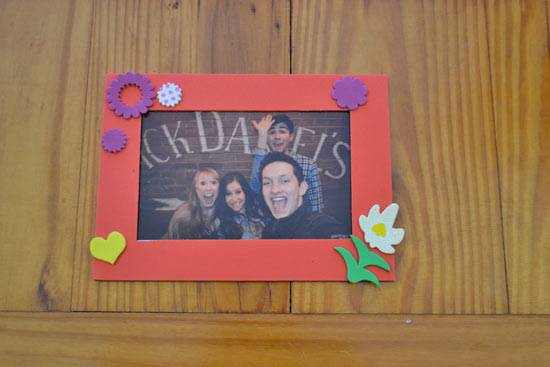
This magnetic foam photo frame is the perfect craft for a child’s party or event. The kids will love mixing and matching the colors and shapes to create a look that reflects their unique style. With a little help, children of all ages can complete this simple activity. They’re sure to enjoy the finished product, displaying their favorite memories in a custom frame.
Difficulty level: Beginner
Time to complete: 10 Minutes
Age range: 5 and up. *If frame is pre-cut.
Things you’ll need:
Foam Shapes
Paper cutter or Scissors
Craft knife
Ruler
Pen or Pencil
Foam Sheets
Magnetic Strips
Tacky Glue
Things to do:
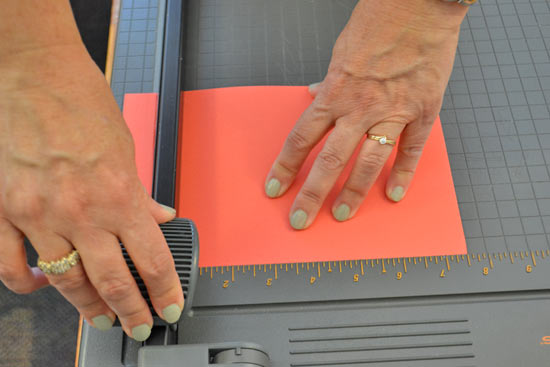
1. For a 4×6 photo, use your paper cutter or scissors to cut two pieces of foam that measure 7 1/2 x 5 1/2″.
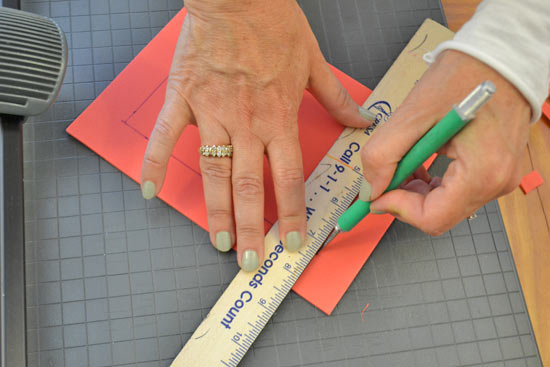
2. Take one piece of foam and measure a 1″ border from the edges. Mark with a pen or pencil.
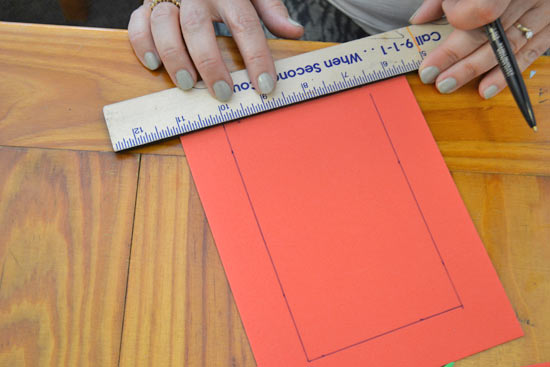
3. Use your craft knife to cut along the marked lines using your ruler for a straight edge. Remove the center rectangle, leaving a 1″ frame.
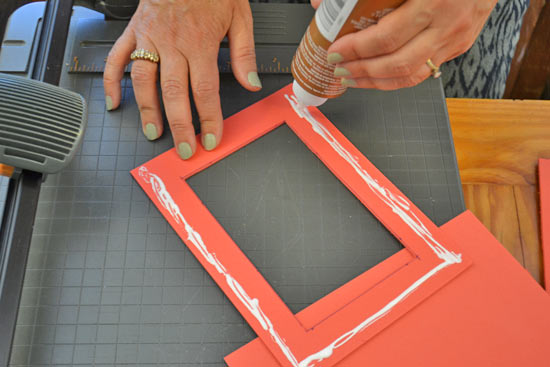
4. Apply glue to 3 sides of the 1″ frame shape, leaving room for the photo to slide in.
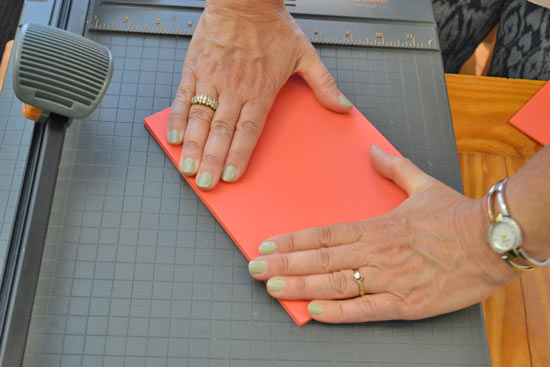
5. Place the 1″ frame shape onto the other 7 1/2 x 5 1/2″ sheet of foam with the glue side facing down. Press down firmly, so the two piece stick together.
6. Flip the frame upside down and apply your magnetic strips. Place one across the top, and one across the bottom.
7. Use the foam shapes to decorate the photo frame. Kids love to pick the shapes and colors they want to decorate with. Once the frame is dry, slide a picture in and admire your work!
