Difficulty level: Beginner
Time required: 30 minutes
Age range: 12 and up
Things you’ll need:
36mm sterling silver hoop earrings
Scissors
Bright Embroidery Floss
Tacky glue
Things to do:
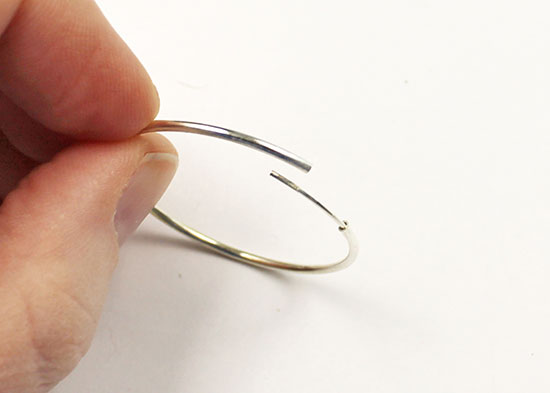
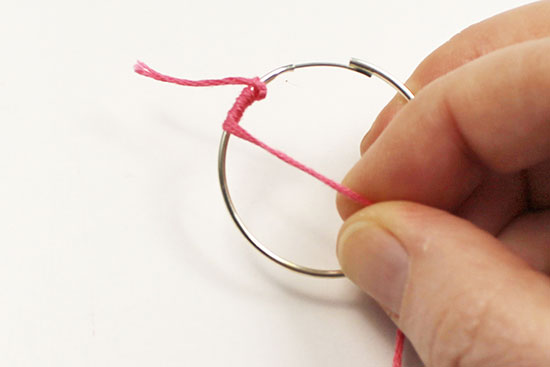
1. Open the hoop earring.
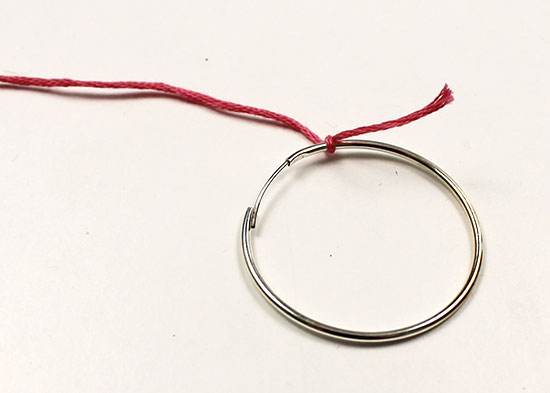
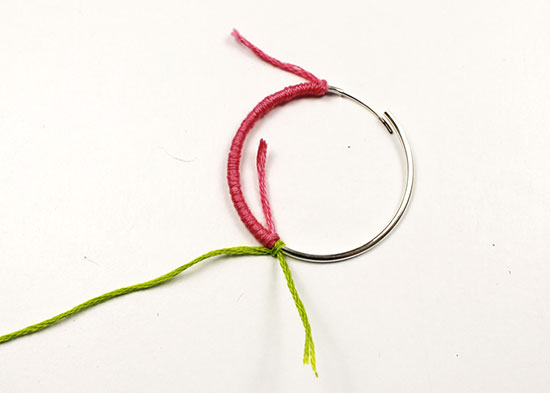
2. Cut a strand of embroidery floss that’s about 25″ long. Tie the end of the floss in a knot around the hoop, about 1/2 ” from the edge of the hoop’s opening.
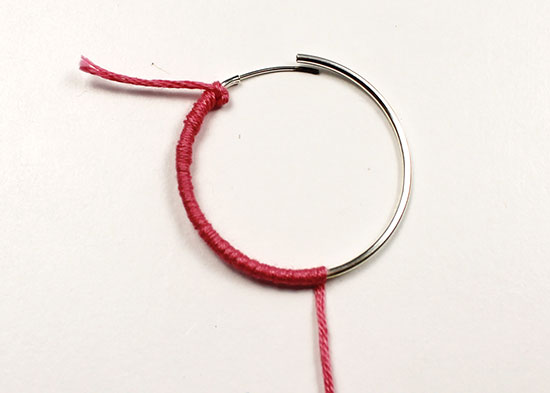
3. Begin wrapping the floss around the hoop, pulling tightly and pushing the floss wraps close together every few wraps.
4. Wrap until you are ready to change floss colors.
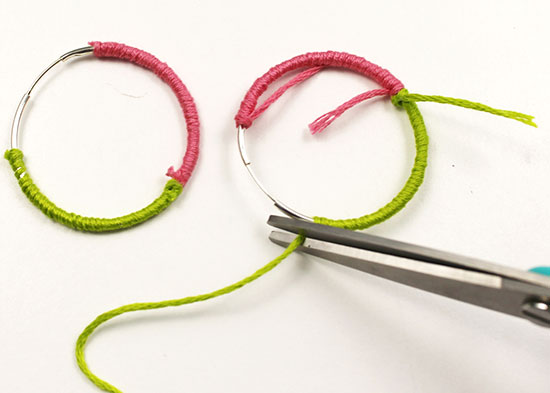
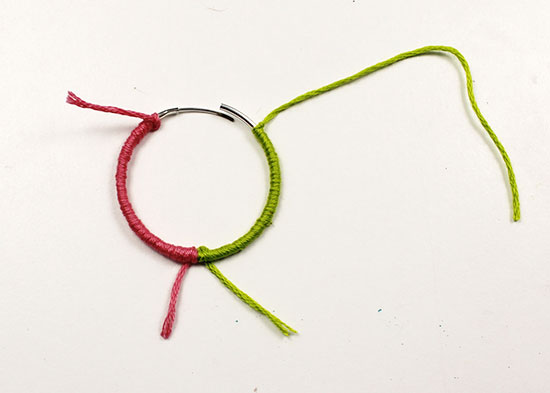
5. Tie a knot to secure the old floss color.
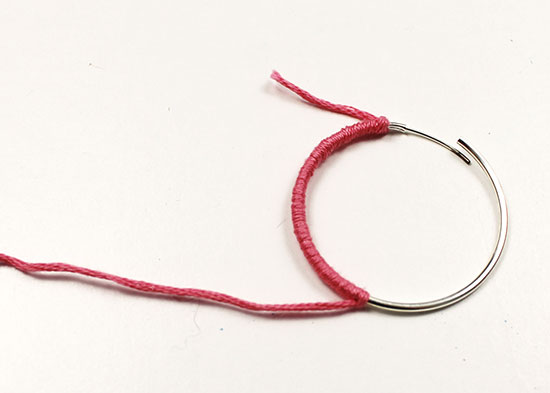
6. Trim the knot with scissors, leaving a 1-2″ tail that you’ll trim later.
7. Cut a second color of floss that’s again about 25″ long. Tie the second color of floss around the hoop right beside the old color’s knot.
8. Wrap the second color of floss until you’re ready to either change colors or until you reach about 1-2″ from the edge of the hoop. Tie a knot to secure the second color. If you haven’t reached the end of the hoop yet, continue adding colors until you do reach the end.
9. Add a dab of tacky glue to each knot to secure it.
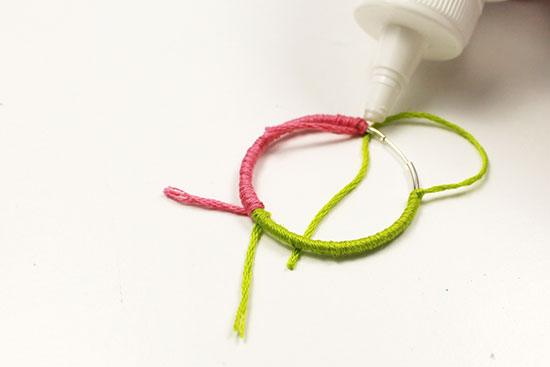
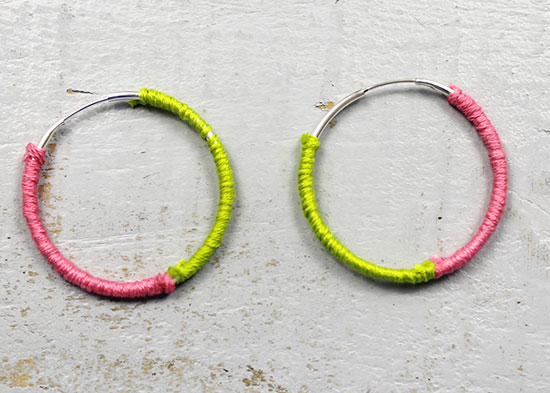
10. Repeat steps 1-9 for the second earring, wrapping them identically if you’d like. Allow the glue to dry on both earrings.

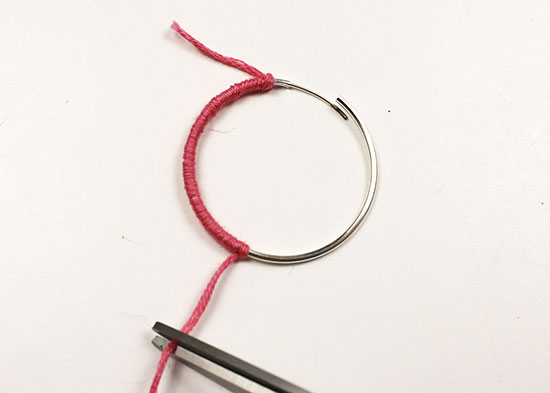
11. Trim the knots with scissors, cutting as close as possible to the knot without cutting into the knot.