Difficulty level: Beginner
Time required: 1-1/2 hours
Age range: 12 and up
Things you’ll need:
Scissors
Embroidery floss
Ruler
Things to do:
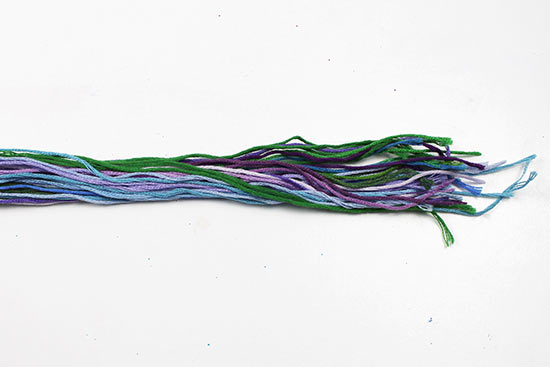
1. Cut 45 strands of floss that are each about 2 1/4 yards long, using whatever colors you’d like.
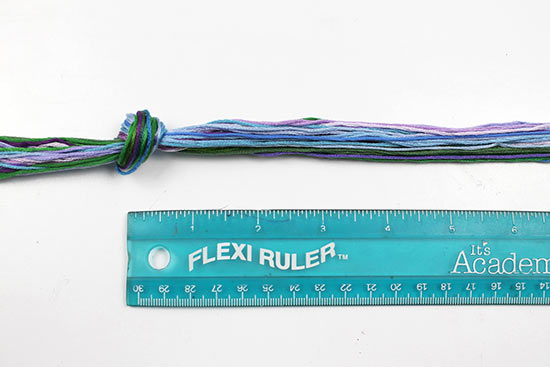
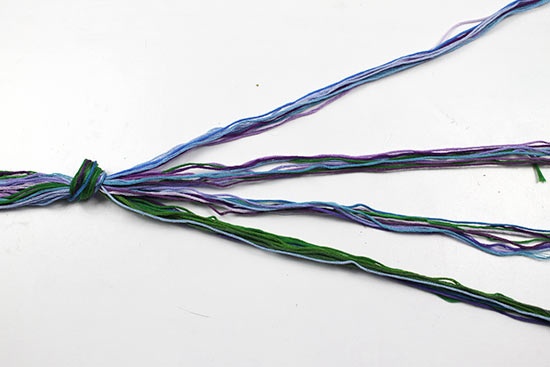
2. Holding all strands together, tie a knot about 22″ from one end.
3. Divide the floss into 4 groups.
4. Tie knots that are about 1″ apart in one group of floss. Tip: If your necklace is moving around too much, place a heavy object such as a book over the strands above the knot to keep the floss in place.
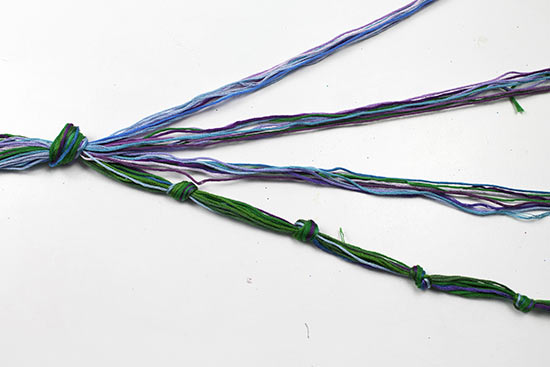
5. Repeat for the other 3 groups of strands, trying to stagger the knots so that they are not perfectly aligned.
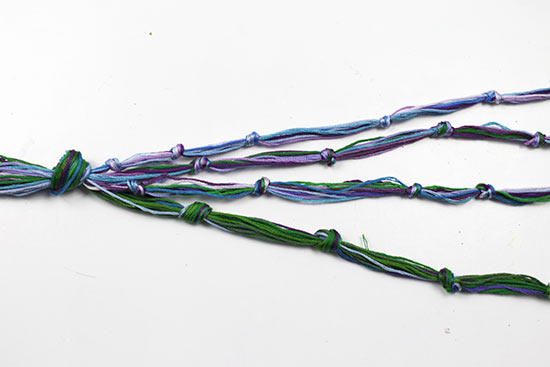
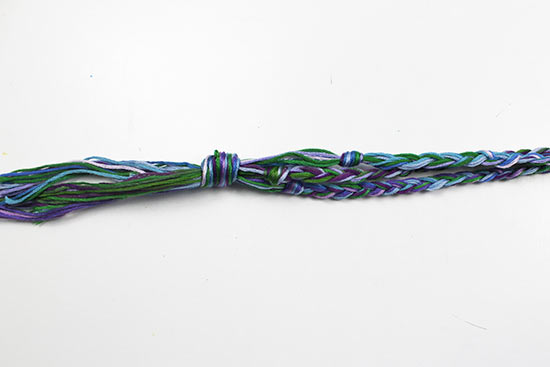
6. Tie all 4 groups together with a knot, leaving a tail that’s about 4″ long.
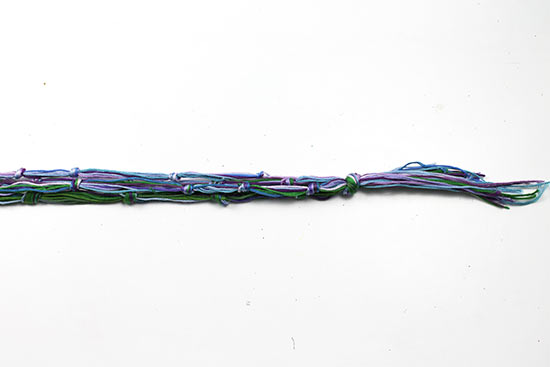
7. Moving back to the first knot you made, begin knotting all the strands together, placing the knots close together.
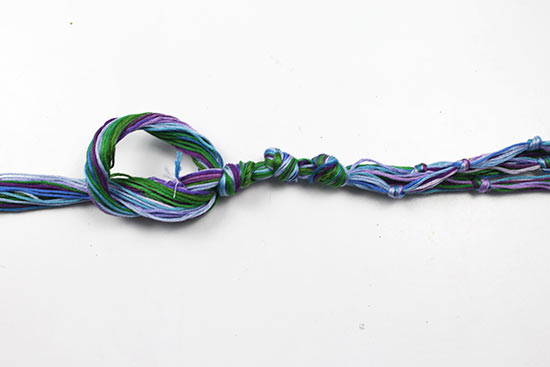
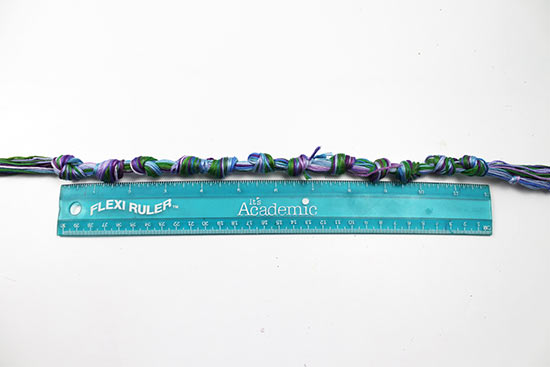
8. Continue to tie knots until the knotted section measures about 12″ long.
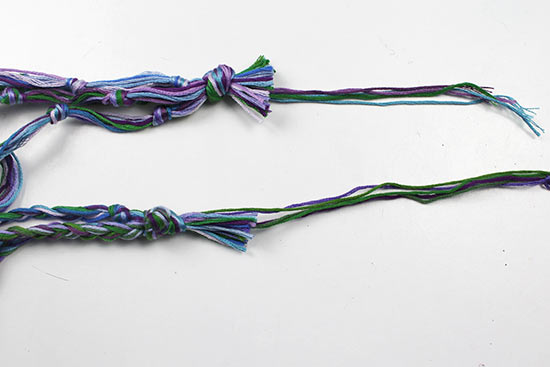
9. Divide the remaining floss into 3 groups.
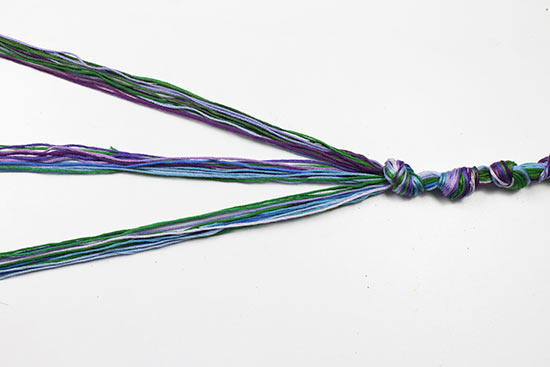
10. Begin braiding one group together until the braid is the same length as the first knotted section of your necklace.
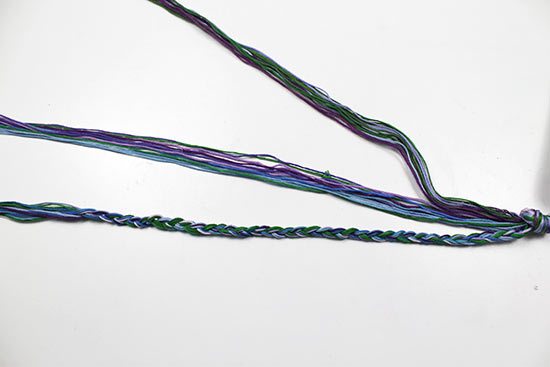
11. Tie a knot to secure the first braid.
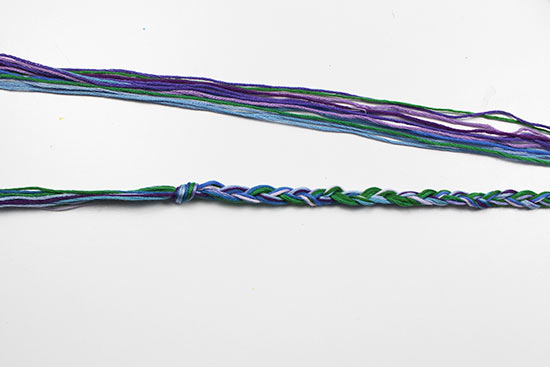
12. Repeat for the other two groups, braiding them and knotting the ends to secure them.
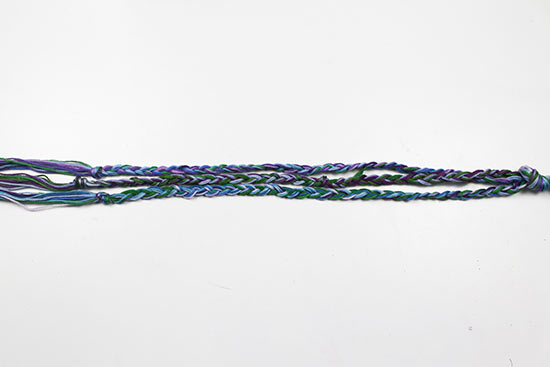
13. Tie one final knot to secure all the braids together.
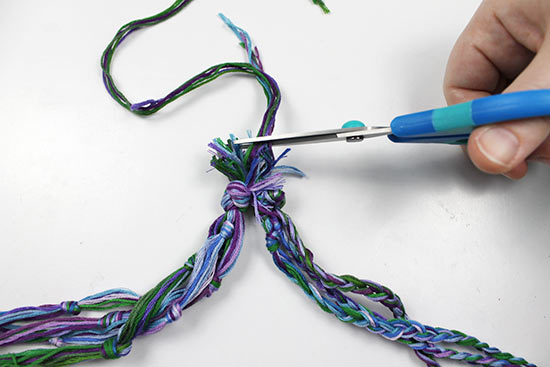
14. Separate 4 long strands from one end of the necklace, then trim the remaining strands down to about 1/2 “-1”.
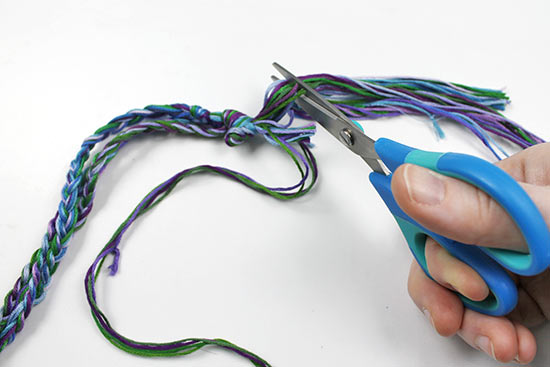
15. Repeat step 14 on the other end of the necklace.
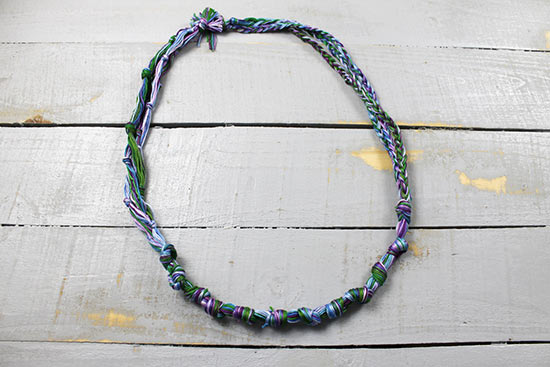
16. Tie the long strands from each necklace end together to close the necklace, then trim the long strands so they are even with the shorter strands.