
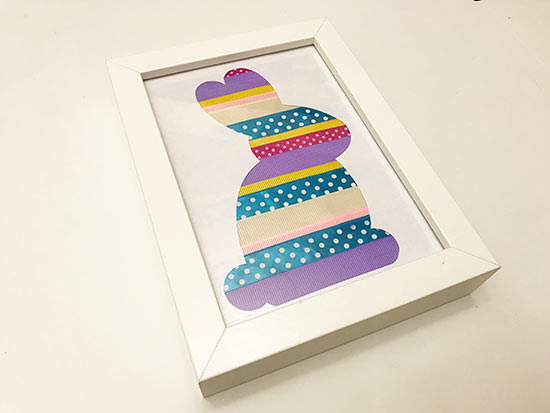
Create an adorable piece of wall art using scraps of ribbon in Spring shades. This tutorial shows a bunny but the same method will work for any fun shape!
Difficulty level: Beginner
Time required: 2 hours
Age range: 8+
Things you’ll need:
Ribbon
Tape
Cardstock
Scissors
Things to do:
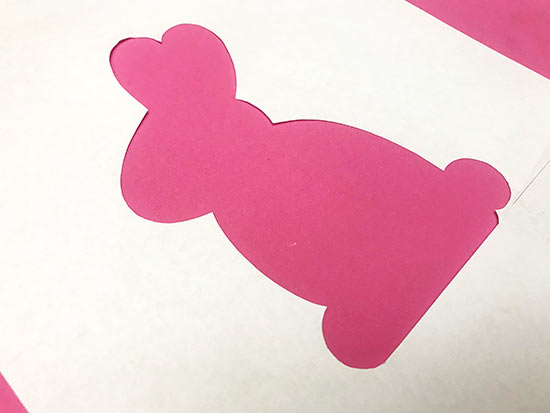
1. Sketch or print a simple silhouette of a bunny and cut the shape out of the paper, leaving the outer edges of paper, to create a bunny-shaped window in the piece of paper.
2. Cut several lengths of ribbon a small amount larger than the width of the bunny shape.
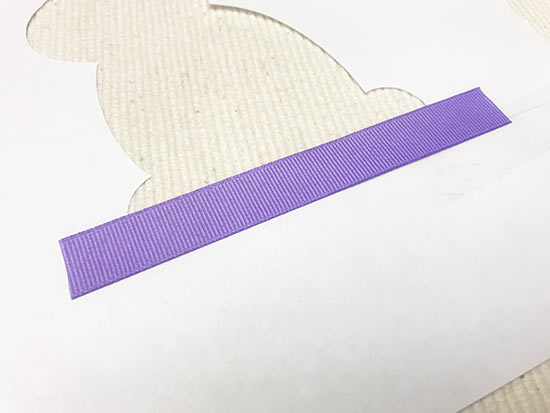
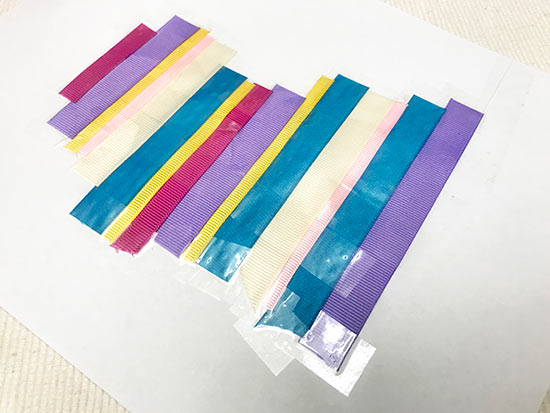
3. Begin working on the backside of the paper. Starting with one of the thicker pieces of ribbon, align the ribbon at the bottom of the bunny so both ends extend past the edges of the bunny and the bottom of the ribbon is slightly below the bottom of the bunny. Tape the ribbon in place at both ends. You may also choose to secure the ribbon at the bottom with a pieces of tape.
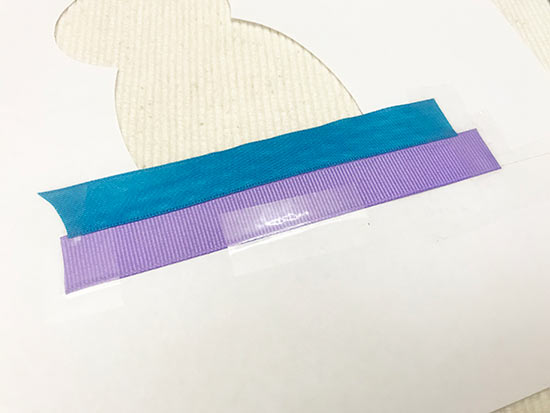
4. Align a second piece of ribbon with the first, slightly overlapping at the bottom edge, and tape both ends.
5. Continue adding pieces of ribbon and taping them until the entire bunny outline is covered with ribbon.
6. Turn the paper over, trim to size, and place it in a frame.