
Difficulty level: Beginner
Time required: 15 minutes
Age range: 8 and up
Things you’ll need:
Pencil (preferably one without an eraser)
Yarn
Small pompom maker
Scissors
Hot glue gun and glue sticks
Things to do:
1. Grab the pompom maker and connect the two pieces, if they are not already connected. Begin wrapping your yarn around one half of the pompom maker.

2. Continue wrapping until the pompom is nice and thick, then fold the half circle into the pompom maker center.
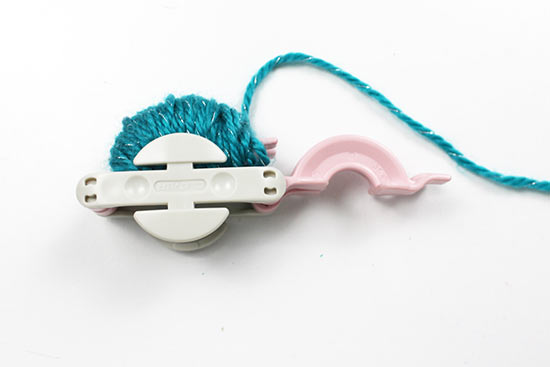
3. Repeat steps 1-2 on the other side of the pompom maker, then trim the yarn.
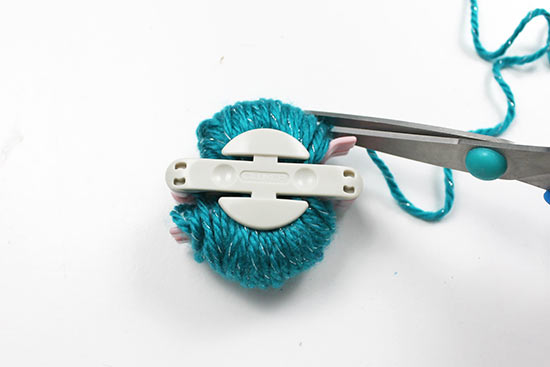
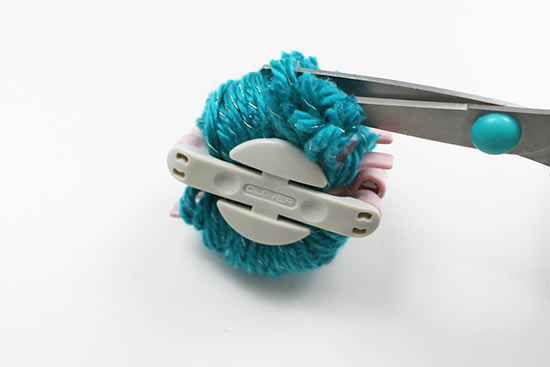
4. Cut the loops of the pompom on both sides of the pompom maker.
5. Cut a strand of yarn that’s about 5″ long. Pull the long strand around the center of the pompom maker, then tie a double knot to secure it.
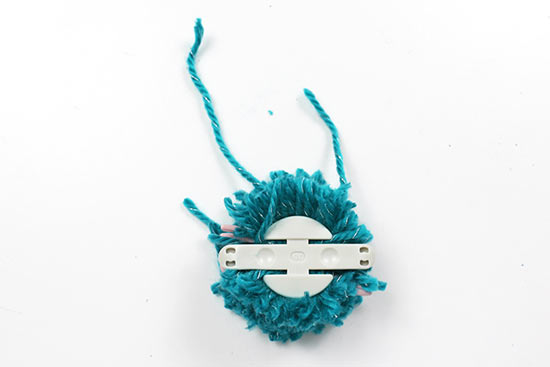
6. Remove the pompom from the pompom maker.

7. Give your pompom a trim, cutting any longer strands including the yarn tails you used to tie the pompom together.

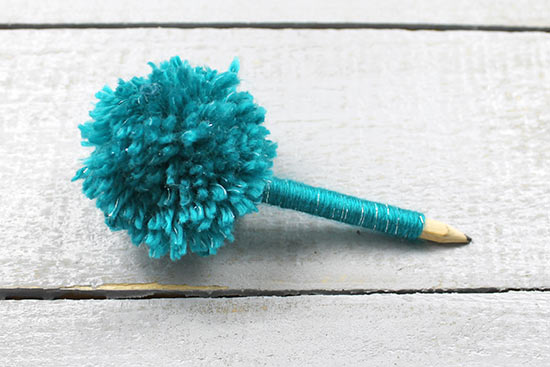
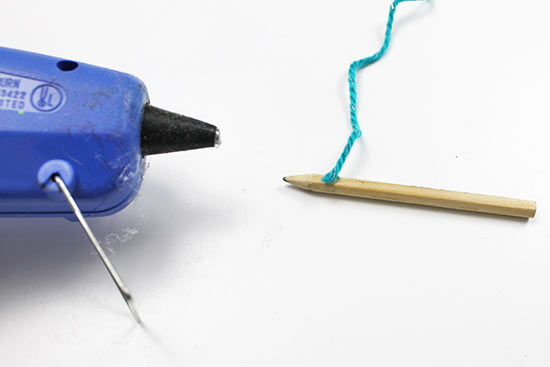
8. Add a dot of hot glue near the end of the pencil, then place the yarn tail on the glue dot. We left a bit of room at the end for sharpening the pencil.
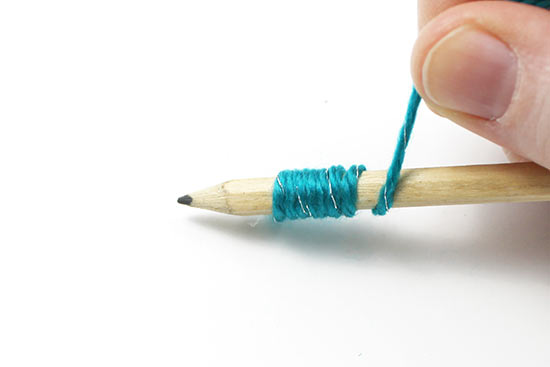
9. Begin wrapping the yarn around the pencil. Pause every few centimeters to push the yarn down the pencil. This will help you avoid any gaps and get a tighter wrap.
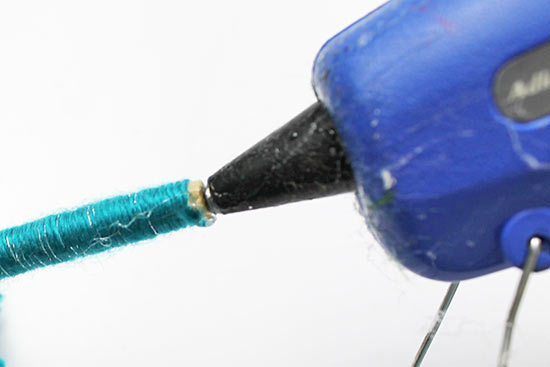
10. When you reach the edge of the pencil, add a dot of hot glue to secure the end.
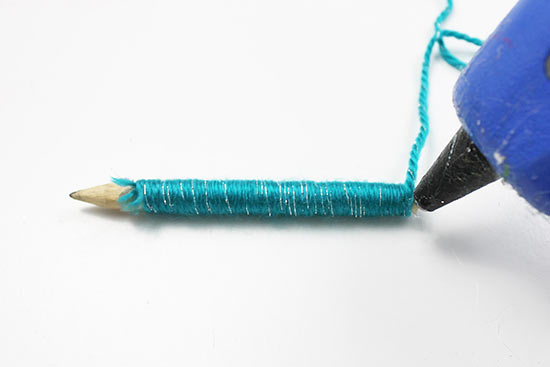
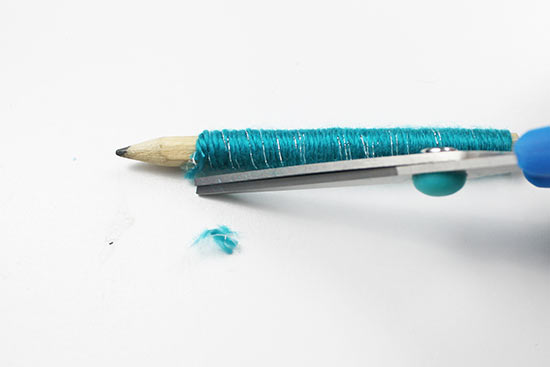
11. Trim away the yarn, cutting as close to the pencil as possible.

12. Trim the yarn tail on the opposite end of the pencil, if necessary.
13. Add a dot of hot glue to the flat end of the pencil.
14. Place the pompom on the hot glue to secure it.
