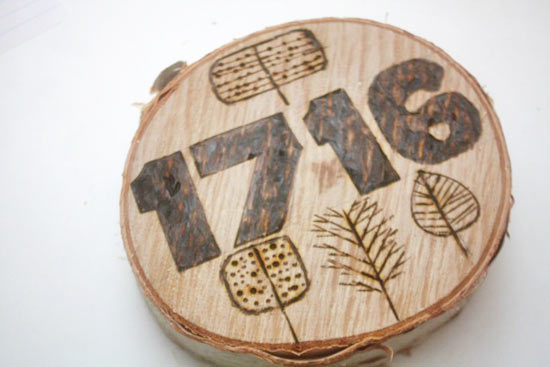
This wood slice address piece is perfect for your winter porch display. Adorn it with some lovely tree patterns, pinecone images or even just some pretty swirls. You’ll want to sand your wood slice fairly smoothly before you begin the burning process and, if you plan on exposing it to the elements, sealing with polyurethane will keep it looking fresh longer.
Difficultly level: Difficult
Time required: 1 hour
Things you’ll need:
Large wood slice
Sand paper
Wood burning tool and tips
Pencil
Ruler
Things to do:
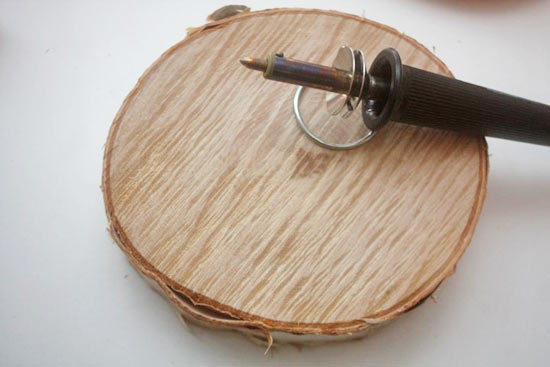
1. Sand the face of the wood slice you want to use down so that it’s nice and smooth and then tap it firmly on a hard surface to remove all sawdust.

2. Plug in your wood burning tool with the chisel tip attached.
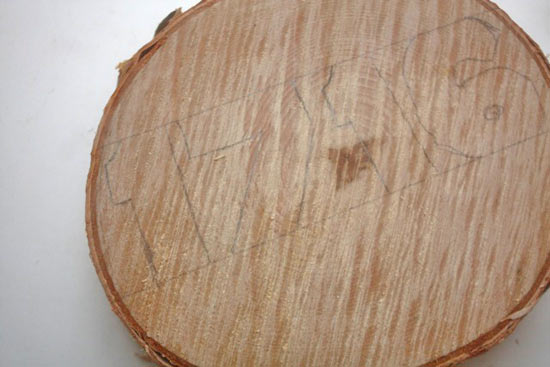
3. Using your ruler, mark off the top and bottom line where your numbers will be and sketch out your house number between them, centering them on the wood slice.

4. Draw in the outline of any embellishments you want to add.
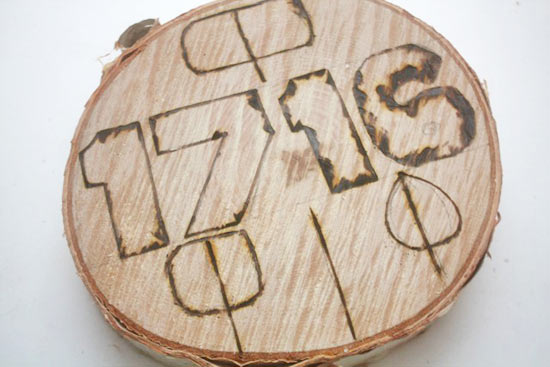
5. With the chisel tip, outline your numbers and embellishments.
6. Replace the chisel tip with the filler tip and fill in the numbers.

7. Finish off embellishments as needed with the appropriate tip, here we’ve used the pointed tip to add dots to the embellishments.