
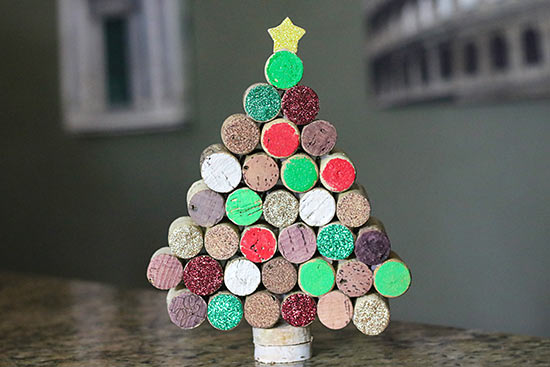
Are you in the Holiday Spirit and have a few wine corks lying around? Here is is how to make your own festive DIY Wine Cork Christmas Tree:
Difficulty level: Beginner
Time required: 1 hour plus paint drying time.
Age range: 10+
Things you’ll need:
Unfinished Wood Country Stars
Christmas Apple Barrel Acrylic Paint Set
Garnet Red Extra Fine Glitter
Emerald Green Extra Fine Glitter
Champagne Extra Fine Glitter
Champagne Extra Fine Glitter
Champagne Martha Stewart Multi-Surface Metallic Craft Paints
Sunflower Gold Extra Fine Glitter
Mod Podge

Things to do:
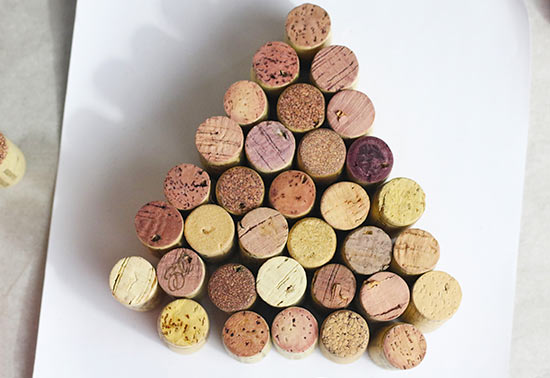
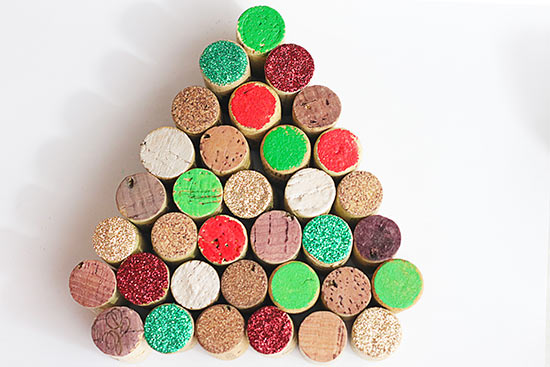
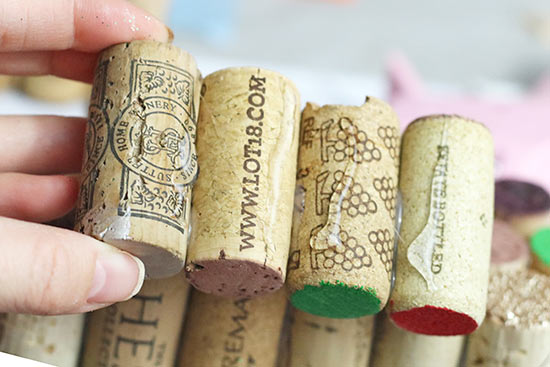
1. Find similar sized wine corks and lay them out in a Christmas tree formation. I used 34 corks for this project. The largest row of corks I used was 7 across. I made one row of 6 corks under the row of 7 corks. For each row above the largest row, I used one less cork, until I reached a row with only one cork.
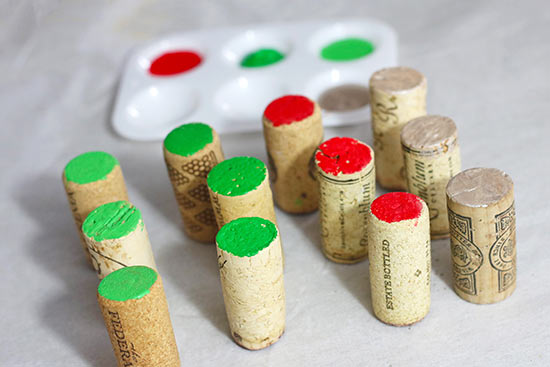
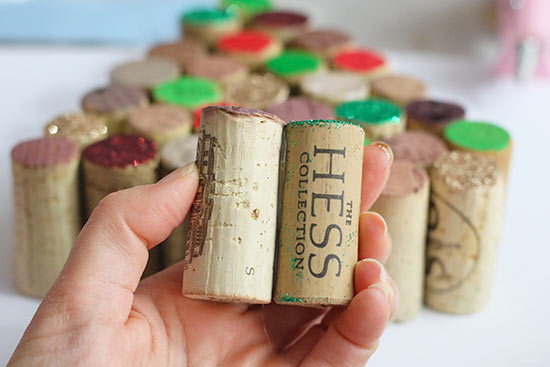
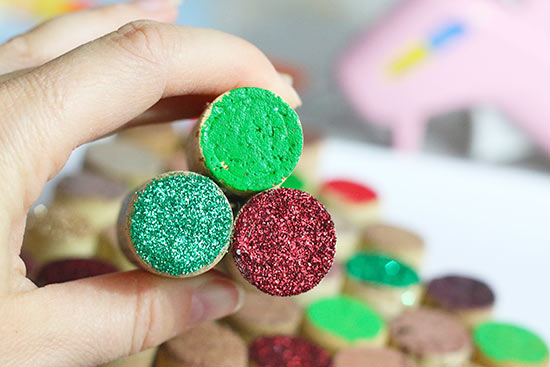
2. Lay a few corks aside that have a nice wine stain on them. Then, grab a few with little or no wine stain and paint the tips with the Christmas Apple Barrel Acrylic Paint Set and the Champagne Martha Stewart Metallic Craft Paint. Then, set the painted corks aside to dry.
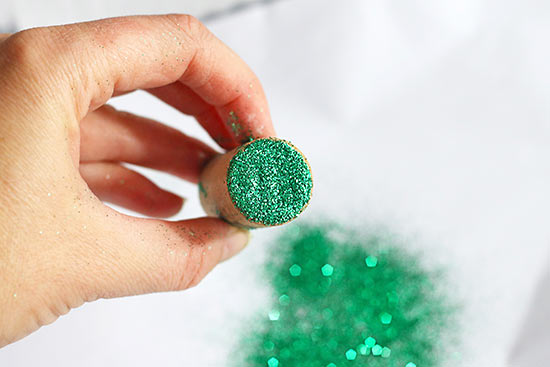
3. To add some glitter to the wine corks, brush some Mod Podge onto the tip of the cork.
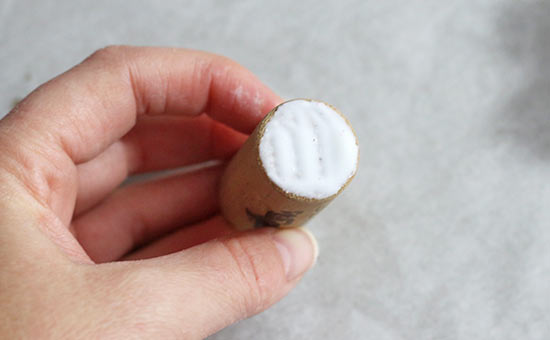
4. Over a paper lined container, generously pour glitter over the Mod Podge. Then shake off extra glitter. Repeat with same glitter color.
5. Before starting the next glitter color, fold the piece of paper in half and pour the excess glitter back into the glitter container.
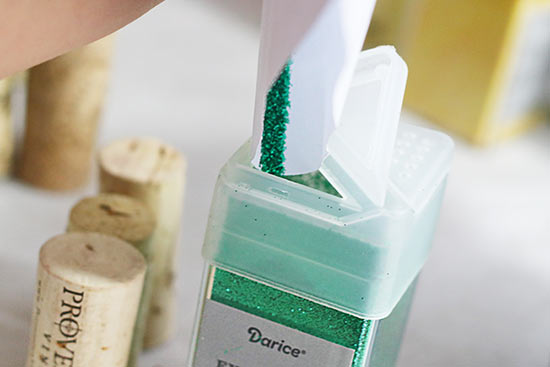
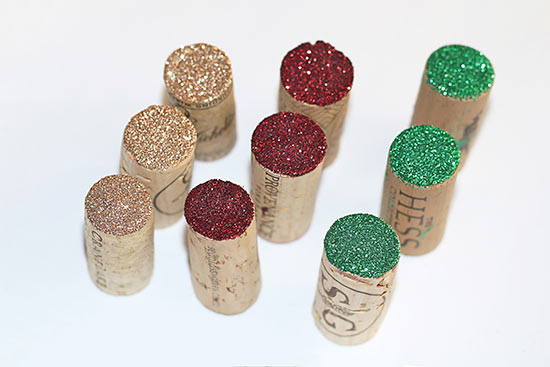
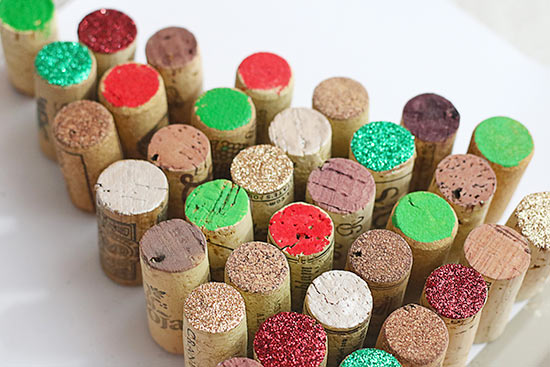
6. Repeat with other glitter colors. Be sure to pour the excess glitter back into its container before starting a new color. I used Emerald, Garnet and Champagne Extra Fine glitter colors. Then, set aside glitter corks to dry.
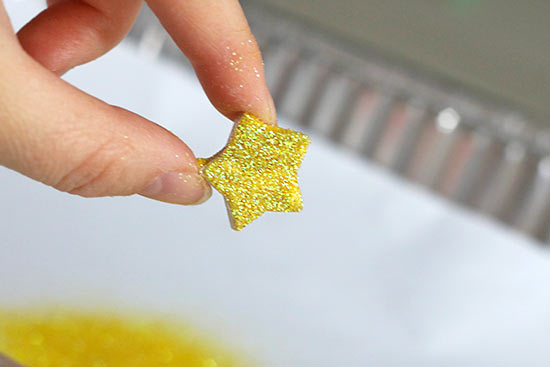
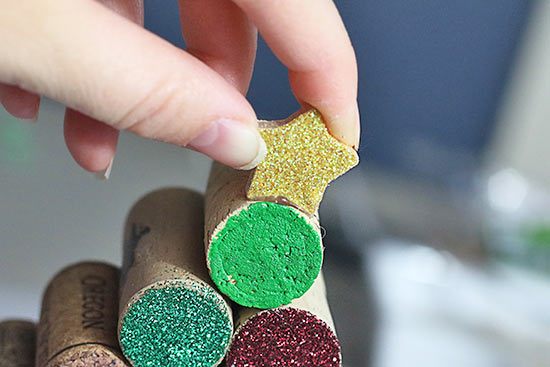
7. Brush on a coat of Mod Podge onto the Unfinished Wood Country Star.
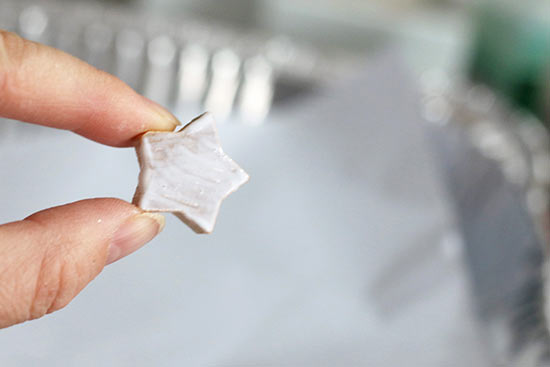
8. Generously pour on the Sunflower Extra Fine glitter. Then pour the excess glitter back into the container. Then set the country star aside to dry.
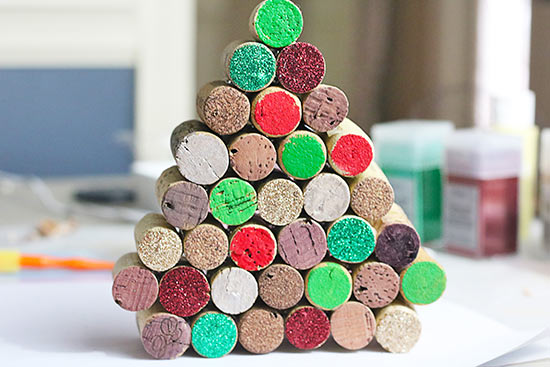
9. Once the painted and glittered corks are dry, arrange the corks in desired layout, spreading out the different colors.
10. Starting with the bottom row, place a line of hot glue down the side of one of the corks.

11. Press the next wine cork side into the glue, hold for a few a minutes until the glue dries. Repeat this step until you finished the end of the row.
12. Continue to glue each row together, until you have reached the top.
13. Starting with the top row, center each row above the next and glue into place.
14. Place the glue on the inside edges of each cork, then continue gluing each row to the next. Remember to center each row.
15. Repeat step above until all rows are glued together.
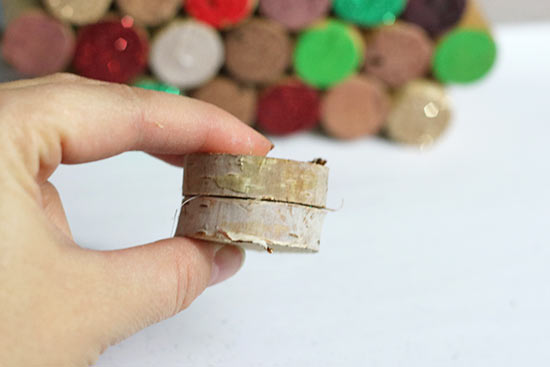
16. Place some hot glue on the top of the bottom wood slice.
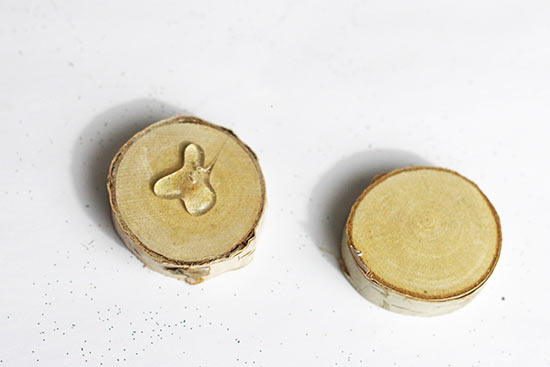
17. Then, hold the two slices together tightly for a few moments until the glue dries.
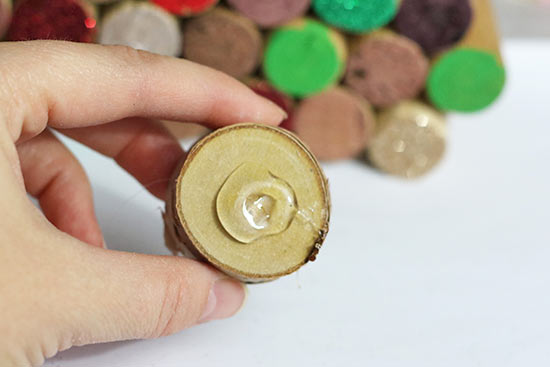
18. Place a large amount of glue on top of the top wood slice.
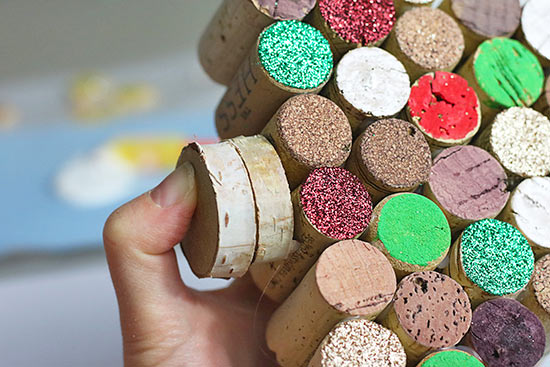
19. Next, press and hold the the wood slice base to the bottom center of the wine cork Christmas tree. Hold for a few moments until glue is dry. Be sure the base is secure. Add extra glue if necessary.
20. Place a small amount of glue on the bottom edge of the wooden country star.
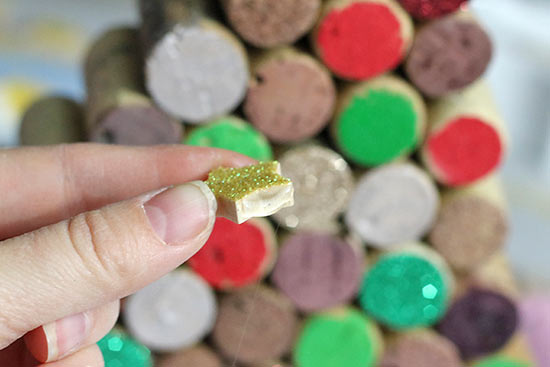
21. Press and hold the country star to the top of the wine cork Christmas tree.
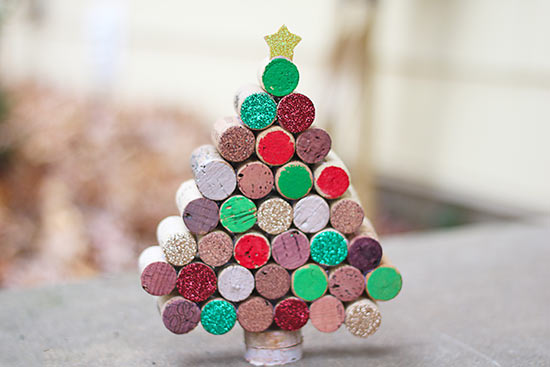
Voila! You now have your own DIY Wine Cork Christmas tree.