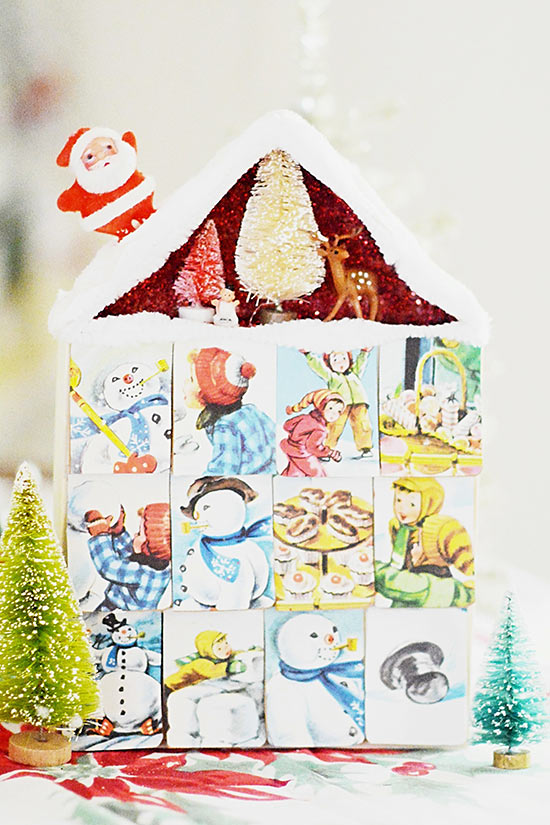
Count down the 12 days of Christmas with this retro themed, simple kitschy to make wooden Advent Calendar.
Difficulty level: Intermediate
Time required: 60+ minutes
Age range: 12 and up
Things you’ll need:
Unfinished wood shadow box
Mod Podge
Glitter
Miniatures
Paint brush
Christmas/Winter themed scrapbook paper or book pages
Card Stock
Ruler
Hot glue/hot glue gun
Pipe cleaner
Aleene’s True Glittered Snow
Things to do:
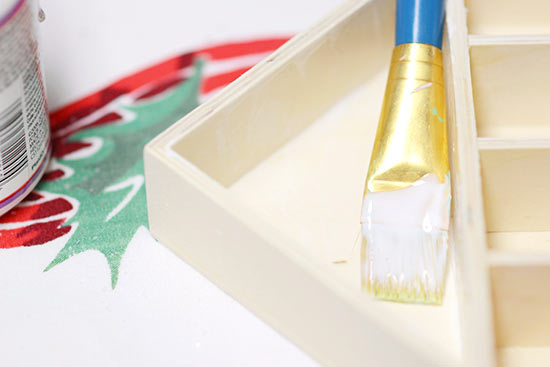
1. Use Mod Podge and coat the inside top area of your shadow box. Sprinkle with glitter and move your box around to coat the entire area in glitter. Allow to dry.

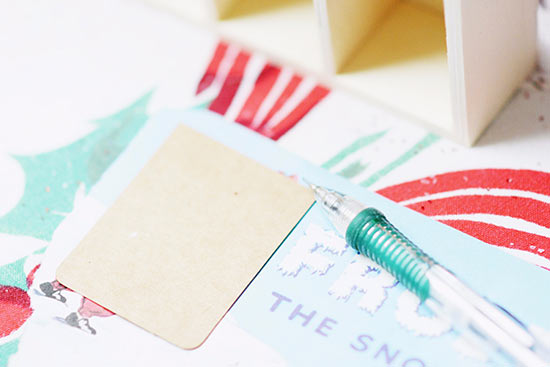
2. Measure out the size of your squares. Using card stock, cut 12 squares that will fit the size of your shadow box squares.

3. Cut out 12 pieces of scrapbook paper or book pages to completely cover each of the 12 pieces of card stock.
4. Glue each cut out piece of scrapbook paper or book page to the card stock.
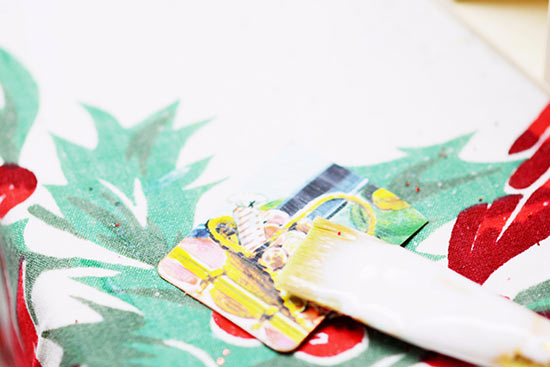
5. Using your mod podge, paint a thin layer over your pieces. Allow to dry.
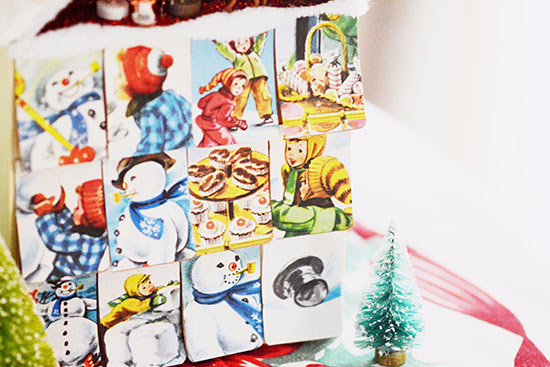
6. Using hot glue, attach each piece to your desired box in your shadow box. Glue the top of each piece only, so that the flap can securely lift up.

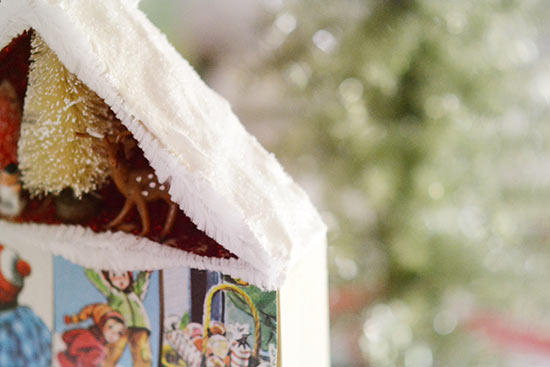
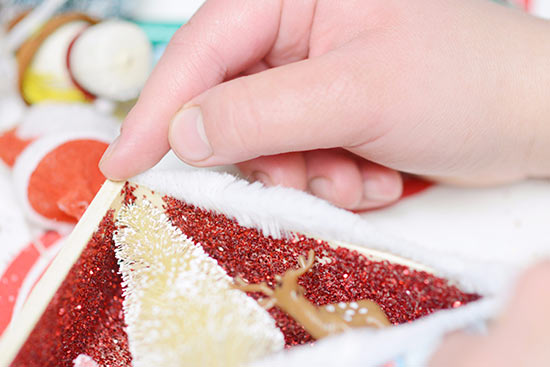
7. Using hot glue and pipe cleaner outline the top area of your box.

8. Using hot glue add your Christmas miniatures.
9. Use your Glittered Snow and a paintbrush to create your desired snow effect to the top of your box. Allow to dry. Add any additional pieces or miniatures as you see fit.