
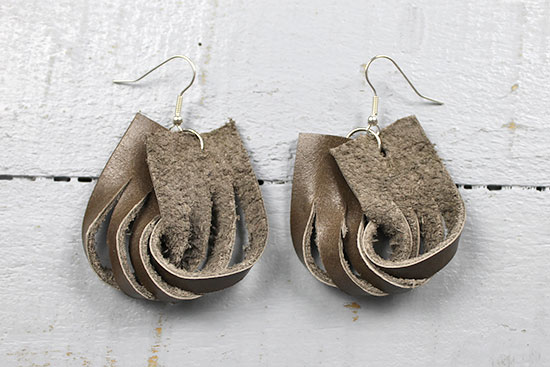
 Difficulty level: Intermediate
Time required: 20 minutes
Age range: 12 and up
Things you’ll need:
Fish hook earring wires
Leather or suede remnants
Grid ruler
Pencil or other marking tool
Leather punch
Craft knife
Self-healing mat
Scissors
Two 10mm jump rings
Flat-nosed jewelry pliers
Things to do:
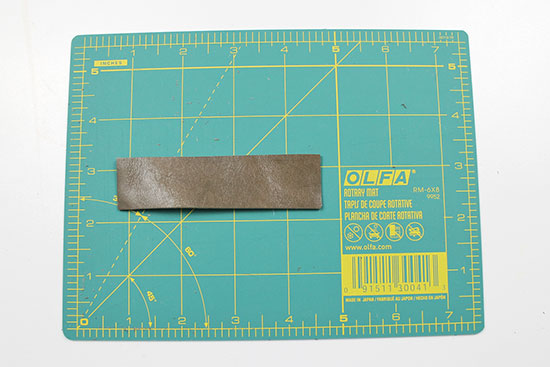
- Cut a piece of leather to 4″ long by 1″ wide.
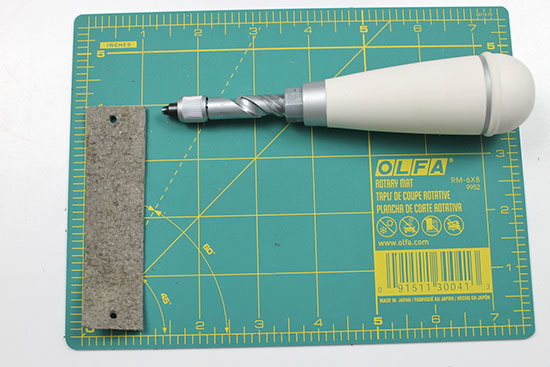
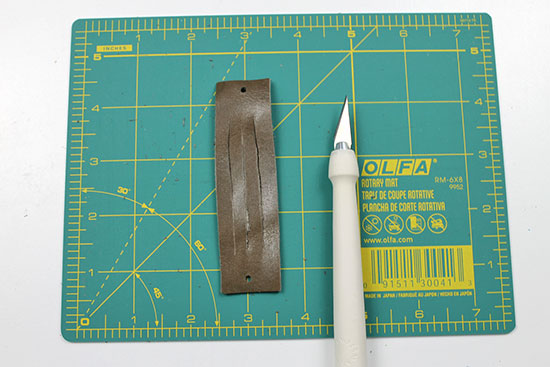
- Using a leather punch, punch a hole in the center of each short end, about 1/2 ” from the edge.
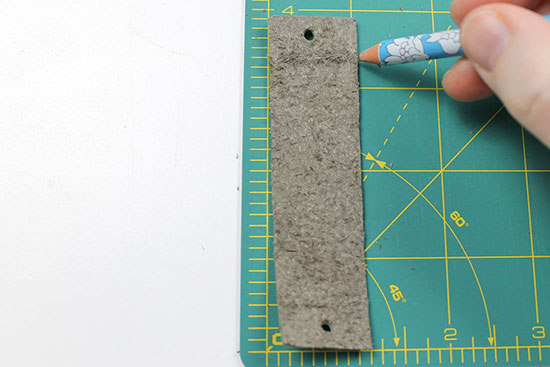
- Using a pencil or marking tool, mark a straight line across the width of the leather 1″ down from each edge.
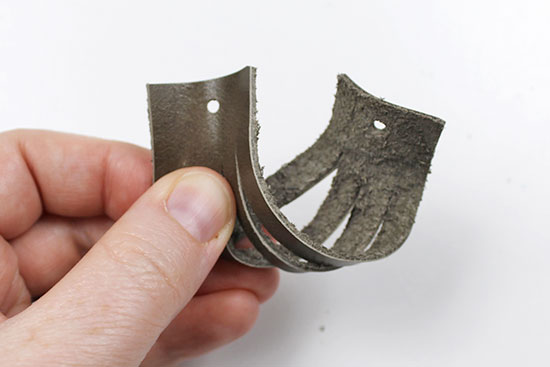
- Using a craft knife, cut a line 1/4 ” from the edge of the leather, cutting only between the two marked lines from step 3.
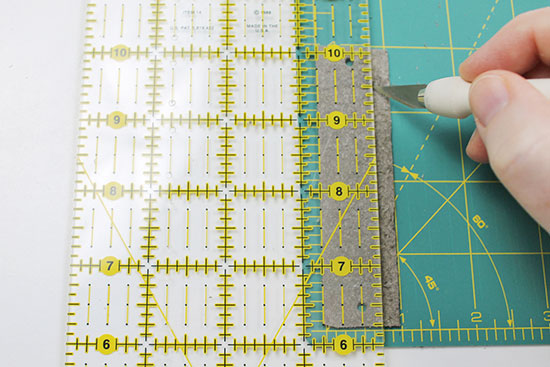
- Cut two more lines: one 1/4 ” from the first line and another one 1/4 ” from the second line.
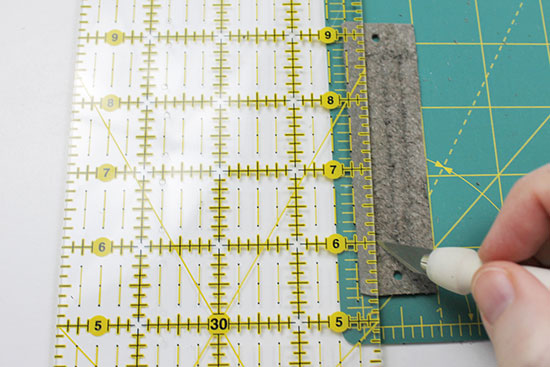
- You should have three cut lines in the middle of the leather piece.
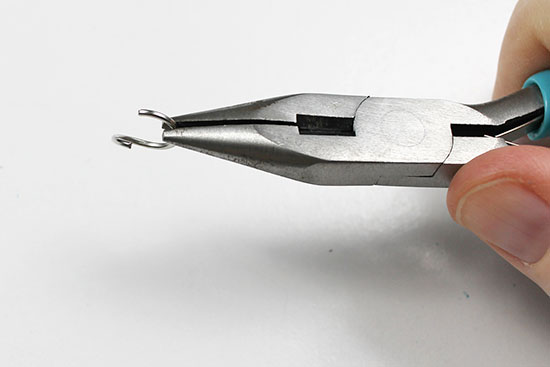
- Using jewelry pliers, open a jump ring. Push one side of the ring away from you, rather than pulling the ends apart in the center, as this will weaken the ring.
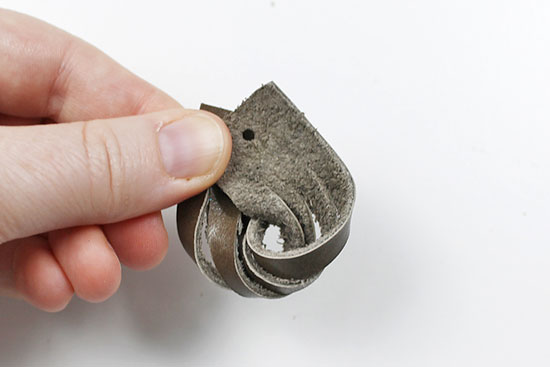
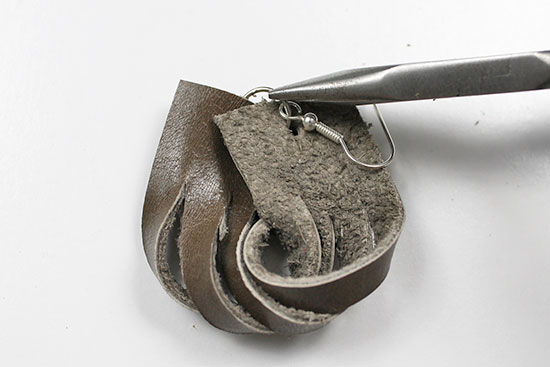
- Fold the leather piece in half, bringing the short ends together.
- Lay one short end of the leather piece over the other with the wrong side of the leather on top.
- Insert the jump ring through the two short ends of the leather.
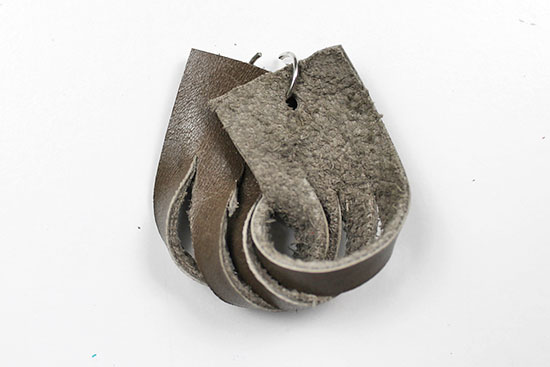
- Insert the jump ring through the earring wire.
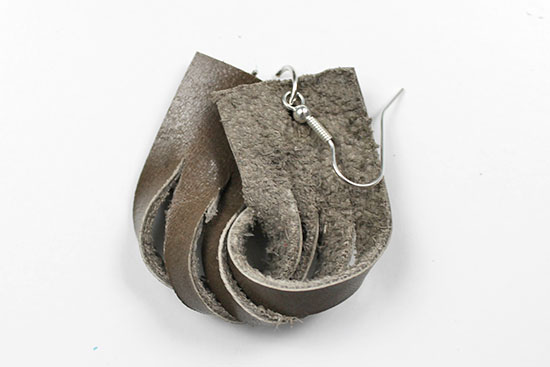
- Using the pliers, close the jump ring securely.
- Repeat steps 1-12 to create a second earring.