Difficulty level: Intermediate
Time required: 45 minutes
Age range: 12 and up
Things you’ll need:
Embroidery floss
Scrap cardboard that measures 2 1/4 ” high
Jewelry pliers
Necklace chain
4mm jump rings
Scissors
Things to do:
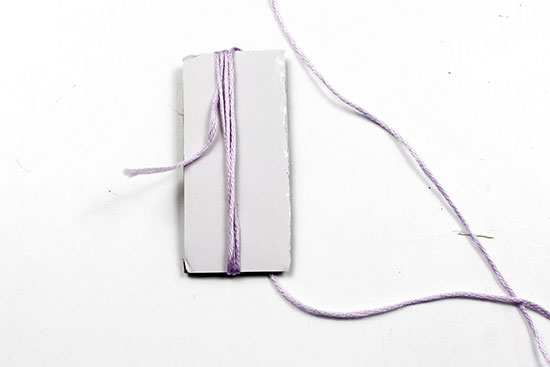
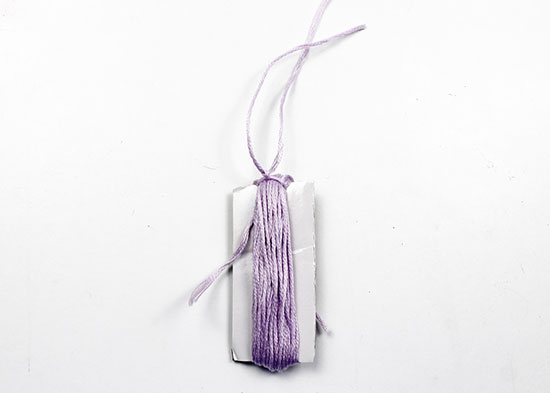
1. Begin wrapping embroidery floss around the scrap cardboard.
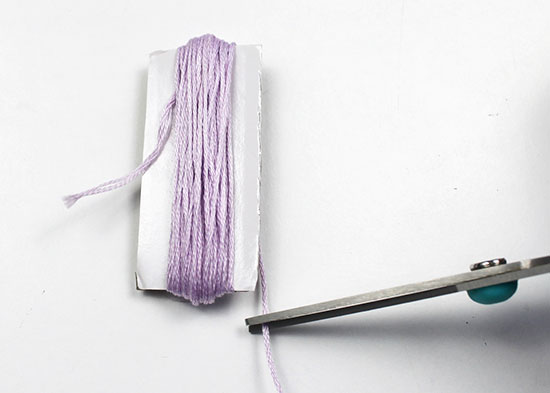
2. Continue wrapping until you’ve wrapped the floss around about 40 times. Cut the floss at the edge of the cardboard.
3. Cut a strand of floss that’s 6-8″ long. Wrap the floss around the wraps, slipping it behind the wraps. Tie a double knot in the top of the tassel.
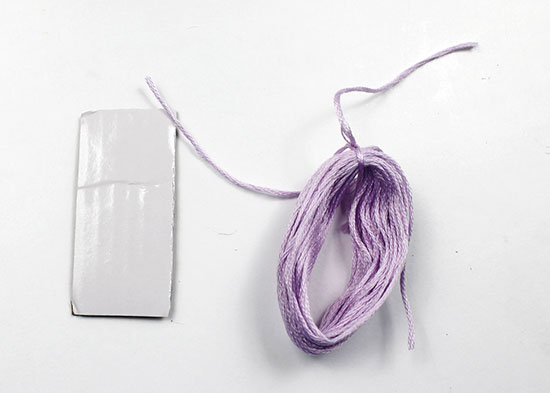
4. Slide the tassel off the cardboard.
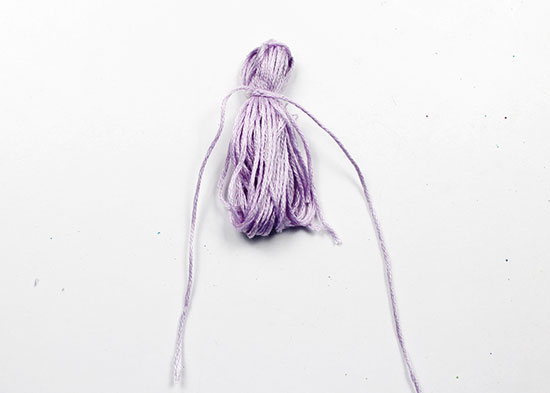
5. Fold the top tie down so that it blends in with the rest of the tassel. Cut a second 6-8″ strand of floss, then tie it around the tassel about 1/2 ” from the top knot of the tassel.
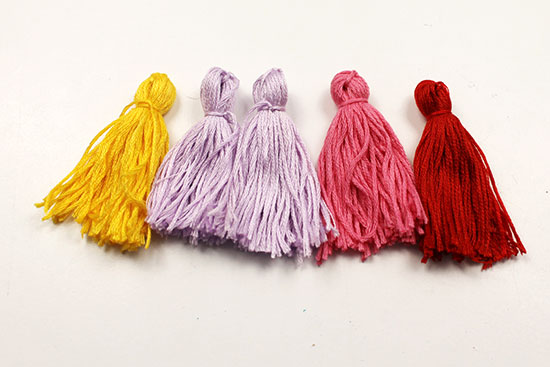
6. Cut the bottom loops of the tassel, then trim the ends so that they are even.

7. Repeat steps 1-6 to create five more tassels. You can use the same floss color or different colors.
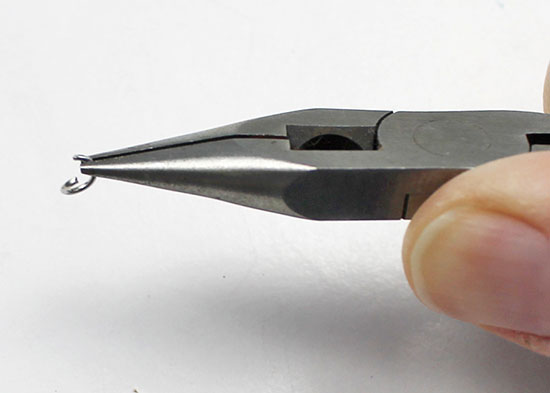
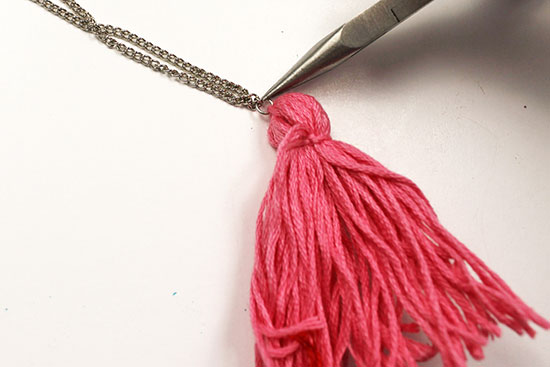
8. Grab a jump ring with your jewelry pliers.
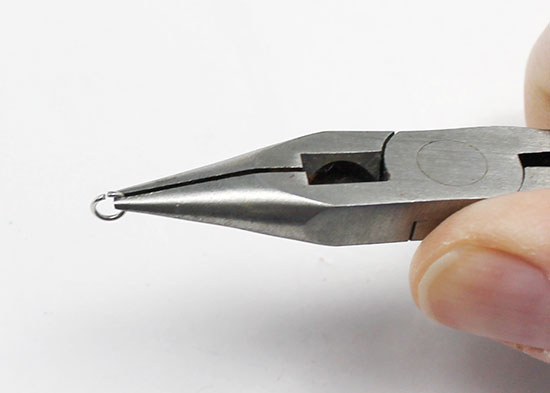
9. Carefully bend the jump ring, using your fingers to stabilize the ring on the other side if you need to. Note that you’re opening the jump ring out to the side.
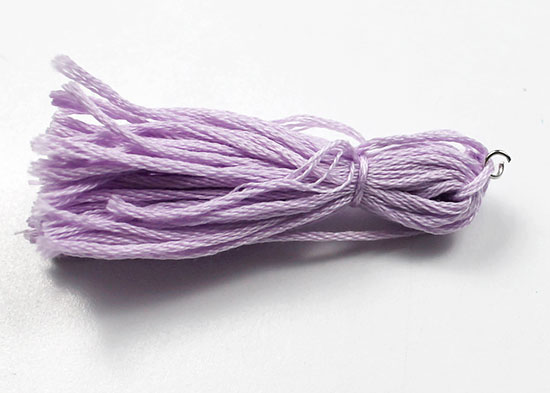
10. Insert the jump ring in the top of a tassel around the top knot strand that you tied in step 3. Do not close the jump ring just yet.
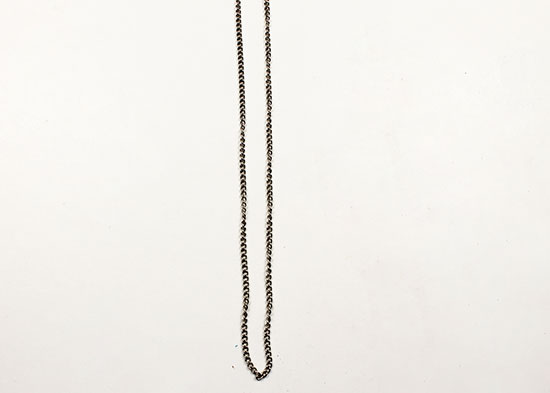
11. Fold the necklace chain in half to find the center point of the chain.
12. Insert the open jump ring into the center chain, then use the jewelry pliers to close it.
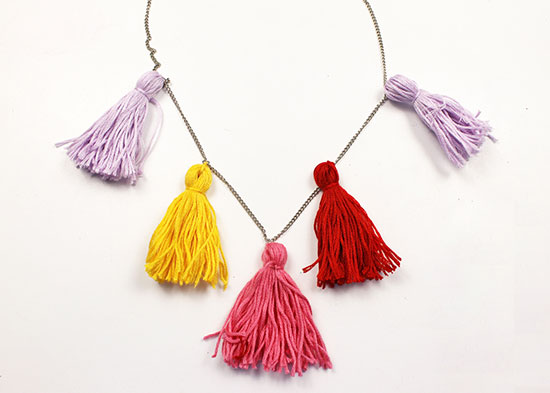
13. Repeat steps 8-12 to add two more tassels, spacing the tassels evenly.
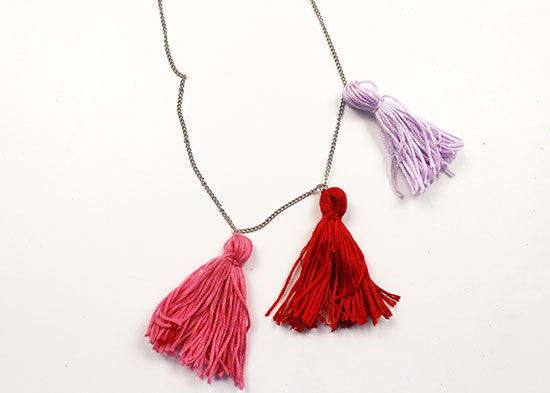
14. Add two more tassels on the other side of the chain, again spacing them evenly and trying to align them with the tassels on the opposite side of the chain.