
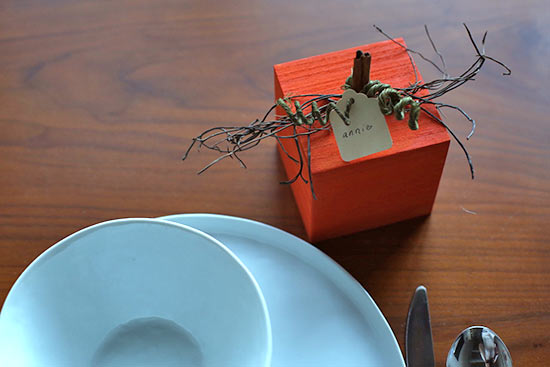
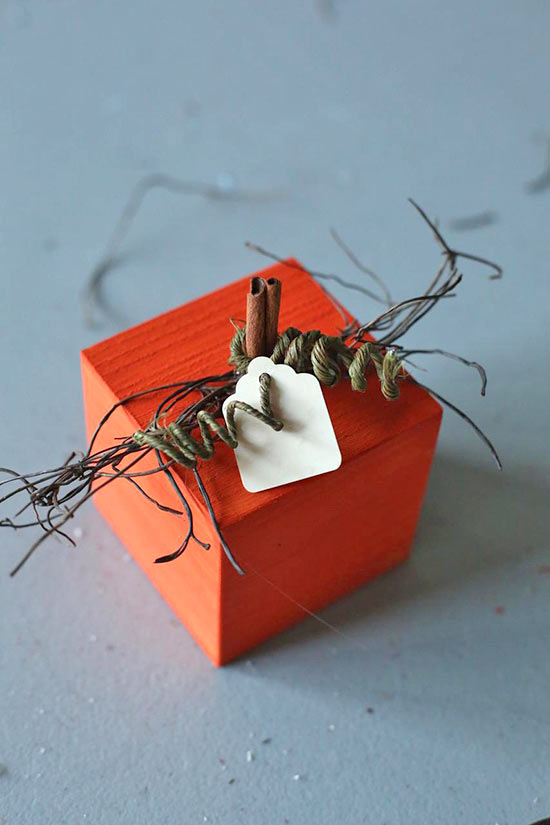
This darling placeholder is the perfect addition to your holiday table. Let the guests take their name card home afterwards as a party favor or use them to decorate your home for fall.
Difficulty level: Beginner
Time to complete: 15 minutes
Age range: 12 and up
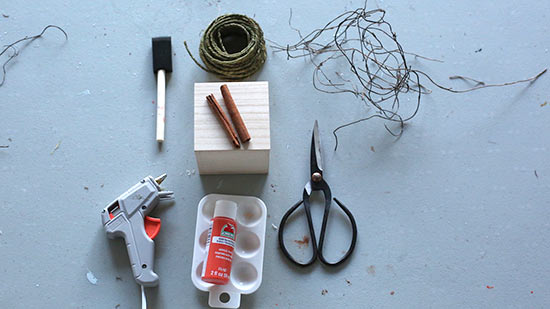
Things you’ll need:
Wooden block
Orange acrylic paint
Foam brush
Hot glue gun and hot glue sticks
Scissors
Angel hair vine filler
Green wired ribbon
Cinnamon sticks
Paper tag
Things to do:
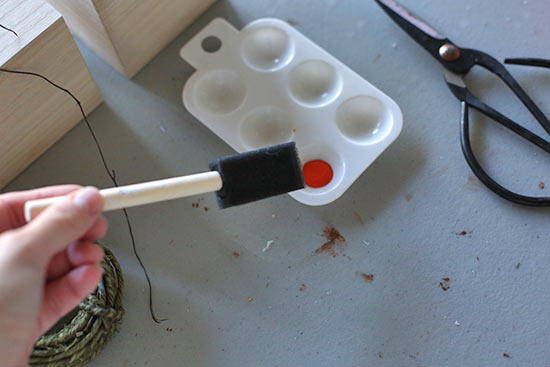
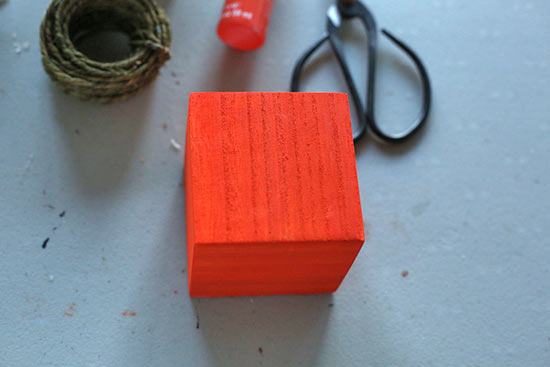
1. First, paint your wooden block with orange acrylic paint. Let it dry before moving on to the next step.
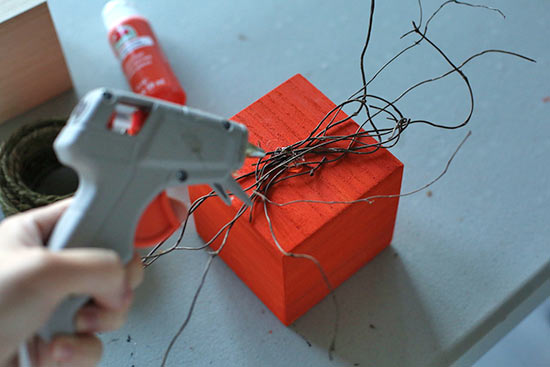
2. Next, we get to add the details! Gather a tight bunch of angel hair vine filler and use hot glue to attach it to the top of the wooden block.
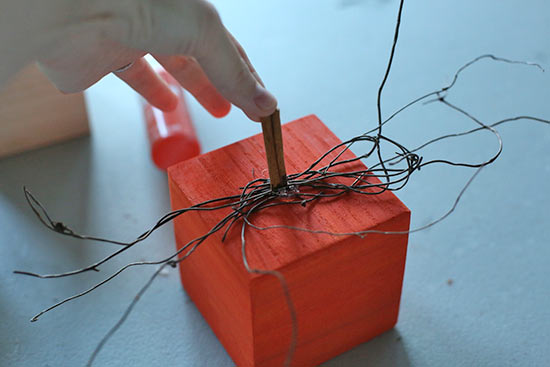
3. Snap a cinnamon stick in half and glue it to the top center of your wooden block to create a pumpkin stem.
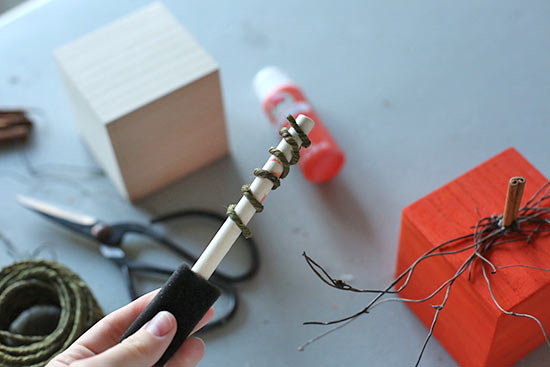
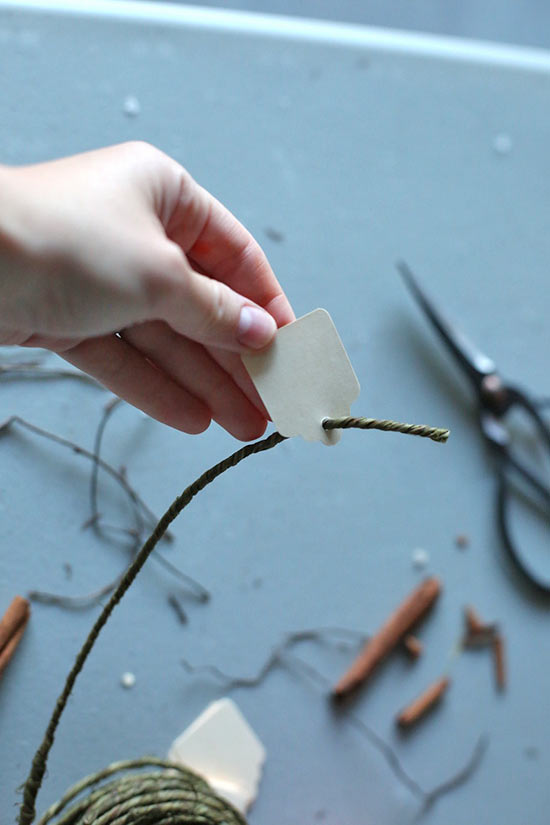
4. The final step is adding your name tag. Wrap a piece of green wired ribbon around the handle of your foam brush to add a curl. Slide the name tag onto the wired ribbon and wrap it around the cinnamon stick stem.
5. Write your guests’ names on the name tags and enjoy!
1 Comment
This pumpkin placeholder is awesome! It also looks very easy to make, so I’ll definitely give it a try. Thanks!