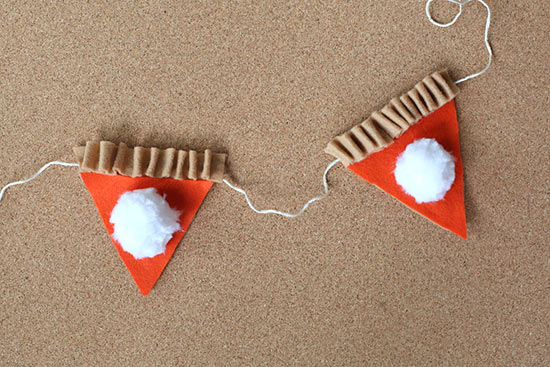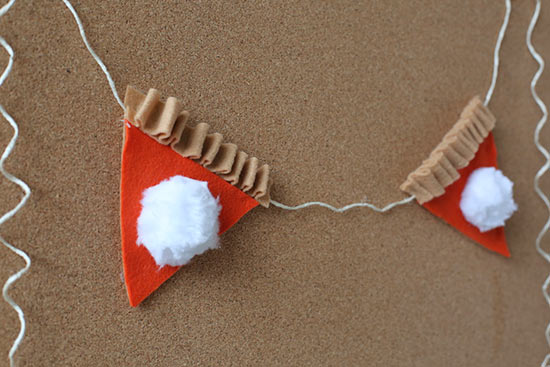
This pumpkin pie garland is adorable and oh-so-festive! String it over your dining room table to dress up your space.
Difficulty level: Beginner
Time to complete: 1 hour
Age range: 12 and up
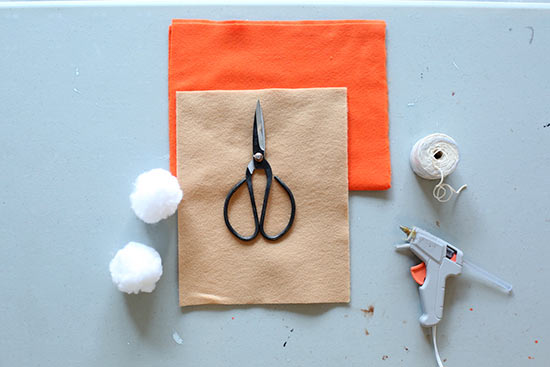
Things you’ll need:
Tan and orange felt
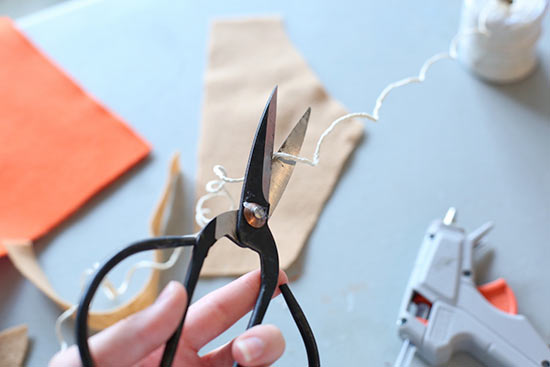
Scissors
String
Hot glue gun and hot glue sticks
White pom poms
Things to do:
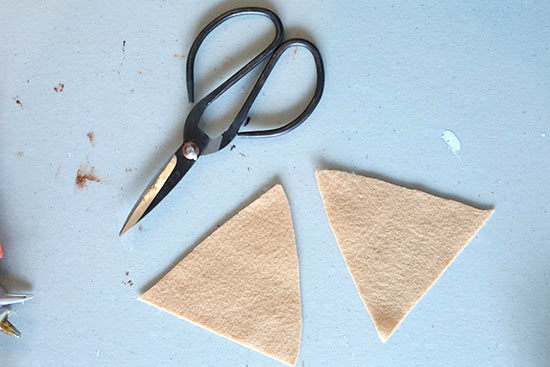
1. The first step is cutting out your triangle pattern for all of your pie slices. Fold a tan felt sheet in half and cut out half a triangle. Open it up to reveal a perfectly symmetrical triangle. Use this pattern to cut out all of your pie bases.
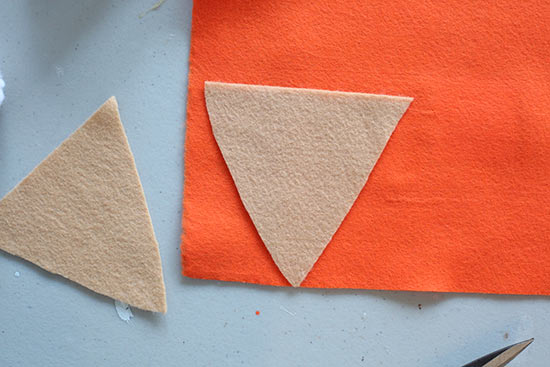
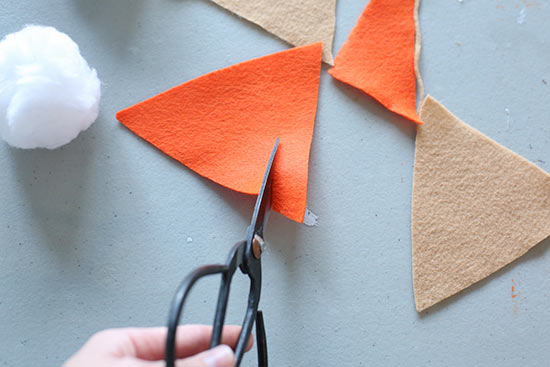
2. Lay your pattern on top of an orange piece of felt and cut out the shape. Trim 1/2 inch off of the base of the orange triangle.
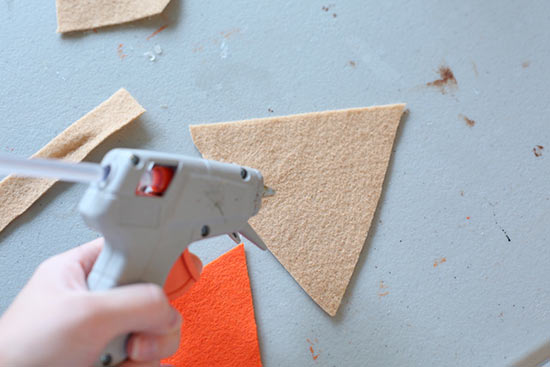
3. Secure the orange triangle to the tan triangle with hot glue.
4. Measure the length you want your garland to be and cut your string.
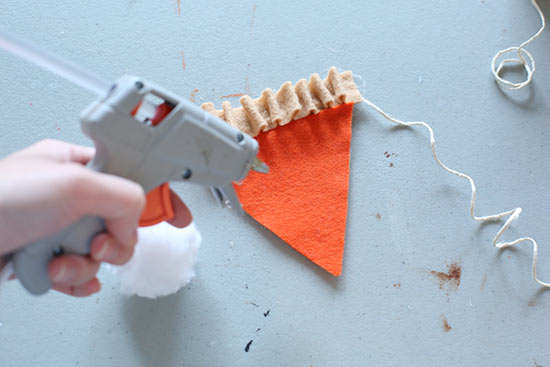
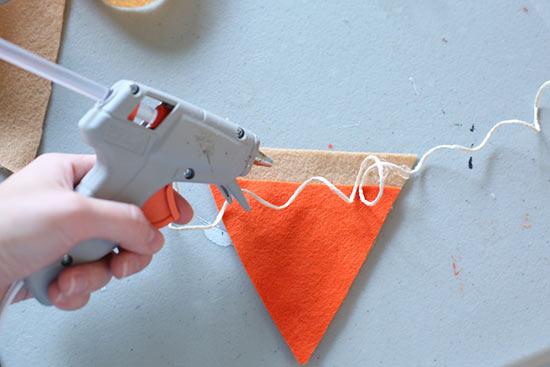
5. Secure the garland string to the top of the orange triangle with hot glue.
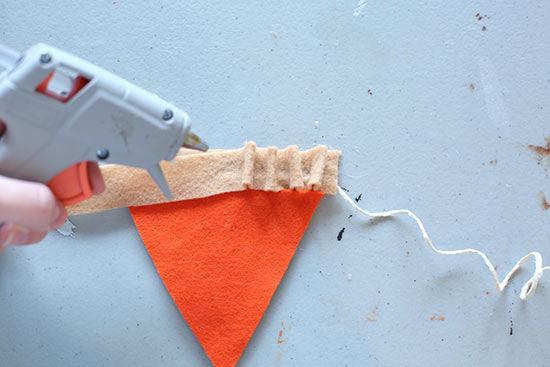
6. Now, we’re going to cover the string with pie crust. Cut a 1-inch wide strip from the end of your felt sheet and use glue to secure it along the top of your pie piece. Pinch the felt as you go to create a cute ruffle.
7. Finish your pie slice with some whip cream! Use hot glue to secure a pompom to the center. Continue adding pie slices to your garland until the entire length of string is covered.