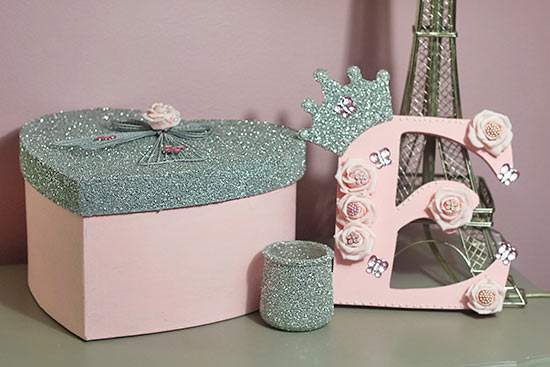
My daughter needed a little extra storage in her room, so I decided to make a pink and silver glitter heart shaped storage box. While decorating the box, she kept asking me if I was making the box for her, she was so excited. When I put the finished heart shaped storage box in her room she gave me a huge hug. Here is how you may make your own.
Difficulty level: Beginner
Time required: 2 hours of crafting plus paint drying
Age range: 10+ Adult Supervision with glue gun
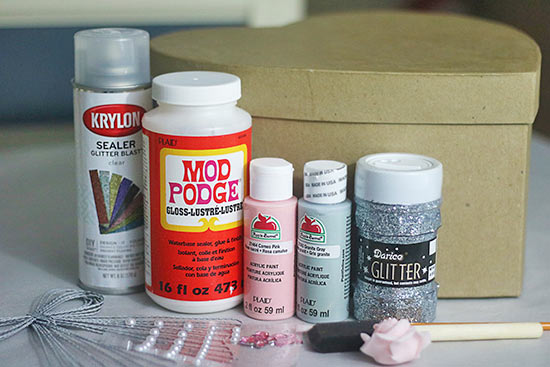
Things you’ll need:
Paper Mache Heart Box
Silver Glitter
Cameo Pink Apple Barrel Acrylic Paint
Pure Silver Metallic Apple Barrel Acrylic Paint
Assorted White Flat Back Adhesive Pearl Embellishments
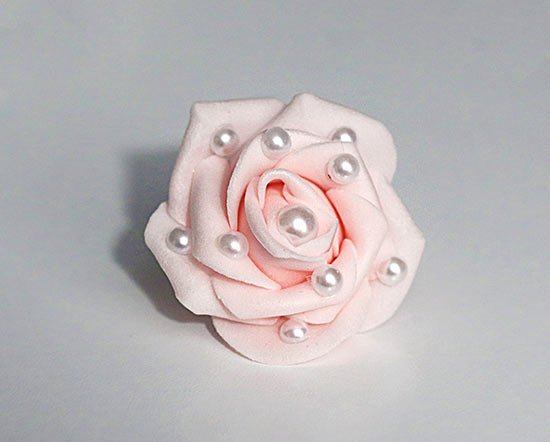
Pink Artificial Rose Heads
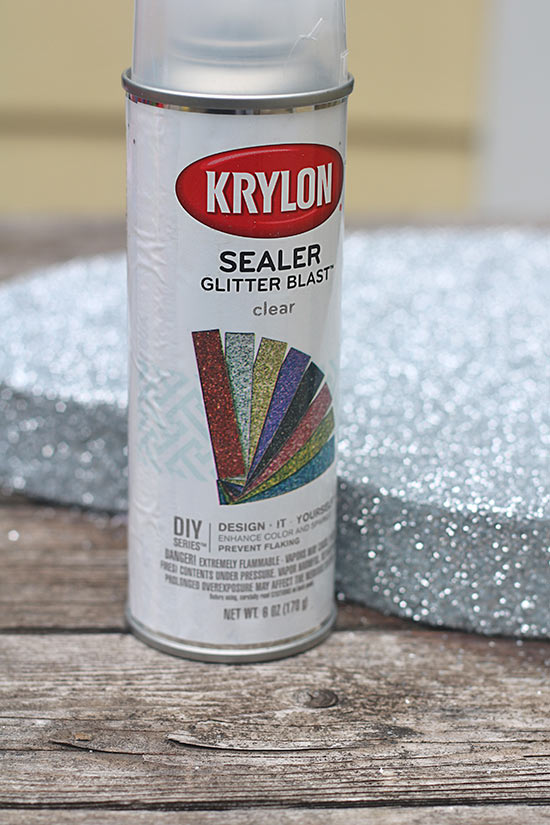
Krylon Glitter Blast Clear Sealer Spray
Pink Flat Back Butterfly Rhinestones
Mod Podge
Things to do:
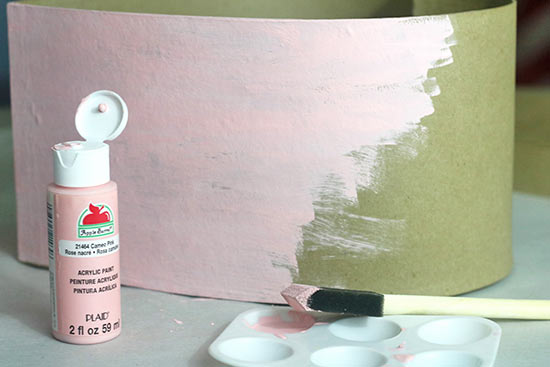
1. Paint the bottom of the heart shaped storage box with your pink paint. Let the paint dry, between coats. Two or three coats of paint should be enough. Use light coats, so the paper mache does not bubble. I used two coats of pink paint. Set aside to dry.
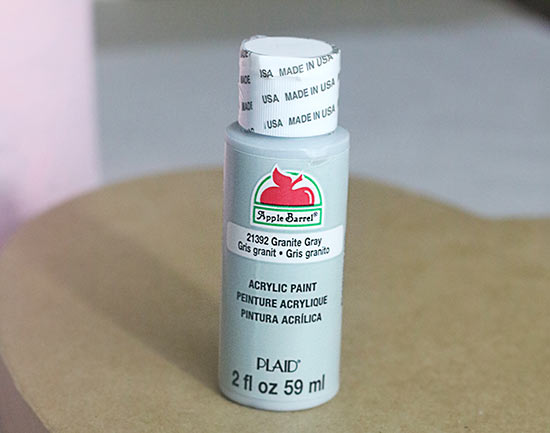
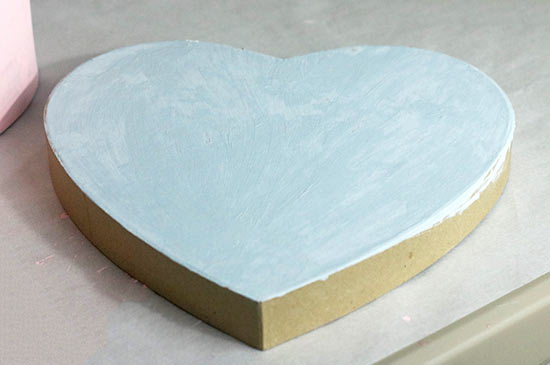
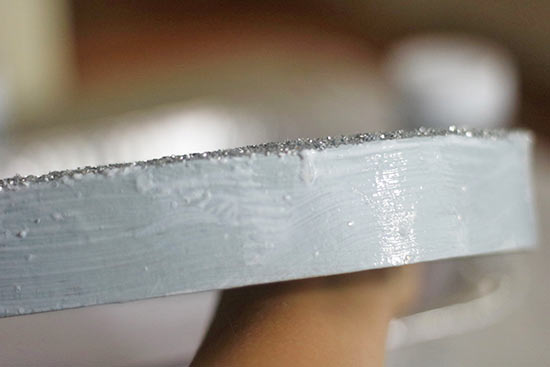
2. Paint the lid of the heart shaped box with gray or silver paint. Even though we will placing glitter on the top box, I like to paint it, in case any glitter falls off in the future.
3. Start with the top of the lid. Let the paint dry, then paint the sides. I waited for each side to dry, before painting the other side of the lid. One coat of paint should be sufficient. Let the paint dry completely.
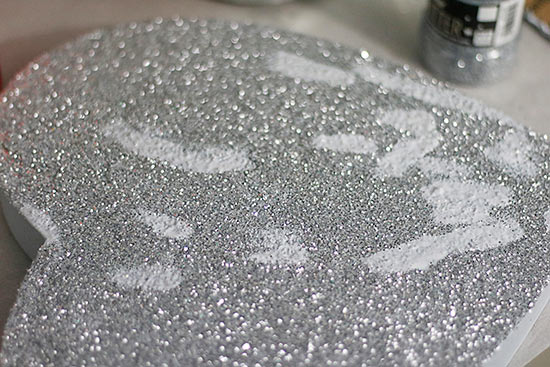
4. Brush on a coat of Mod Podge on the top of the lid. You can choose to do the top of the lid all at one time or in smaller sections.
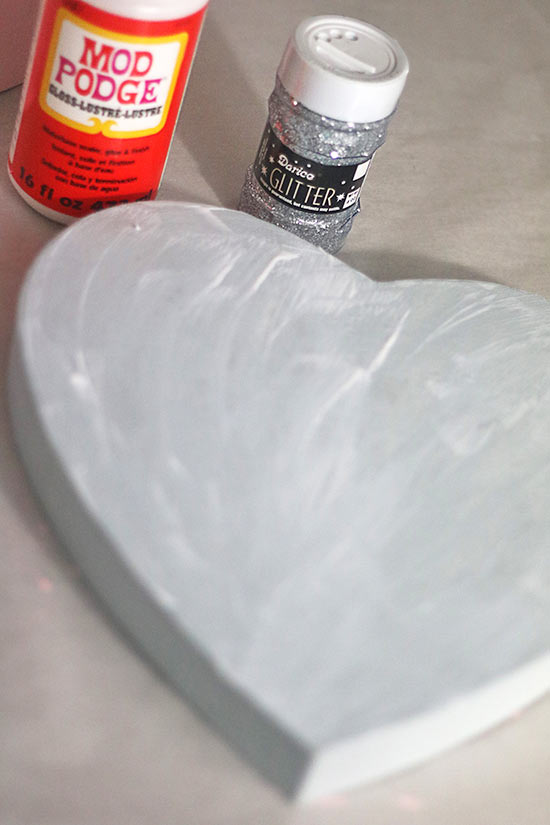
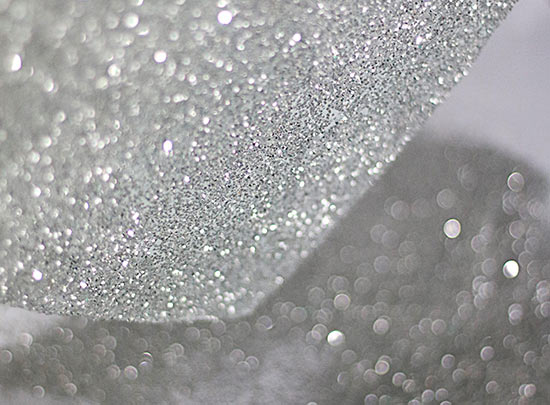
5. Place a piece of paper in a tray. Then pour the silver glitter generously on the lid. Make sure to coat it well. Let the glitter rest on the lid for about 10 seconds or so.
6. Shake the the excessive glitter off the lid and onto the piece of paper. Set lid aside to dry. While the lid is drying, fold the piece of paper in half and pour the extra glitter back into the container.
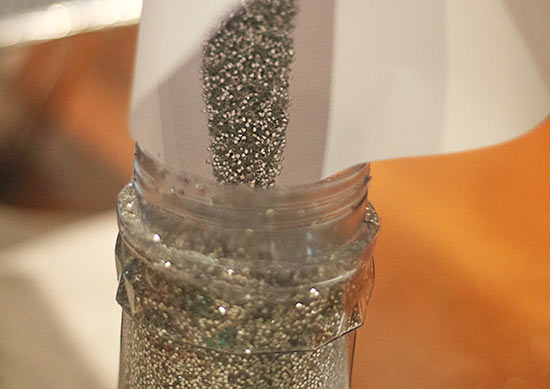
7. Dot on more mod podge in places where the glitter did not stick well. Pour more glitter onto those spots and repeat step 6 again. Repeat until desired amount of glitter has been achieved.
8. Repeat the same process with the sides of the lid. I recommend choosing smaller sections, so glitter does not fly everywhere when turning the sides. Then set the lid aside to dry.
9. Once the glitter is completely dried, in well ventilated area, use a spray sealant. I find using a spray sealant with glitter reduces the chances of more glitter falling off. Once dry, you may add a layer of mod podge for extra sealant, if desired.
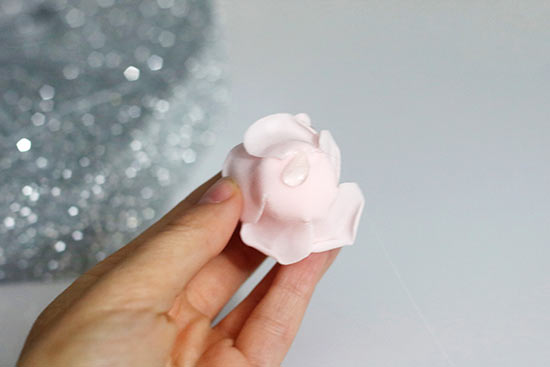
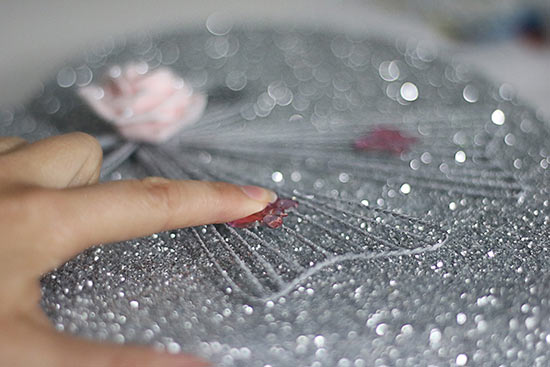
10. Stick pearls to the pink artificial rose head. Once the pearls are placed on the rose head, they will be difficult to move, so decide on placement before sticking them to the rose head.
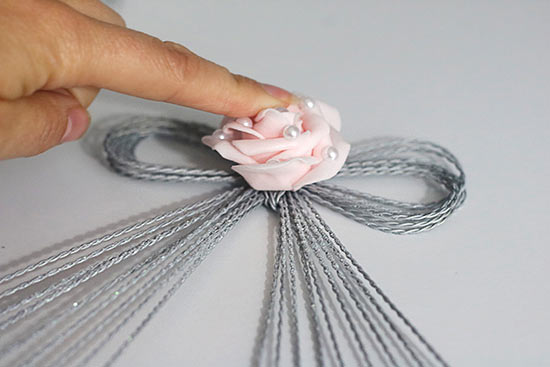
11. Squeeze a little hot glue on the back of the artificial rose head.
12. Hold the pink artificial rose head down in the center of the bow for a few seconds until glue is dry.
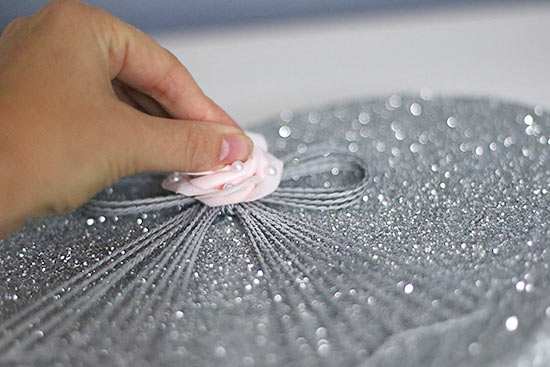
13. Place a small amount of hot glue on the back of the bow.
14. Hold bow down onto of the lid of the heart shaped box until glue is dry.
15. Place a small amount of glue on the back of the pink rhinestone butterfly embellishment.
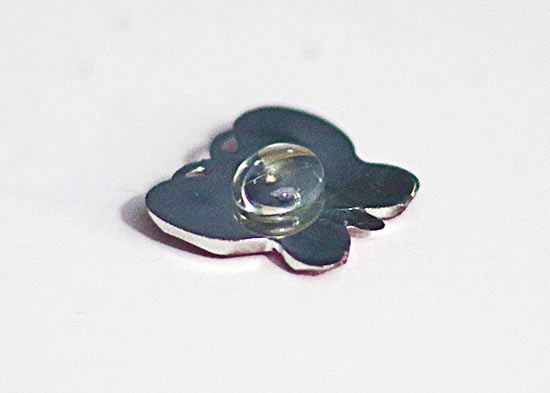
16. Then hold down the butterfly to the bow until the glue dries. Repeat with second butterfly.
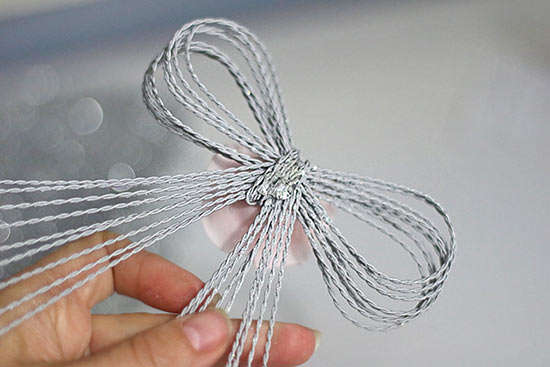
17. Your bow should look similar to the picture above.
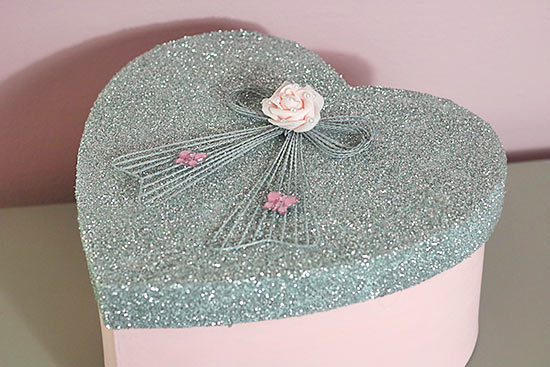
Voila! You have now made your own sparkly glitter heart shaped storage box!