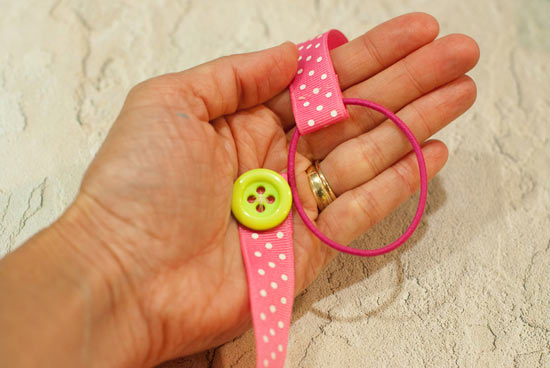
Bookmarks are so handy, but if you’re the type who loses them, this is a pretty and practical solution. You’ll want to make this in some different sizes – what will work for larger, thicker books won’t necessarily work for smaller books, but having just a few different options stashed in a drawer should cover you for any book.
Difficulty level: Intermediate
Time required: 30 minutes
Age range: 10+
Things you’ll need:
Ribbon
Buttons
Hair elastic
Thread
Needle
Fray Check seam sealant
Scissors
Hot glue gun and hot glue *optional
Things to do:
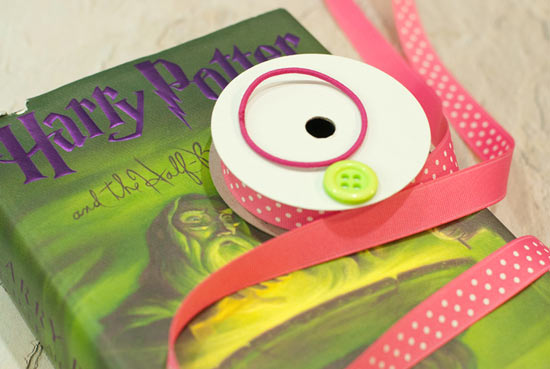
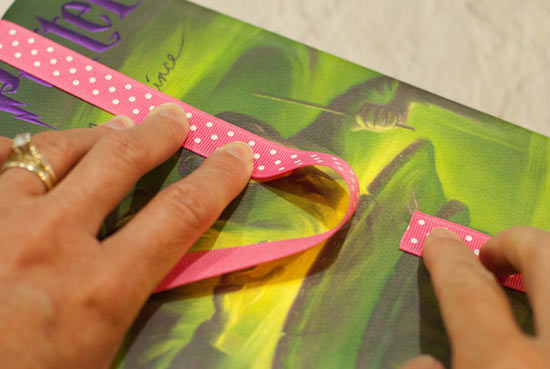
1. Wrap the ribbon around the book – in between the middle pages of the book – to determine the size you’ll need. You’ll want to cut the ribbon short enough so there’s tension on the band at the beginning of the book, but not too much tension once the bookmark is moved further into the book. Cut the ribbon.
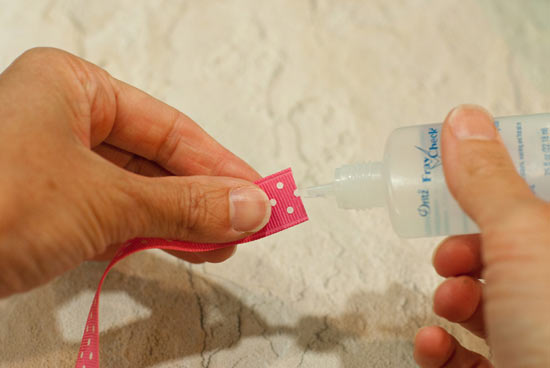
2. Apply seam sealant to both short edges.
3. Fold one edge up about 1/2-1″ and loop it around the hair elastic.
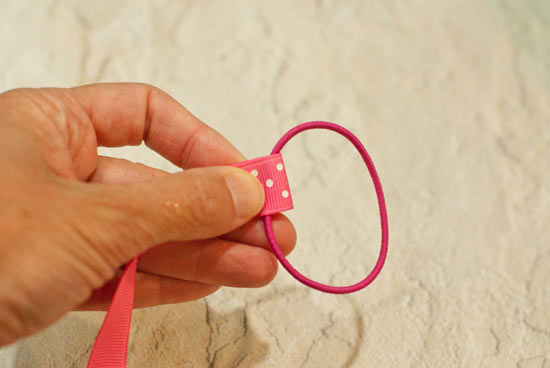
4. Stitch the edge of the ribbon to the back, or, if desired, use hot glue instead.

5. This is what it looks like when you’re finished stitching.
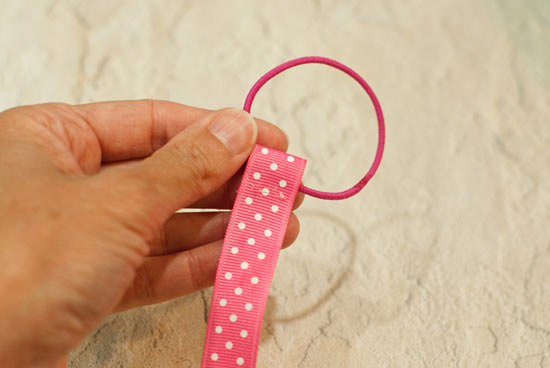
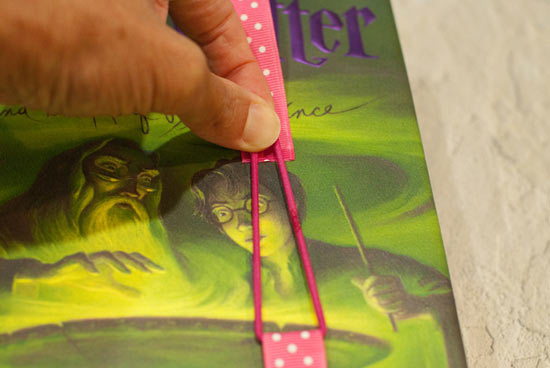
6. Test the elastic to make sure it has some tension – but not too much – at different points in the book.
7. Fold the other side of the ribbon back, and stitch the button onto the front. Make sure you stitch in and out…and back and forth…many times to assure the button won’t break off later!
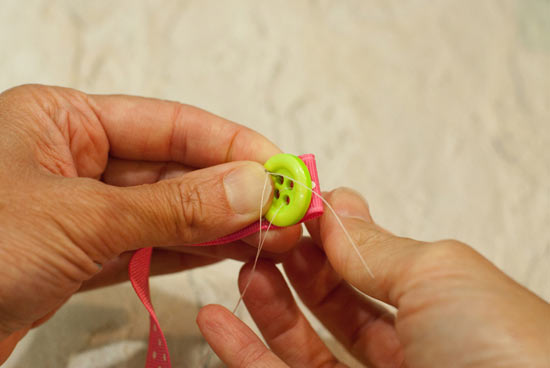
8. Here’s the bookmark when completed. Now pick up your favorite book and enjoy the pretty eye candy” of your new bookmark!
