Difficulty level: Beginner
Time required: 30 minutes
Age range: 12 and up, with optional supervision for hot glue gun
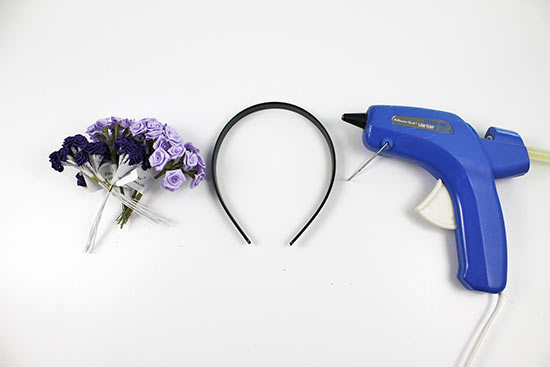
Things you’ll need:
Black Plastic Headband
Purple Ribbon Roses
Lavender Ribbon Roses
Hot glue gun and glue sticks (optional)
Felt (optional)
Scissors (optional)
Things to do:
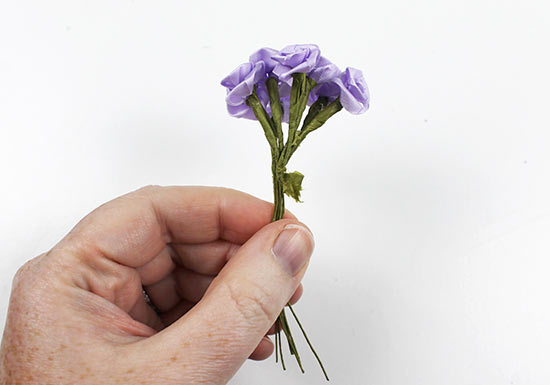
1. Remove the floral tape that holds together the bunches of roses so that you have several dozen single stems. (If you aren’t sure how many roses you need, that’s ok! You can always detach more if you run out of roses when you’re making your headband.)
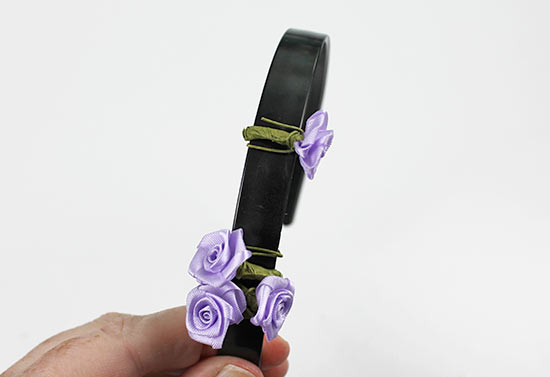
2. Press the top of one rose onto the center top of the headband. Hold it in place with your thumb.
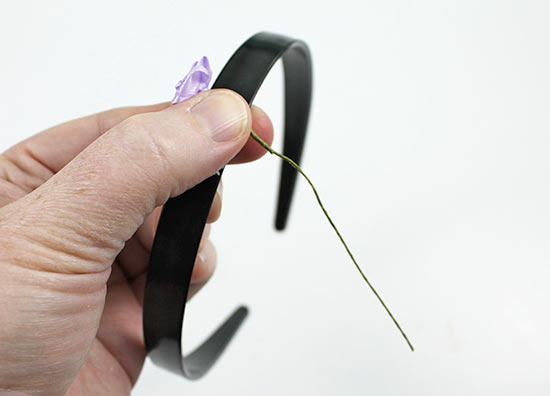
3. Use your other hand to wrap the wire stem under the headband.

4. Wrap the wire stem around the rosebud twice. This will secure the bud and make sure it doesn’t shift around or fall off the headband.
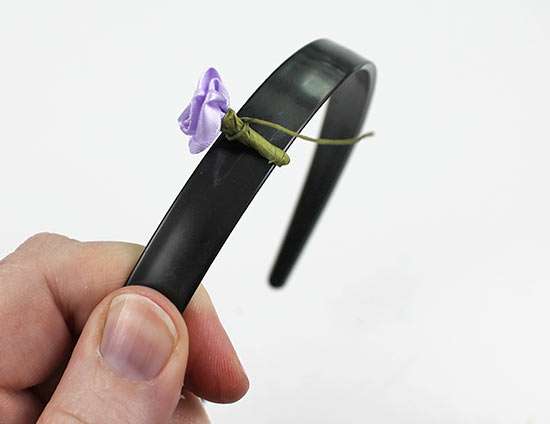
5. Wrap the wire steam around the headband to secure the rose.
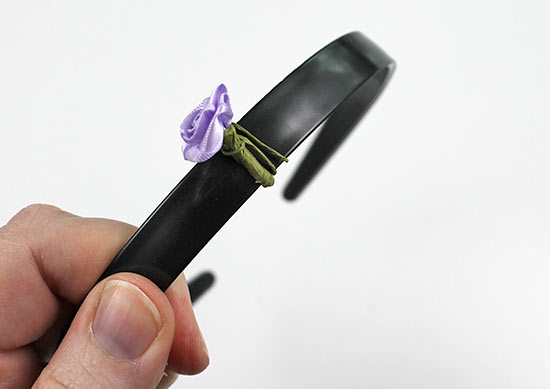
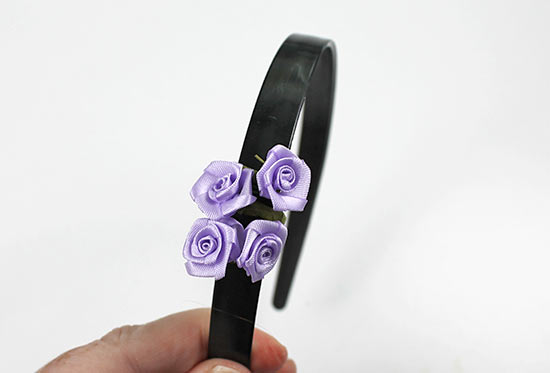
6. Press the top of a second rose onto the center top of the headband, this time laying it in the opposite direction of the first rose.
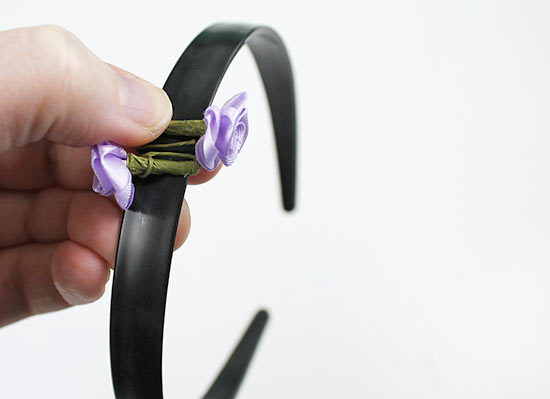
7. Repeat steps 3-5 to wrap a second rose.

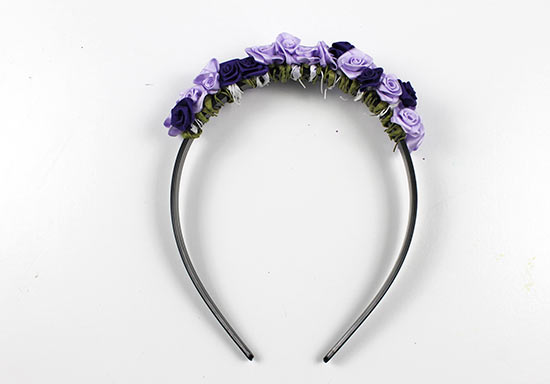
8. Continue adding roses to the headband in this way, alternating colors if you’d like. If you find that it’s difficult to wrap the new rose right next to the previous rose, make the wrap further down the headband, then slide the rose over when you’re finished.
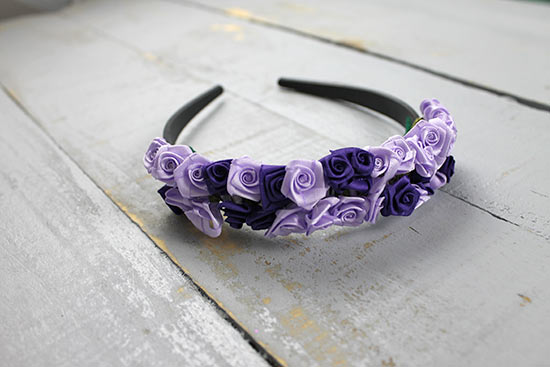
9. Continue to add roses until you have filled as much of the headband as you’d like. When you’re happy with how it looks, slide the roses so that they are centered on the headband.
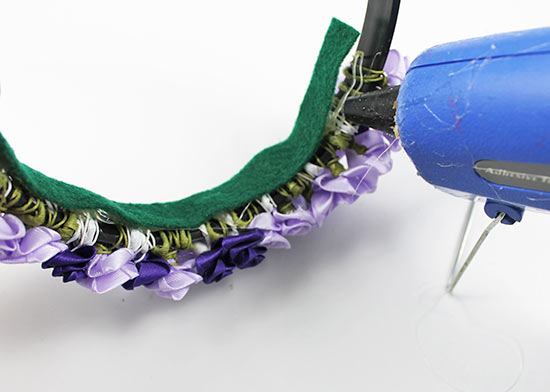
10. Optional: Using hot glue, apply a 1/2 “-wide strip of felt to the wrong side of the headband to avoid wires tangling in hair.