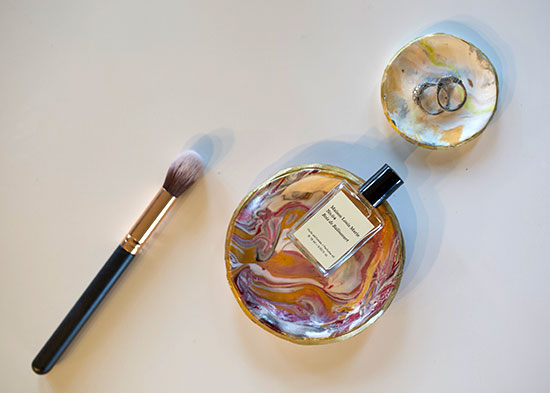
Stay organized in style with this marbled clay ring dish! This piece looks lovely in an entryway, serving as a catchall or on your nightstand to store rings and jewelry.
Difficulty level: Beginner
Time to complete: 1 hour
Range range: 12 and up
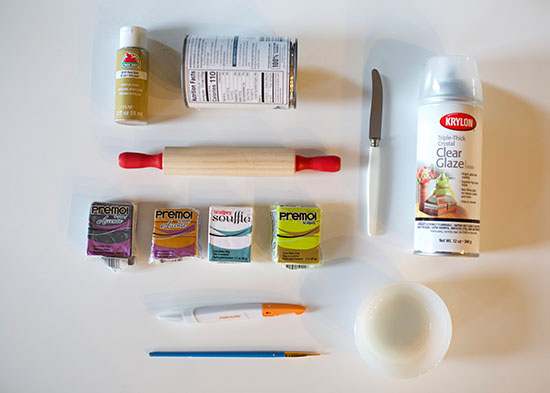
Things you’ll need:
Oven Bake Clay (wasabi, igloo, gold, and grey)
Gold Paint
Small Paint Brush
Knife
Rolling Pin
Small Bowl
Can
Triple Thick Glaze Spray
Things to do:
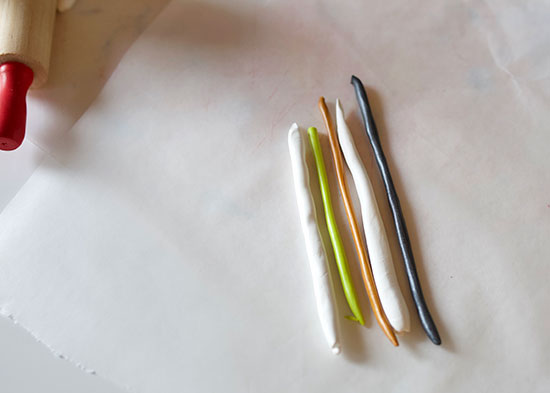
- Roll several different colors of clay into long pieces.
- Roll two thicker pieces of white clay.
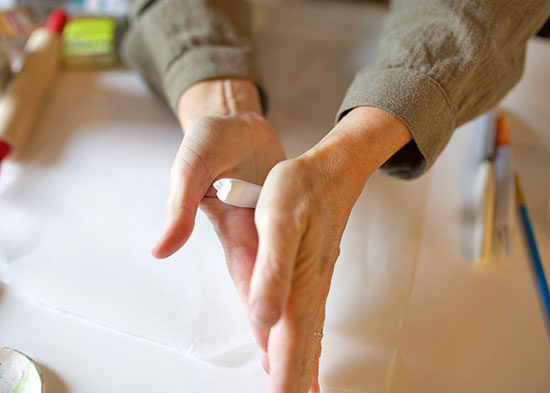
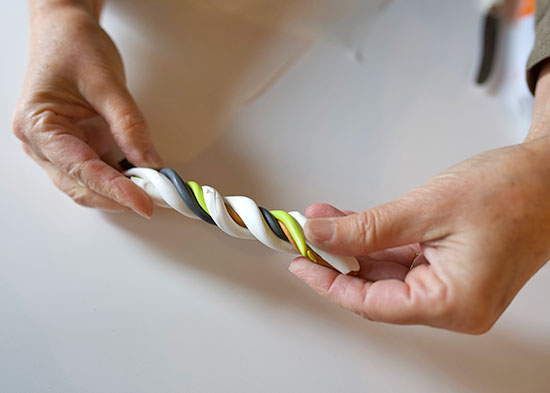
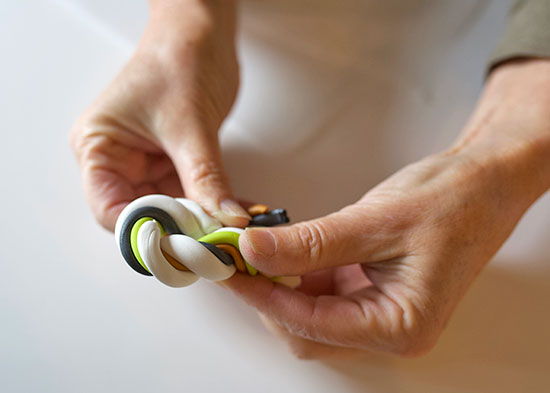
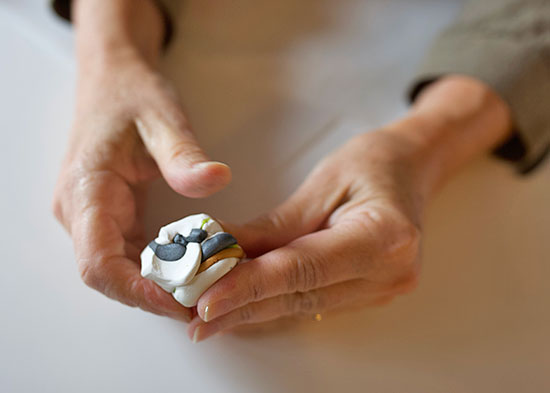
- Place all of the rolls together and twist them like a candy cane. Fold them in half and twist again. Repeat several times, until the clay colors are marbled.
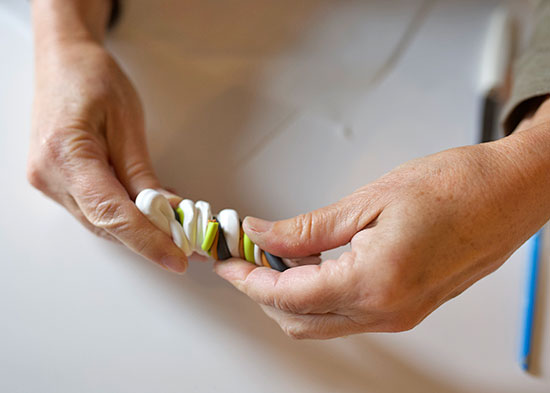
- Squeeze the clay into a ball and work it with your fingers until you’re happy with the amount of color showing.
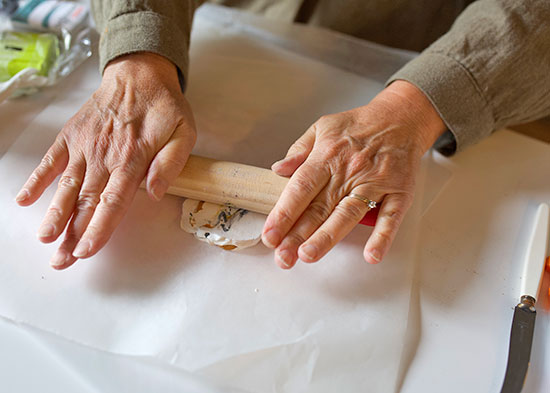
- Use a rolling pin to flatten the ball of clay. Roll it into a circle that’s about 1/4 ” thick.
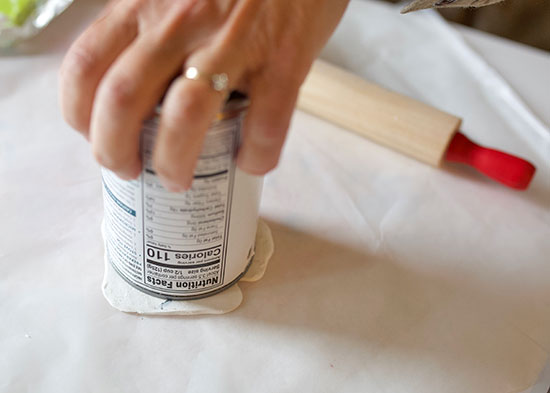
- Press your bowl onto the clay circle, creating a perfect pattern.
- Cut the clay around the edge of the bowl with a knife.

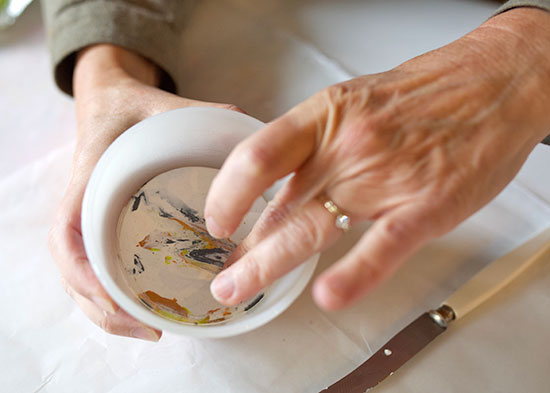
- Gently place the clay circle into an oven-safe bowl. The edges of the clay should lift up, creating the dish shape.
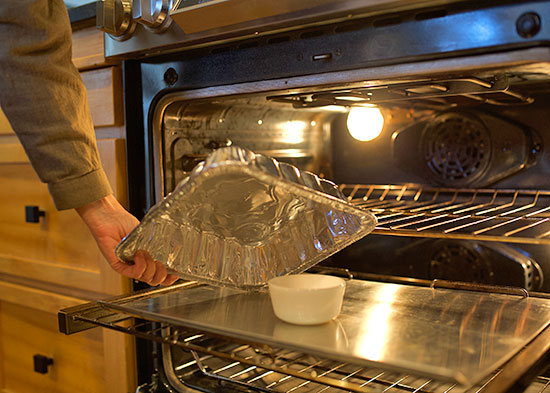
- Bake for 30-40 minutes at 275 degrees. Put an aluminum pan cover over it to keep the element in your oven from scorching it.
- Remove the dish from the oven and let it completely cool and harden before tipping the bowl upside down, revealing your ring dish.
- Use a small brush to paint a gold rim around the edge of the dish.

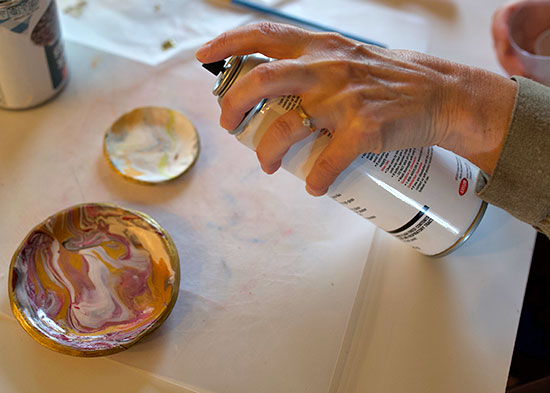
- Seal the dish by spraying it with a triple thick glaze spray.