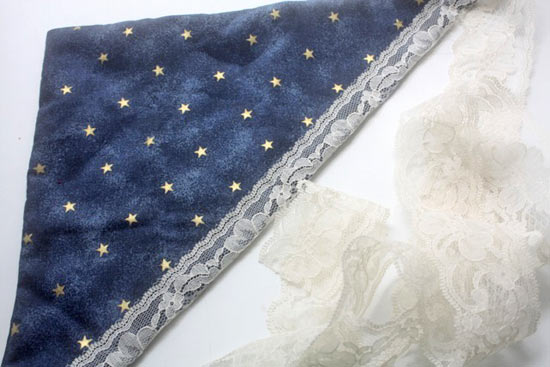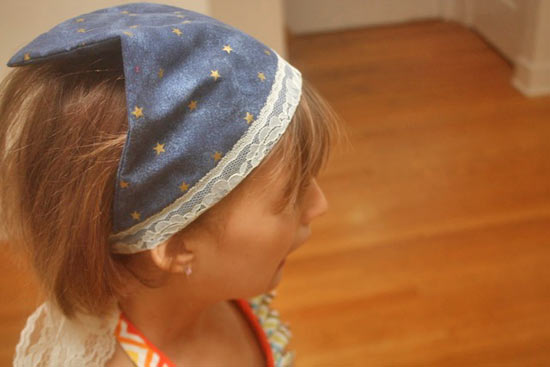
I’m a sucker for a good kerchief. I wear them all the time, cleaning, hiking, lazing around, any time, really, that I want my hair out of my face. And I’ve passed that love of kerchiefs onto my little girl. She’s a big fan and especially likes pretty kerchiefs for her hair. This one fits the bill perfects and is so easy to make, she might end up with a rainbow of them!
Difficulty level: Easy
Time required: 15 minutes
Things you’ll need:
Lightweight cotton fabric
2 inch wide lace ribbon
Sewing machine and thread
Scissors
Cloth measuring tape
Pins
Things to do:
1. Measure the point from just behind one ear, over the top of the head and to the same point on the other side. This dimension will be the widest part of your triangles.
2. Cut two triangles of fabric with this dimension as the longest leg and the other two sides equal to one another. You can make these two sides longer or shorter to make different shaped kerchiefs depending on how much of the head you want to cover. Try one on, laying it on your head, and trim according to taste. Just make sure that the long side is that original dimension and that the two triangles are identical.
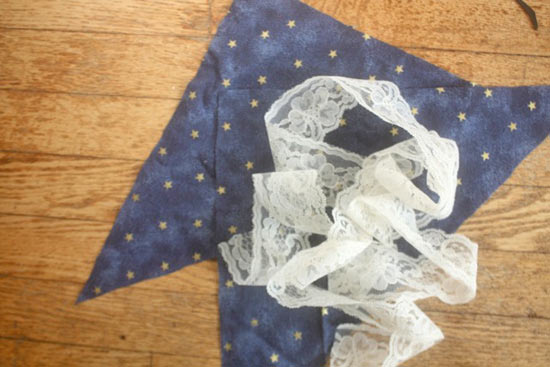
3. With right sides together, pin and then sew the two shorter sides of the triangle.
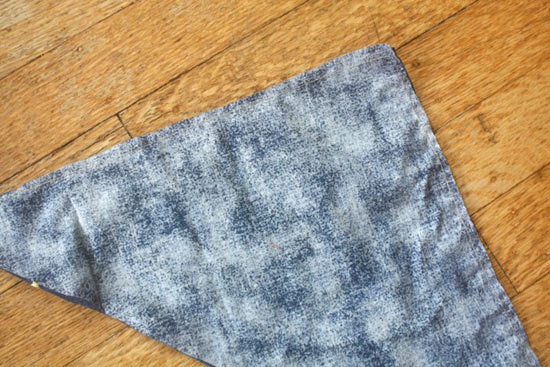
4. Trim right up to the stitching at the point and then close to the stitching along the sides.
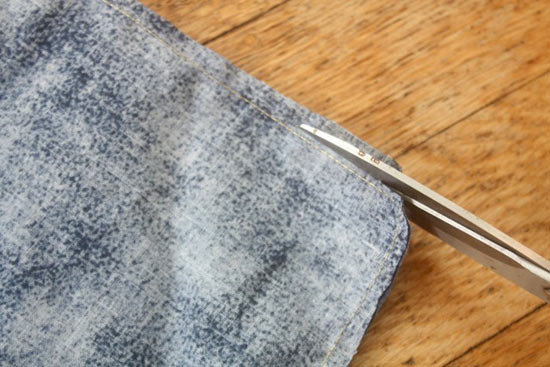
5. Turn right side out and press.
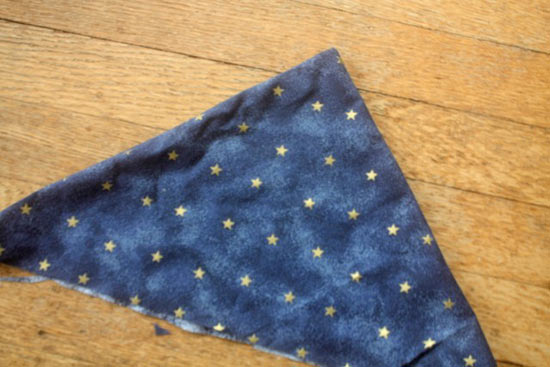
6. Trim off any threads or edges poking out from the open side of the triangle.
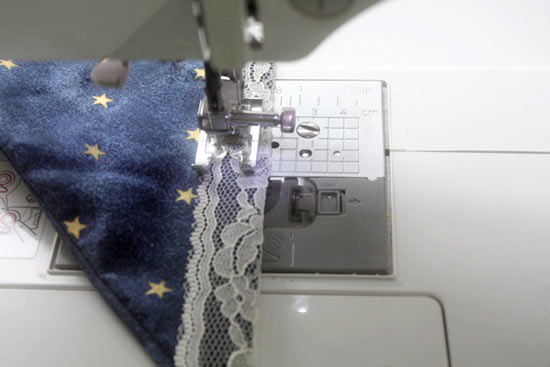
7. Fold the lace over the sides along the long edge so that half the lace is one either side and the raw edge is enclosed. Pin in place.
8. Sew about 3/4 of the way up the lace along the long edge, back-stitching at the beginning and end.
9. Tie around your head and you’re ready to go!
