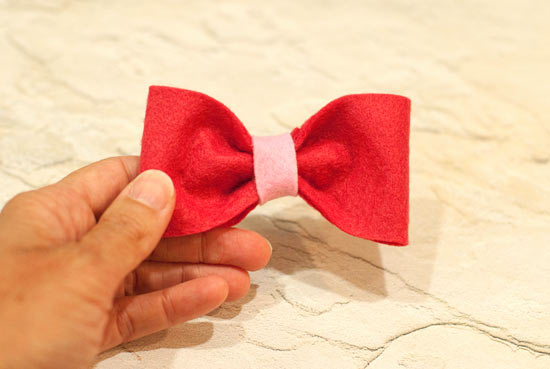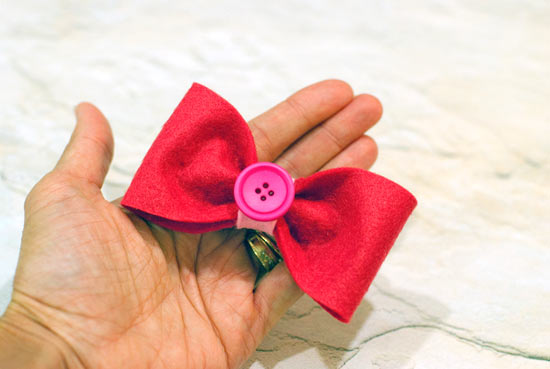
A felt bow can be every bit as pretty and perfect as one made from ribbon or fabric! Plus it’s a nice bold choice for a headband, a clip, or even a bow tie.
Difficulty level: Intermediate
Time required: 20 minutes
Age range: 10+
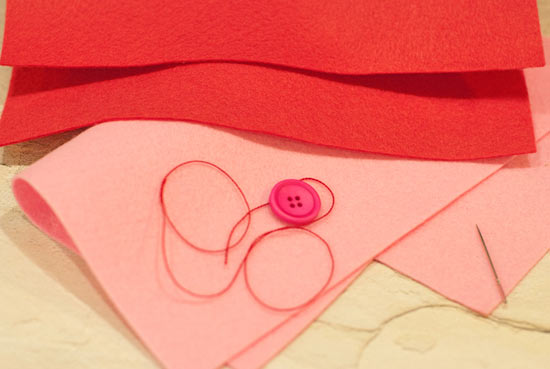
Things you’ll need:
Two colors of felt sheets
Buttons
Embroidery thread
Needle with large eye
Scissors
Hot glue gun and hot glue
Things to do:
1. Warm up your hot glue gun. Cut a strip of felt 2″ wide by 9″ long (the 9″ is the width of the felt sheet).
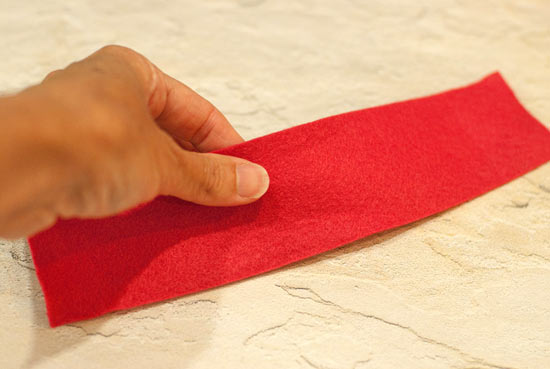
2. Fold it in half and crease, to find the center.
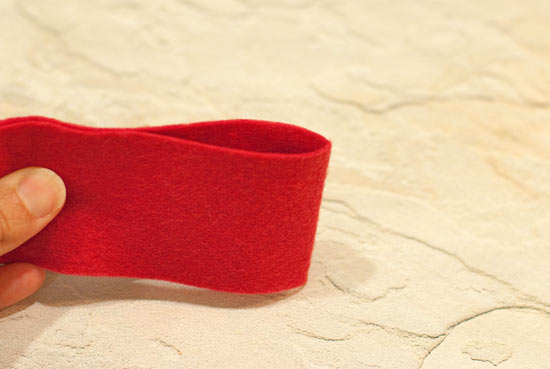
3. Fold one side, and then the other, across the center so they overlap by about 1/2″.
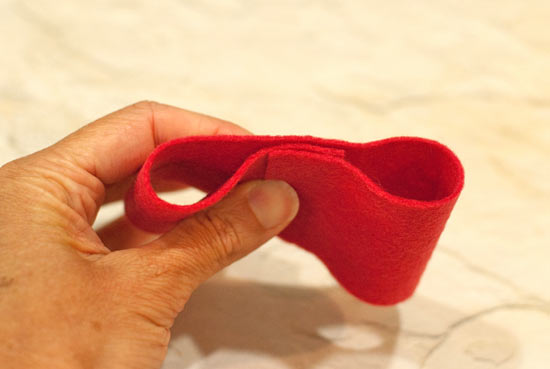
4. Thread your needle and knot one end. Create a large running stitch down the center of the felt.
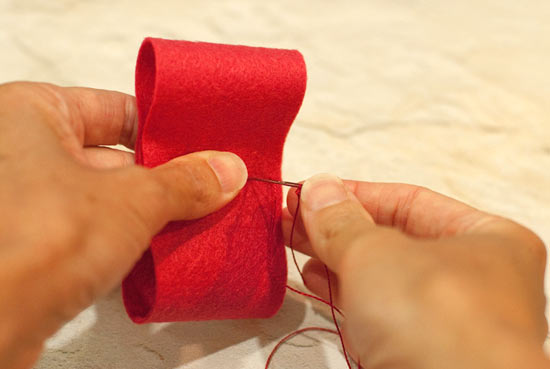
5. Your stitches will look like this when you’re done. Don’t clip your thread yet!
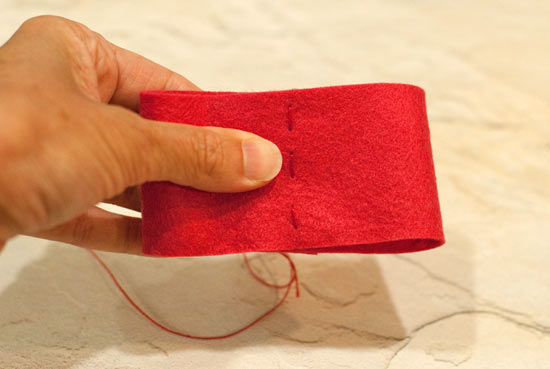
6. Face the front of the bow toward you. Crimp down the top edge, as shown.
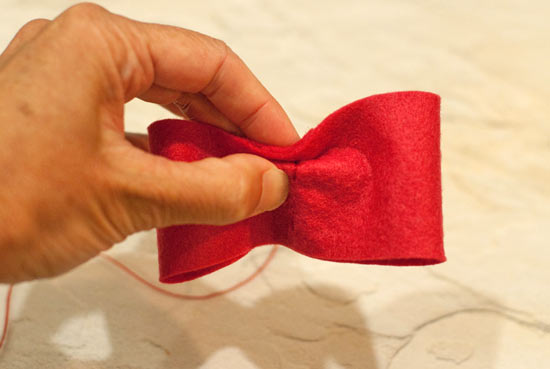
7. Repeat with the lower edge of the bow. Crimping this way creates a nice folded look to the center of your bow.
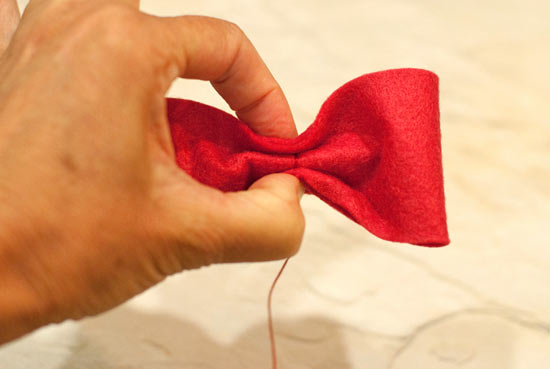
8. Wrap the embroidery floss around the center a few times, and tie off and clip in the back.
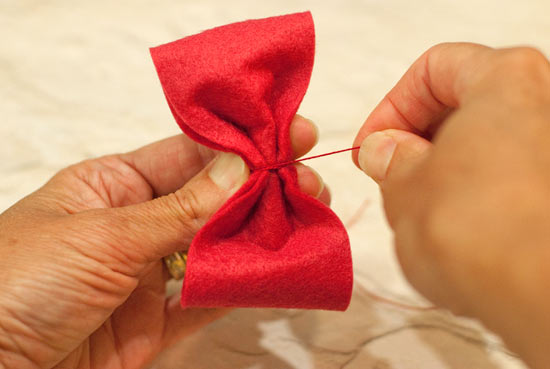
9. The bow will look like this.
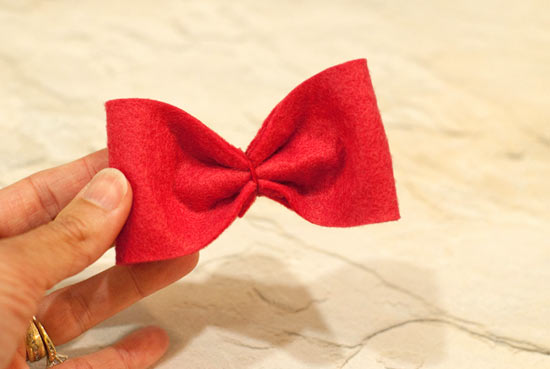
10. Cut a small strip of your second felt color into a piece about 1/2″ wide by 5″ long. Hot glue one short side to the back of the bow, then wrap it around and glue the second side to the back after trimming to size.
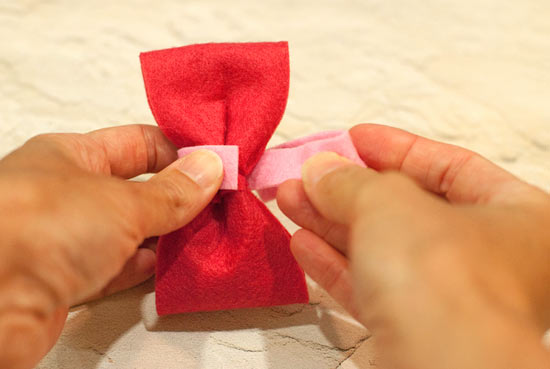
11. The bow will look like this. Now hot glue a button to the center, and you’re finished! Add to a headband, clip, or anywhere else that calls for a felt bow embellishment!
