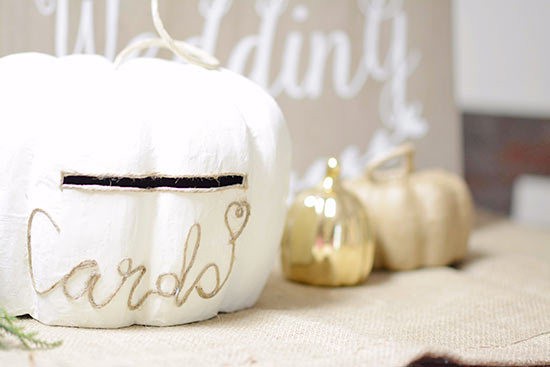
Create a beautifully chic and unique, fall themed card holder for all of your fall wedding festivities!
Difficulty level: Beginner
Time required: 15 mins+
Age range: 10+
Things you’ll need:
Large paper mache pumpkin
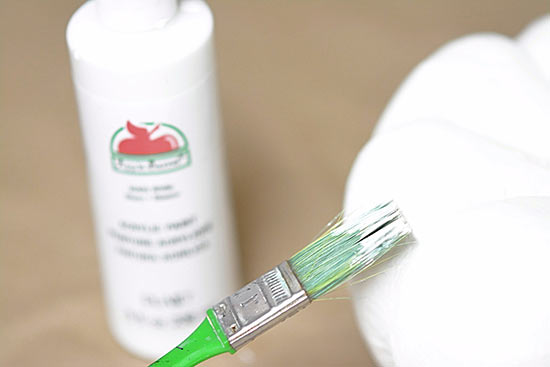
Paint
Paintbrush
Craft knife
Jute twine
Craft glue
Ruler
Pencil
Things to do:
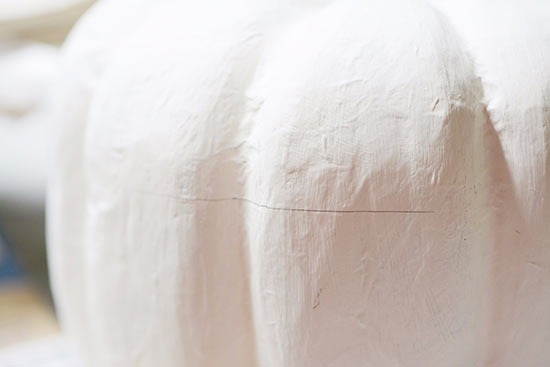
1. Paint your pumpkin. We used an ivory shade of white.
2. Using a ruler, draw out a line for your card slot. (The typical greeting card sizes are as follows: 5×7 {A7 envelope}, 4 1/2 x 6 1/8 {A6 envelope}, and 4 1/4 x 5 1/2 {A2 envelope}).
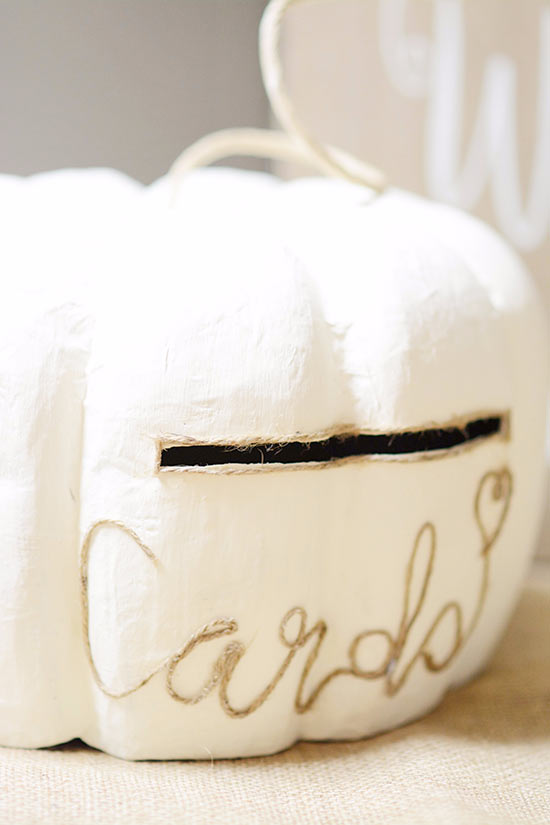
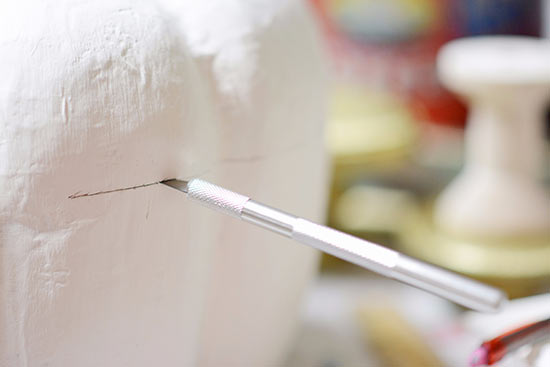
3. Use your craft knife to carefully cut out your card slot.
4. Measure out the amount of jute twine you will need to trim your slot.
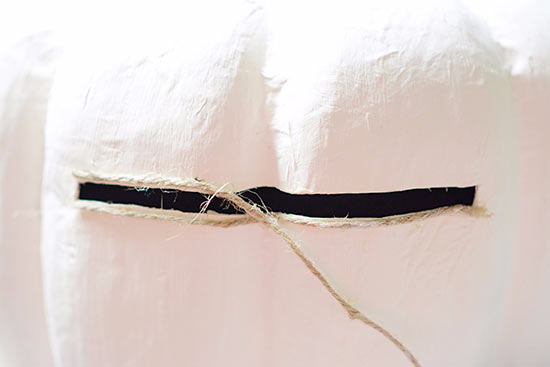
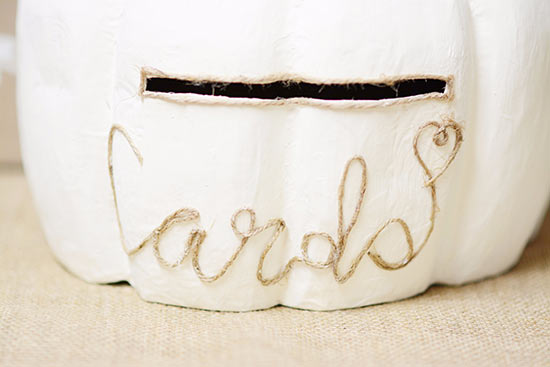
5. Saturate your jute twine in craft glue, and trim out your slot with this twine.
6. Create an idea of the amount of twine you will need for spelling out “Cards” this can be done by writing it down on a paper, printing it out, or even lighting writing it on your pumpkin as a guide, and shaping your twine along the letters.

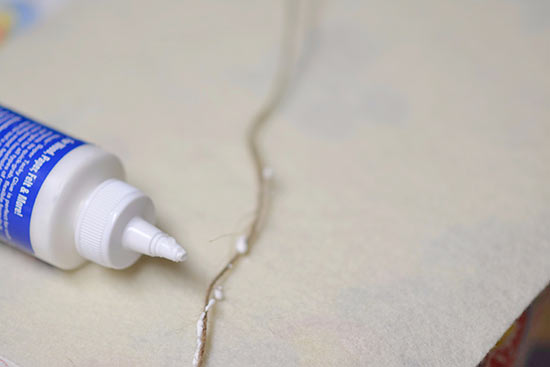
7. Once you have your cute twine amount cut out, saturate it in craft glue.
8. Lastly shape your word out on to your pumpkin and press down. Periodically press down on your twine to assure that it sticks, as your twine is drying.