Difficulty level: Intermediate
Time required: 20 minutes
Age range: 18 and up
Things you’ll need:
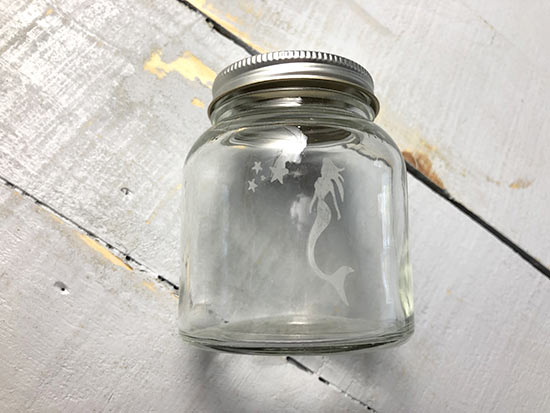
Glass Jar with Lid
Glass cleaner
Paper towels
Painter’s tape
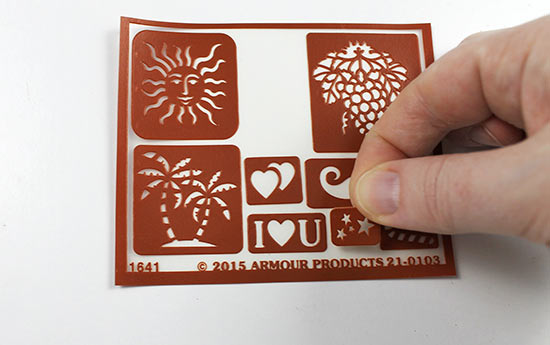
Armour Etch Glass Etching Starter Kit
Things to do:
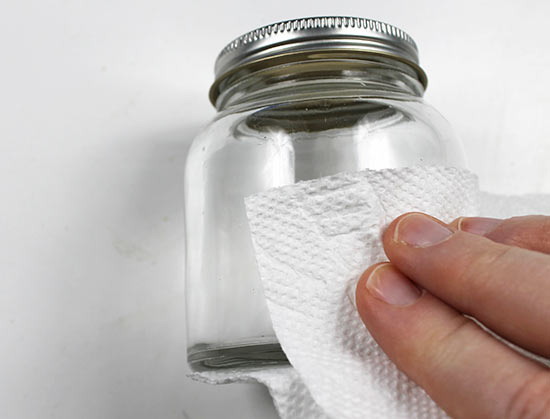
1. Using glass cleaner and a paper towel, clean and dry the glass container.
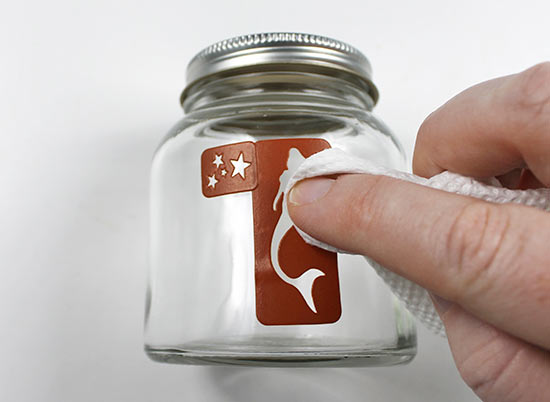
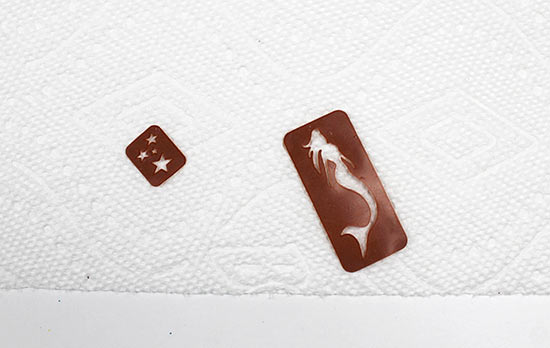
2. Apply the etching stencils of your choice to the glass, smoothing them out and making sure there are no gaps or creases in the stencil. The stencil should lie smooth against the glass. You can use more than one stencil, if you’d like.
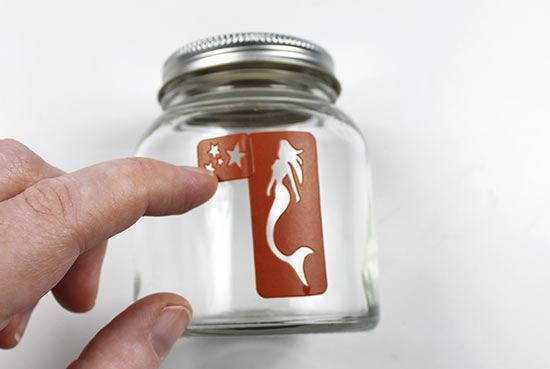
3. Use the paper towel to dab the glass once again and remove any fingerprints you may have left when applying the stencil.
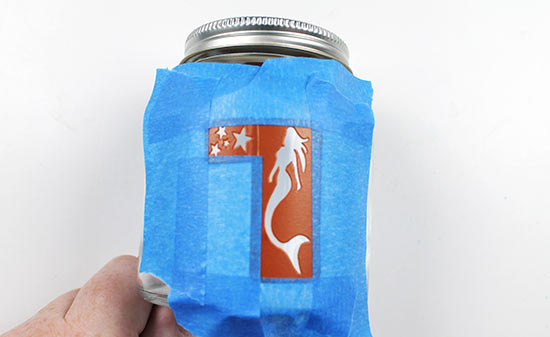
4. Using painter’s tape, tape around the stencil edges and surface of the glass. This will ensure that no etching cream leaks onto the rest of the glass. Smooth the painter’s tape down, especially along the edges.
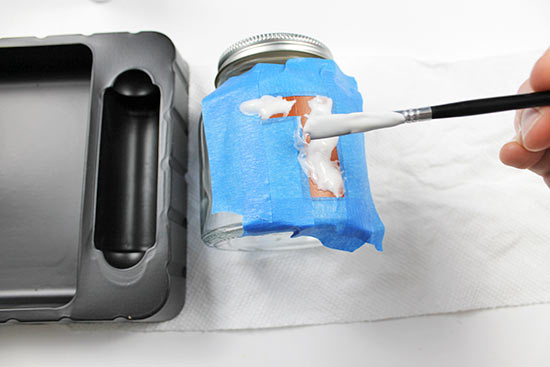
5. Using the soft bristle brush, apply a thick layer of etching cream to the stencils. The area should be completely covered so that you cannot see the stencil design at all. Leave the etching cream on the surface for 2-3 minutes.
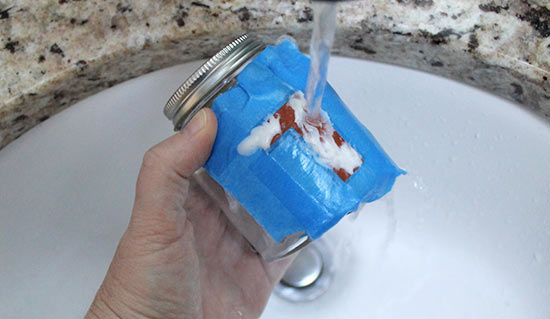
6. Rinse the etching cream under running water until you’ve rinsed away all the cream.
7. Remove the tape and stencil from the glass.

8. Place the stencils on a paper towel to dry.
9. Replace the stencils on the sheet so that you can reuse them again for another project.