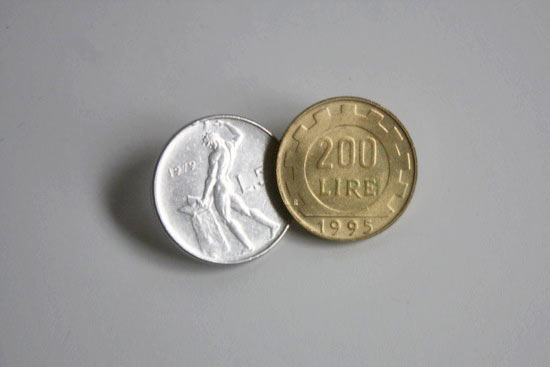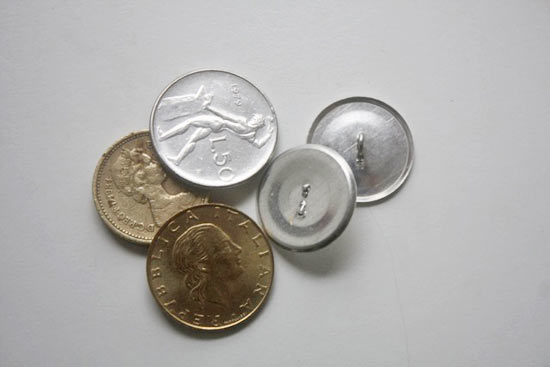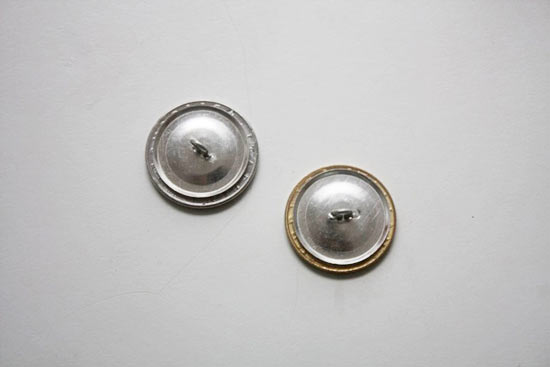
In another life time, long ago, I was quite the traveler, and because of this I’ve got a stash of coins from all over the place that sit in the drawer, hidden away. But not anymore. I’m on a mission to use those fun coins and the memories that go with them so they are out and on display, starting with making a set of buttons for my next sewing project! Make sure to use a super strong glue such as superglue or two part adhesive for this project so the coins are permanently adhered to the button base.
Time required: 5 minutes plus dry time
Difficulty level: Easy, but requires strong glues so not for children
Things you’ll need:
DIY fabric button kit
Coins
E6000 or two-part epoxy
Things to do:
1. Wash and dry the coins to make sure there are no residual oils on them from handling.
2. Pull out the shank back sections from the button kit.

3. Apply the glue or epoxy to the top of the shank and center the coin on top. Hold in place for a minute while the glue sets.
4. Flip the button over so that the coin is face down and allow the glue to cure overnight before using.
