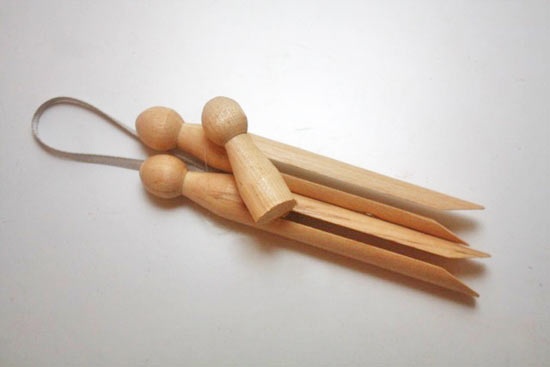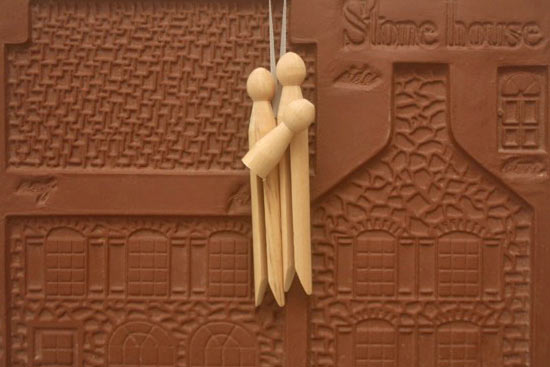
Christmas is coming and it’s time to get thinking about ornaments! Every year my kids love to dig out our nativity set and set them up and most kids I know are the same! So give them a chance to build their own nativity set to hang on the tree! This simple project is fantastic for group craft projects, Sunday school activities or just something to keep the little ones busy on a snowy day.
Difficulty level: Easy
Time required: 15 minutes plus dry time
Things you’ll need:
Old fashioned clothespins
Hack saw
Hot glue gun and glue sticks OR wood glue
Narrow ribbon
Scissors
Things to do:
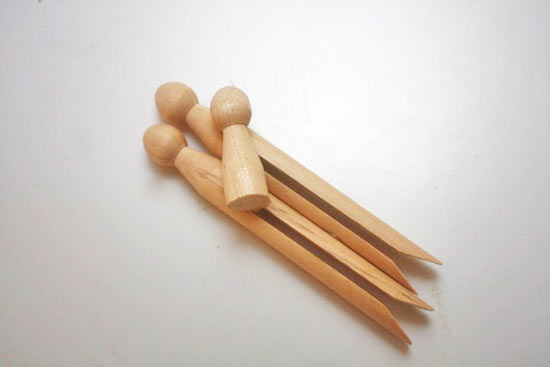
1. For each ornament, you’ll need 3 clothespins. Take one clothespin from each group of 3 and cut off the legs” to create a baby-sized doll.
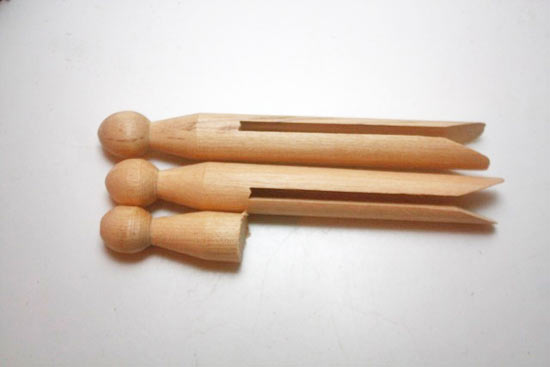
2. Lay the two large clothespins side by with one a bit higher than the other and run a bead of glue where the two meet. Set them aside and let them dry.
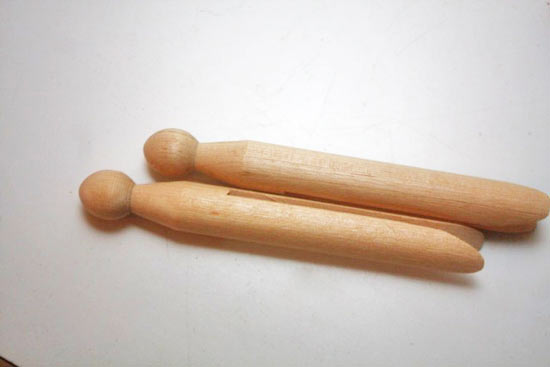
3. Once the pair of clothespins are dry, glue the small doll at an angle on top of the two dolls. Allow the glue to dry.
4. Cut a four-inch length of ribbon and fold in half to form a loop.
5. Flip the doll over and glue the ends of the ribbon to the center back of the dolls. Allow the glue to dry completely before hanging.
