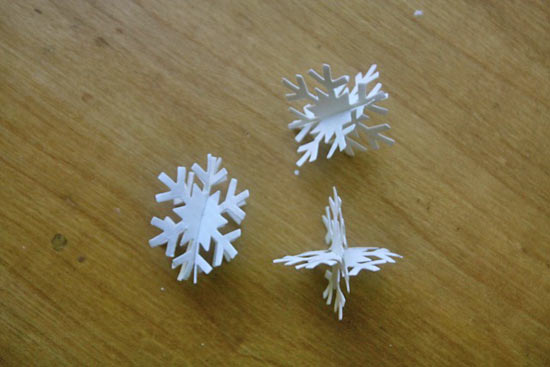
These pretty little snowflakes are lovely for all sorts of winter crafts. Turn them into ornaments for your tree, makes dozens to hang in your windows from fishing line or decorate gifts, wreaths and swags with them. Choose a heavy, but not overly thick cardstock in whatever color fits your color scheme. Be sure to cut as close to the middle of the snowflake as possible for the best finished look.
Difficulty level: Easy
Time required: Less than five minutes per snowflake
Things you’ll need:
Cardstock
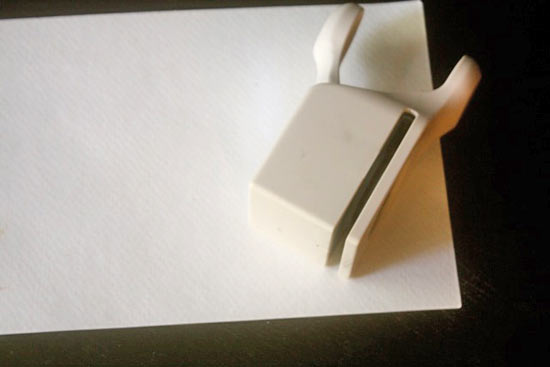
Snowflake punch
Scissors
Things to do:
1. Using your punch, cut two snowflakes for each finished 3D snowflake you want.

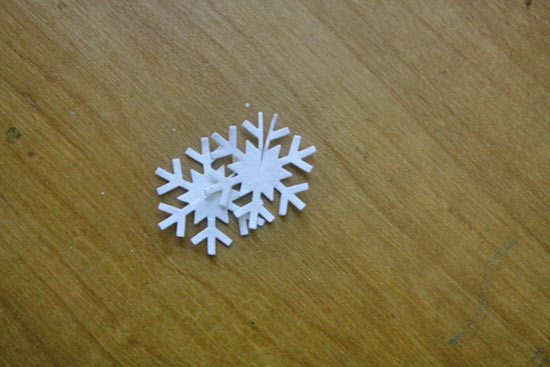
2. Cut down through one branch of the snowflake, right through the center, to the middle point of the snowflake. Repeat on the other snowflake.

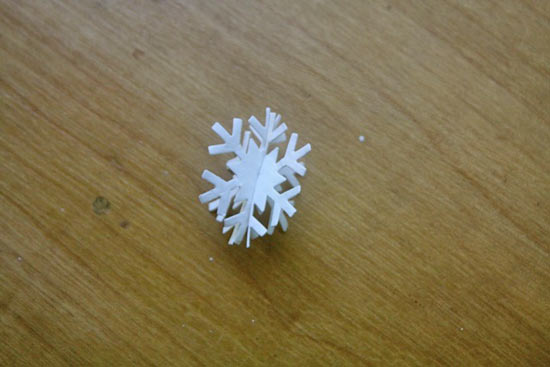
3. Slip the two snowflakes together by sliding one slit into the other and pulling gently until the snowflakes line up. Pull the edges out until the snowflake pieces form an X before using in your decor or crafts.

2 Comments
Thank you, thank you! I punched out single snowflakes, but just was not happy the look, making them 3-d is perfect for my Christmas gift list!
Our pleasure! Im so glad you are able to use those snowflakes now!