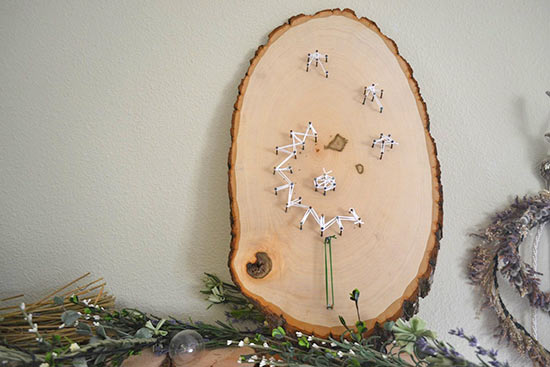
Who knew wood and nails could be so beautiful! This DIY takes minimum materials and maximum creativity-You’ll love the way your rustic piece of home decor turns out!
Difficulty level: Beginner
Time to complete: 30 Minutes
Age range: 12 and Up
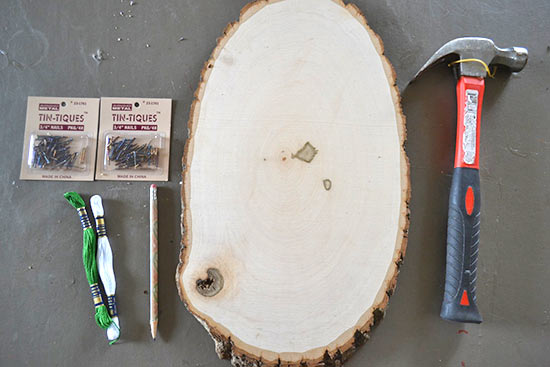
Things you’ll need:
Large log slice
Nails
Embroidery floss
Scissors
Hammer
Pencil
Things to do:
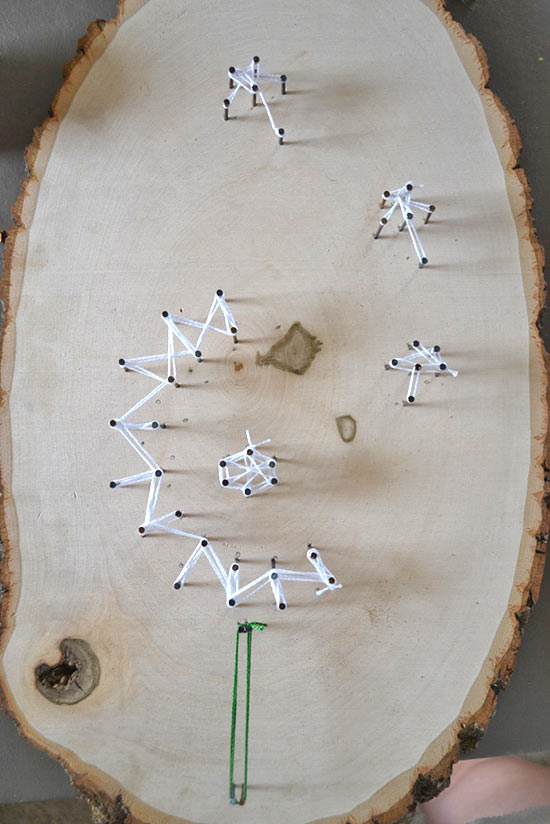
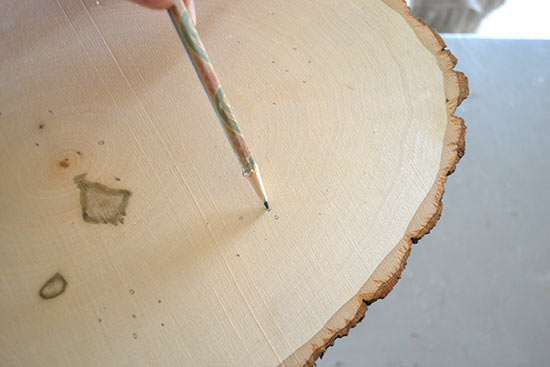
1. The first step is planning how you want your art to turn out. Use a pencil to mark your wood in places you want the nails to be. For this project, I’m creating a dandelion!
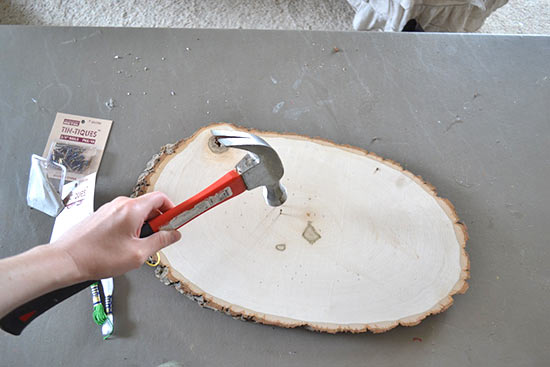
2. Hammer your nails in place, following the pencil markings you sketched. Be sure to hammer them in pretty far to make sure they are secure and can’t be pulled or bent.
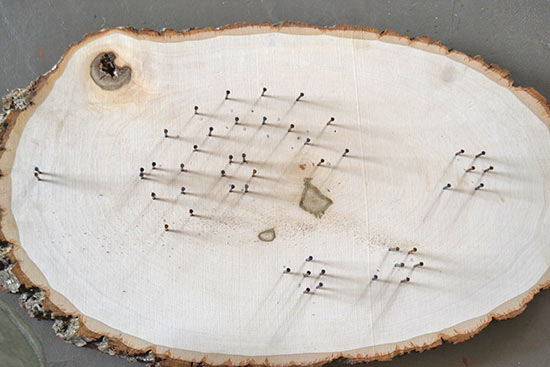
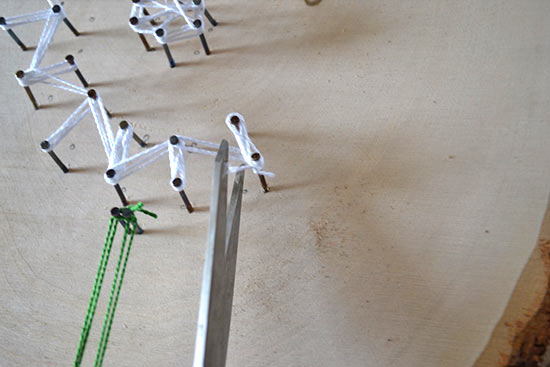
3. When the nails are in place, it’s time to start adding some color! Knot the end of your embroidery floss around a nail and begin wrapping it around your design. This is the time to get creative and have fun!

4. When you’ve finished wrapping your design, knot the end of the embroidery floss securely and admire your handiwork!