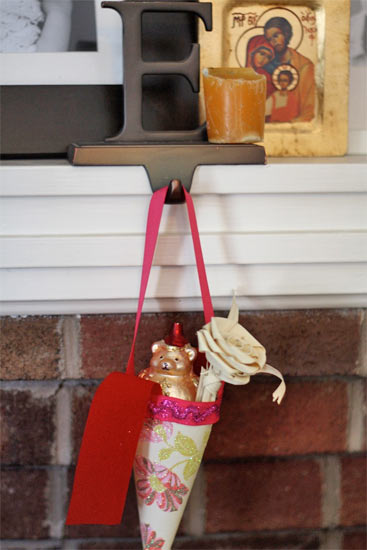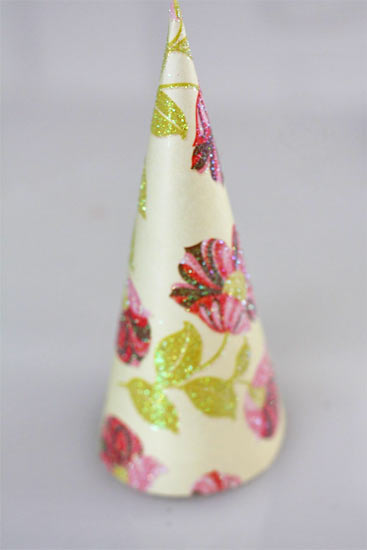
Hanging pretty paper cones around the house for holiday decorations goes way back to the Victorian era when housewives would use wallpaper and fabric scraps to form small cones and stuff them with goodies for their families, a bit like small stockings. Of course, I knew none of this during my first Christmas away from my family when, with very little money for ornaments, I made simple wrapping paper cones and filled them with tinsel to brighten up my straggly little tree. This year we’re revisiting that tradition and making some new paper cones for our tree. Why not add these to your holiday traditions?
Things you need:
Heavy-duty paper (thick scrapbook paper works well!) or
Paper Doll Cone
Ribbon
Scissors
Craft glue
Glitter
Cone Template (if you are making your cone)
Things to do:
1. Using the template cut one cone pattern out for every finished cone you need. * Hint! – Using double-sided paper makes cones that are pretty inside and out! * You can skip this step and step 2 if you bought your cone.
2. Roll the sides up and glue along the sides. Use a clothespin or painters tape if you don’t want to hold them until they dry.
3. Cut a 6″ piece of ribbon and glue each end to the sides of the cone to make a handle.

4. Wrap another piece of ribbon around the top edge of the cone, covering the ends of the handles as you go.
5. Run a small bead of ribbon around the top edge of the cone. Sprinkle with glitter and tap off excess. Hang to dry.
6. Hang each cone from a nail on your mantel or on your tree and fill with small goodies and treats!